<< Back to Portfolio

Quite the charming architectural delight out in the Northeastern portion of Hillsboro. What would you call that design? A Victorian Themed Midwestern Farm House?

With an Oval Glass Oak front door that accentuates the character to a “T.”

As has been common now for maybe over two decades, the art glass in this door is sandwiched between two other pieces of glass. Thus it is an insulated glass unit.

And as with all insulated glass units, you run the risk of seal failure, which means of course that humid-air finds its way between the panes and then condensates to the glass surfaces. This is what many folks call “foggy glass.” And that is the nature of the problem here. Foggy glass.

As a secondary problem, some of the radius trim around this glass unit has split and begun to pull away from the door. If you click to enlarge the photo you may be able to see in greater detail.

So the radius stop-trim is carefully removed from around the glass with great skill and finesse to prevent further damage.

The insulated glass unit is removed, and the glass opening in the door is temporarily boarded-up, after which the glass is taken back to our warehouse.

The insulated unit is disassembled, the glass carefully cleaned and the three oval shaped glass pieces are resealed together to create an insulated unit. Once the sealant has had time to cure, we return and reinstall the glass into the door.

Great care and expertise are employed to reattach the radius wood trim to the door where it had previously warped and pulled away. Kudos to Brandon Todd, our technician whose expertise oversaw this delicate operation to its completion.

There are those of course, who do not care for that much gingerbread, but for those who have a taste for such things, this is a very warm and charming door.

S.W. Portland, in the West Hills just South of Burnside.

If you enlarge the photo collage by clicking upon it, you should be able to see the cracked glass.

This Cherry Wood Door had Laminated Frosted (obscure) Glass in it. But it was not insulated double-pane glass. There is no air-space between the panes of glass.

So the annealed glass is easily broken, but it is somewhat held together by the film that is sandwiched between the two panes of glass, not unlike windshield glass in your car.

Per our client’s request, the plan was to upgrade the glass from frosted-laminated to frosted-tempered-insulated. So we acquired the new glass, removed the door from the jamb assembly…

…and set it upon our saw-horses, after-which the remaining laminated piece of glass succumbed to gravities pull and made removal somewhat easier for us. Due to the fact that insulated glass requires more space, because it consists of two panes (minimum) separated by a spacer-bar…

…to create an air-pocket as it were, the door must be modified. And thus it is that Steve Hilt is shown here going about routing-out the rabbet in the door to accommodate the need for this additional space, employing considerable skill and care not to damage this expensive, naturally finished hardwood door.

Technician Mike Stavish goes about chiseling-out the corners where the router cannot reach, and then re-applies the wood-stops after glazing in the new insulated glass unit.

The finished product. Literally better than new.

Not just because the glass now has an increased insulation factor, but also because the glass will be considerably more difficult to break.

A Lake Oswego client?

?has now decided that the art-glass?

?in her front entryway sidelights & transom?

?are a bit dated.

So for my client, updated meant ?clear glass at the top.?

And for the sidelights, it meant ?narrow-reed glass.?

Exterior after shot.

Much less ornate and frilly. Many folks feel that simpler and cleaner is elegant.

The finished product as viewed from the interior.

This was a substantial remodel where the new door & sidelight assembly was installed by the remodeler. But the beveled glass was apparently delayed for some reason.

We were employed by the door supplier, “Crown Door” to handle the glazing of the glass into the new door & sidelight, because of our reputation as field glazers.

Ray handles the sidelight…

…while Jared wrestles with the door. I think there was some fine tuning of the wood muntins required. This is one of the reasons our services are often in demand. We’re not going to bolt if we run into unforeseen difficulties.

Many in the trades know that the door & window niche is often beset with unforeseen variables, which is why it is not a crowded niche. And it is of course, for this very reason that we find great satisfaction in problem-solving for our clients.

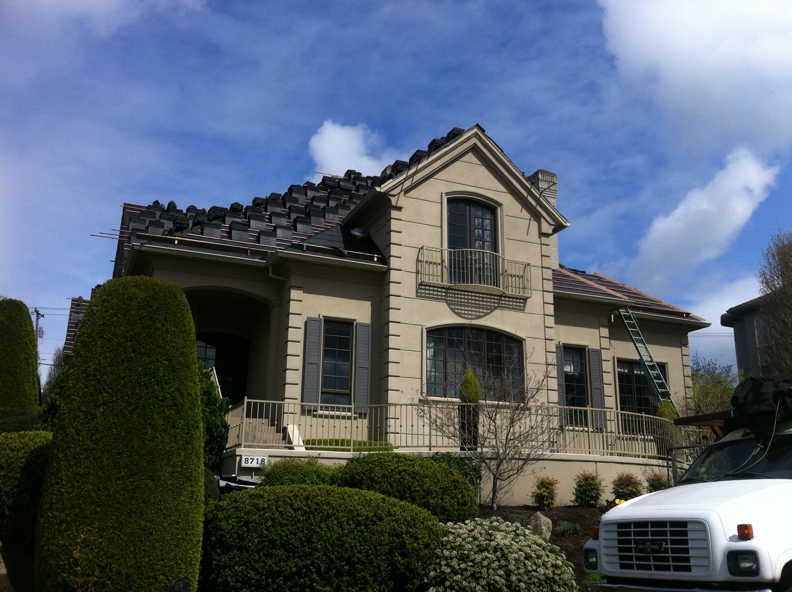
A Bull-Mountain Residence with doors & windows lacking the benefit of any eves or significant overhang for protection from the elements.

Failed glass & water damaged wood-clad Kolbe & Kolbe doors are the result.

So we were contracted to replace the four flanking insulated glass units into the existing non-operable door panels.

Oregon weather being the unpredictable thing that it is, the very same lack of protection necessitated measures be taken to protect our work.

New insulated glass units glazed into the original Kolbe & Kolbe sidelight panels (non-operable doors used as sidelights).

The original doors are carefully laid over the new door panels and used as templates to transfer the hinge locations.

Hanging new doors into original door-jambs is just one of the skills that frequently set us apart from the competition.

East Vancouver, across from the Portland airport, within sight of the mighty Columbia.

The arch-top wooden 2nd story doors seen in the previous photo with the Juliet Balcony have no protection from the elements.

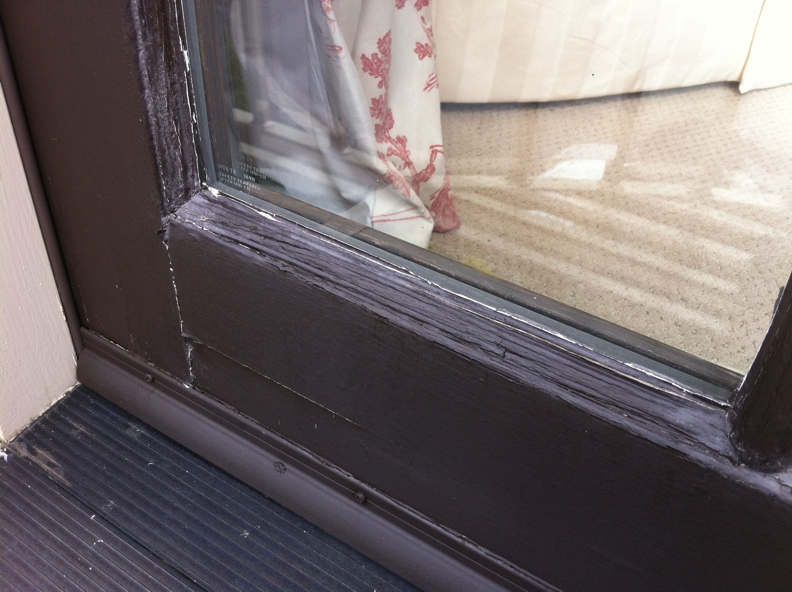
And most all of us in this area know how the weather gets near the river not so very far the mouth of the gorge. The bottom-rail is toast on both doors. You can see better the telltale wavy-wood sticking that signifies the existence of water-damage (rot) if you click on the photo and enlarge it.

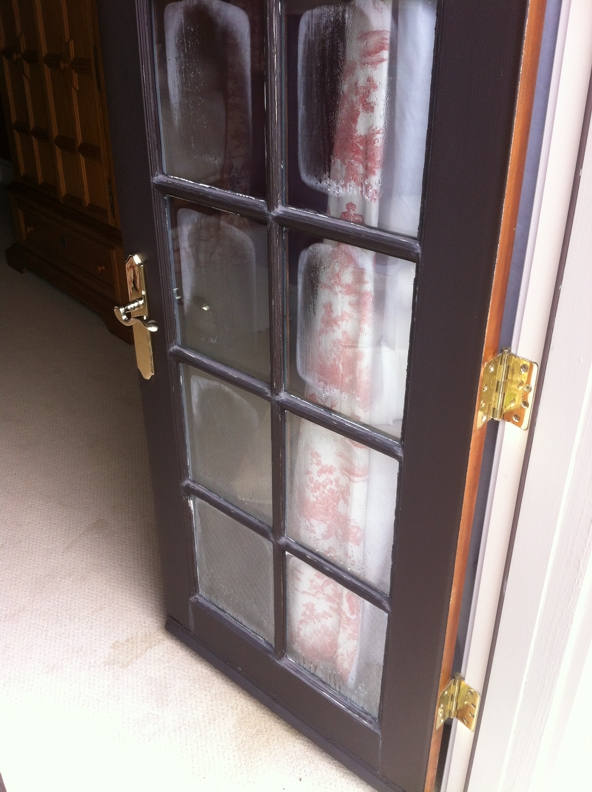
No, those are not true-divided lites. The muntins are simulated. Semi permanently adhered to the glass on both the interior and exterior sides. In the industry, we call this SDL. Simulated-Divided-Lites. So in reality, each door has only one insulated glass unit, even though the above photo showing the fogged-up glass makes it look like they are individual insulated units.

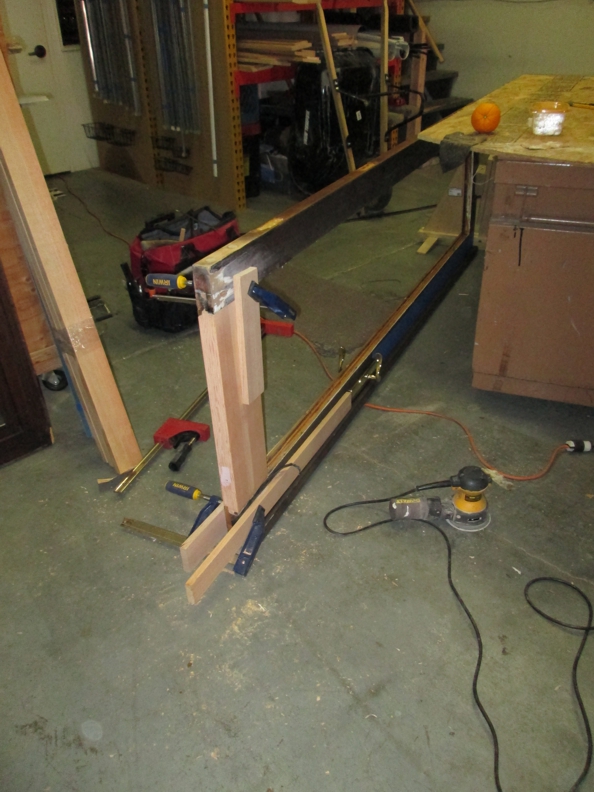
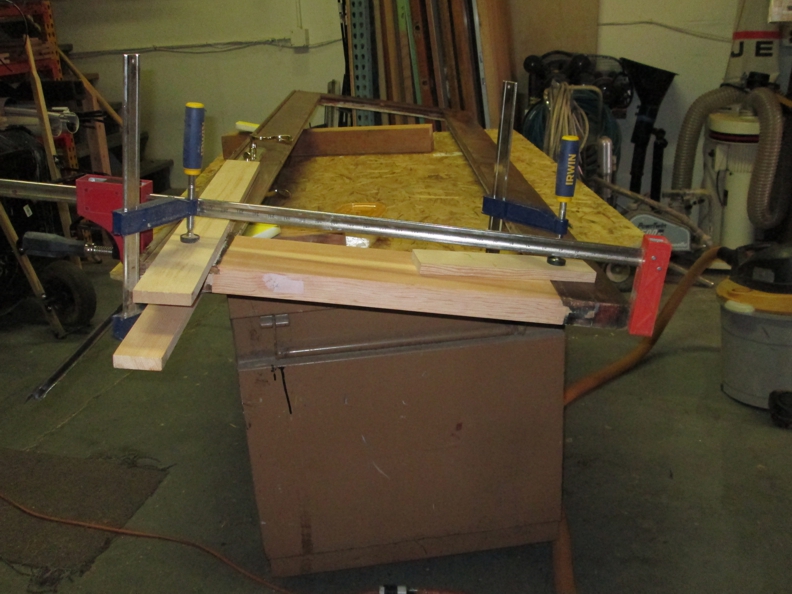
Back at our shop, the new bottom-rails are fabricated and installed. After weighing a number of options which we gave to our client, including the option of providing new doors, our client chose to have us replace the failed-glass, and the rotten bottom-rails, but to eliminate the SDL.

So the muntin grids were removed with the failed glass and the new tempered glass was manufactured while the glue had time to cure on the two repaired doors.

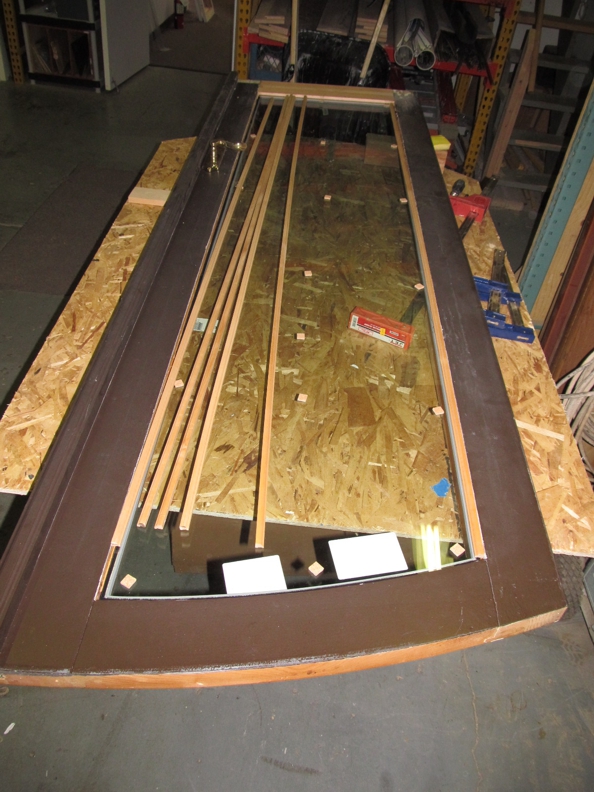
We replaced all the wood sticking that holds the glass to the doors.

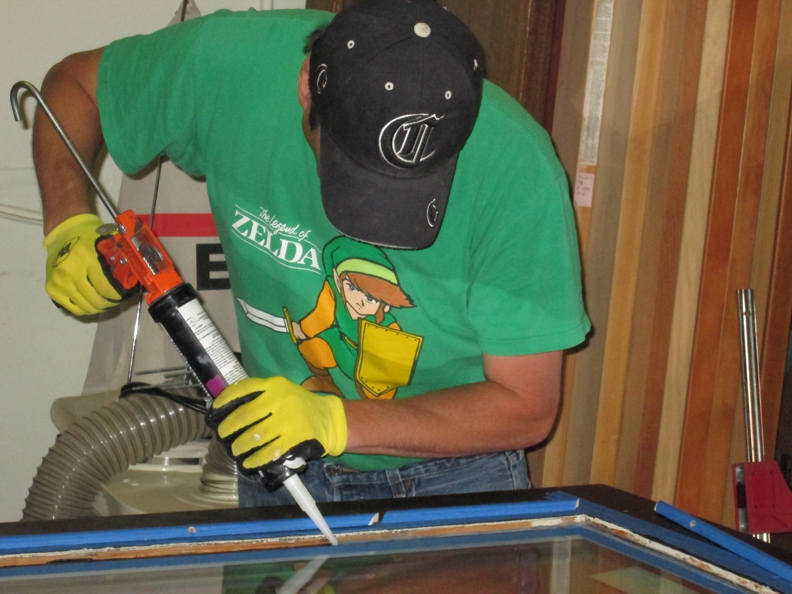
After the new sticking was primed, it is carefully covered with masking tape, as is the glass and the door sash. The extensive masking serves two purposes.

It keeps the silicone sealant off the surfaces that will be painted, since silicone does not take paint, and it makes for a very professional caulking job. A proper caulking job includes applying just enough to achieve a certain degree of caulking oozing-out to ensure that all the seams and voids are filled between the sticking, the door sash and the glass surfaces beneath the sticking.

We use a special silicone caulking product that avoids the adverse reaction that can occur with the off-gassing of some caulking and the consequential degradation of the sealant (butyl) that seals the insulated glass unit. The point of course being that if the wrong sealant is used, it could cause further glass failure.

Bull Mountain in Tigard.

Our client had hired a handyman to tune-up the front doors in preparation for putting the house on the market.

If you enlarge the previous photo by clicking upon it, you will likely notice that only one of the two doors has the “Delta Frost” Obscure Glass shown above.

Breaking the obscure glass was the last mistake the handyman made before our client asked him to leave the premises. The photos above are showing some of the plugged holes through which our predecessor had inserted some lag-bolts in an attempt to reinforce the stile & rail components of these 8′ tall doors that had begun to pull themselves apart.

This is not an unusual procedure, but the photo above shows where one of the bolts began to bust out of the interior side of the top-rail on one of the doors. This is also something we repaired. Touching up the paint courtesy of Dan Rice’s (http://woodwindowstaining.com/)expertise, who also repainted the exteriors of the doors.

There were numerous other foibles, such as attempting to simply install a longer screw through the bottom flush-bolt without properly pre-drilling an adequate pilot-hole… translating into cracking the door astragal.

Our technician Tim Afonin is shown piecing the exterior wood stop material back together in preparation…

…for installation of the new insulated glass unit…

…as demonstrated here by David Castro.

The doors were also trimmed, adjusted and re-weather-stripped for the best possible fit and operation possible, given the limitations of pre-existing conditions.