<< Back to Portfolio

A small little cottage up on Bull Mountain in Tigard

Failed Glass in some Weathershield Wood Windows.

Under Warranty.

This is not a sign of poor grade windows, but rather a sign of a company that stands behind their product.

Weathershield is just one of the many window and door companies that we do warranty work for.

In the book of Ecclesiastes, it says that “light is sweet.” (Chapter. 11 Vs. 7-NIV)

So if you are among the many who seem naturally attracted to such architecture as that which…

…employs the use of natural light, we know that your tastes are associated with a well-documented and long-standing phenomenon.

Consider how dark this walkway would be if covered by a conventional roof.

Obviously, these photos are not sequenced chronologically, but were configured as they are for the sake of presentation.

This is actually how we found the assembly when we first showed up…with some of the glass missing.

The wind had apparently gotten hold of one of the panes and wrestled it loose from it’s from its moorings, such as this piece(above)is about to.

Our client told us that they found it laying out in the driveway…shattered.

So we were called upon to replace the glass and to improve those moorings a bit. And we were all too happy to comply.

You might be surprised how many different glazing techniques folks come up with to install glass into various structures. For better, or for worse, there doesn’t seem to be much standardization in the industry.

Living on a hillside up above Southwest Mountain Road in West Linn, you might want to have huge windows to capitalize upon the view. Unfortunately, the center window somehow developed a crack just prior to our client putting their house on the market.

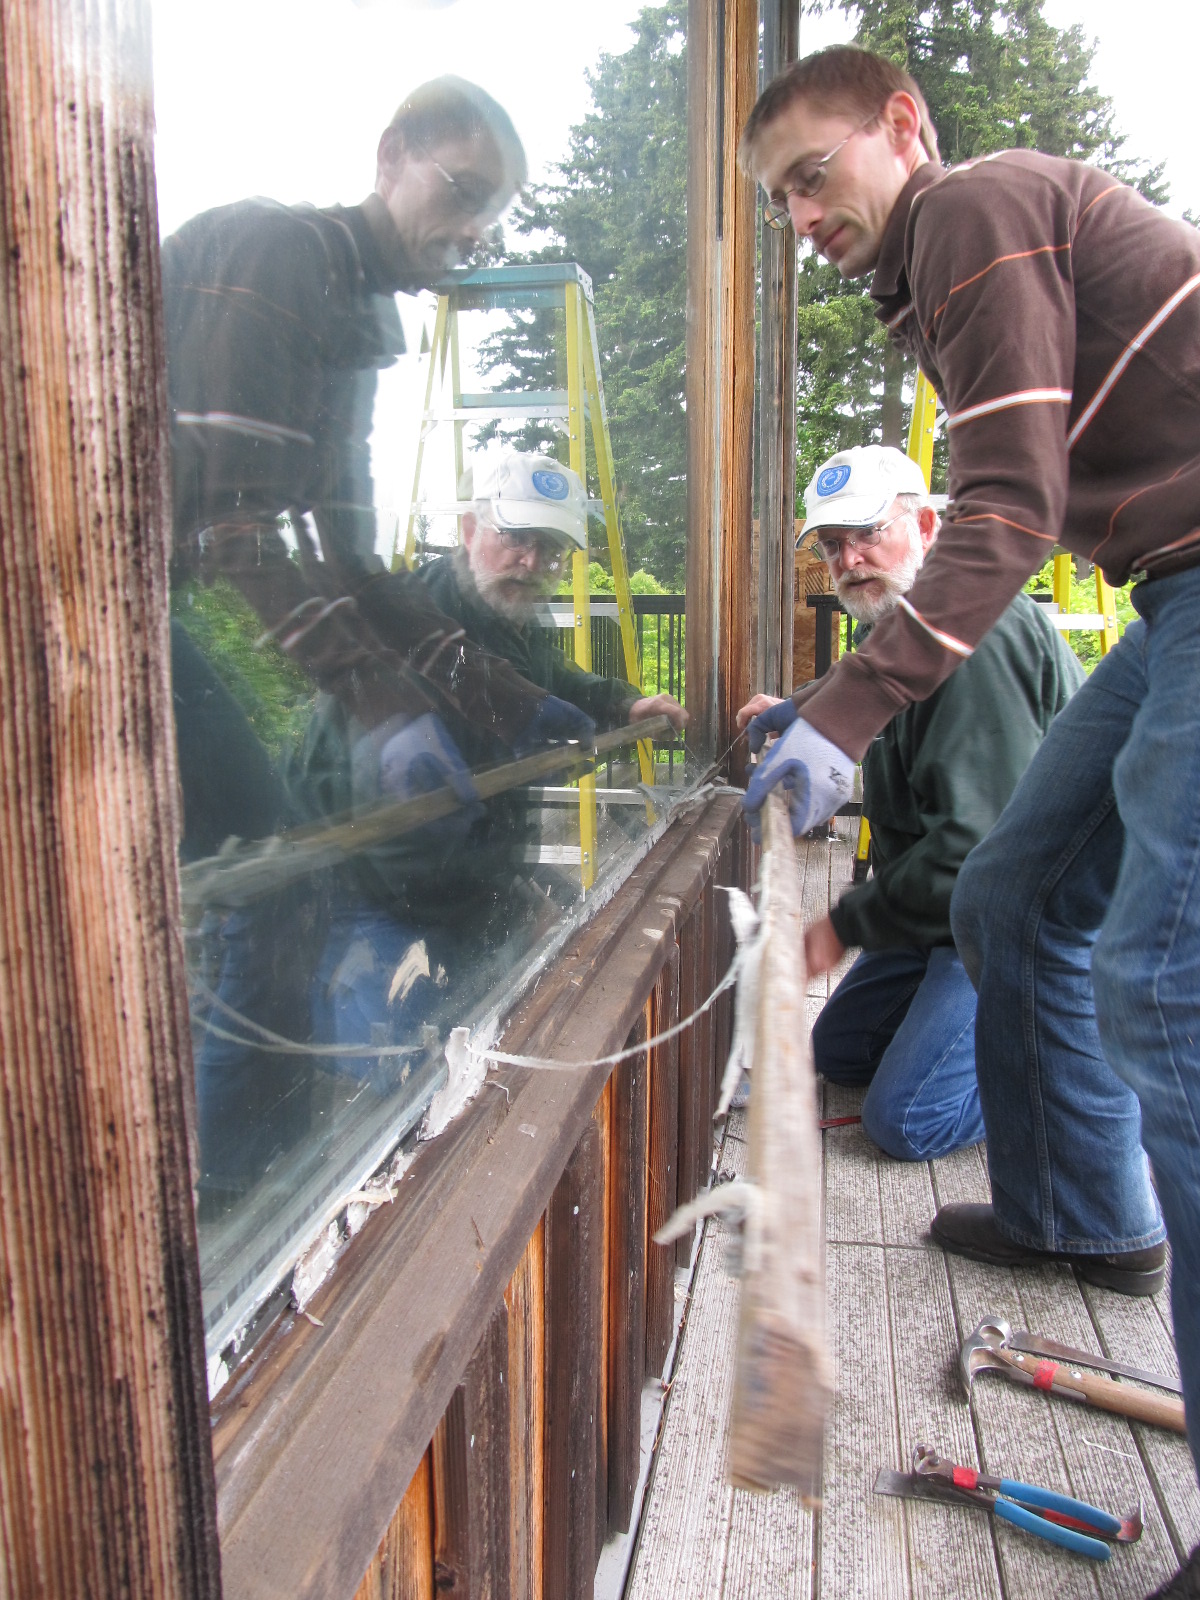
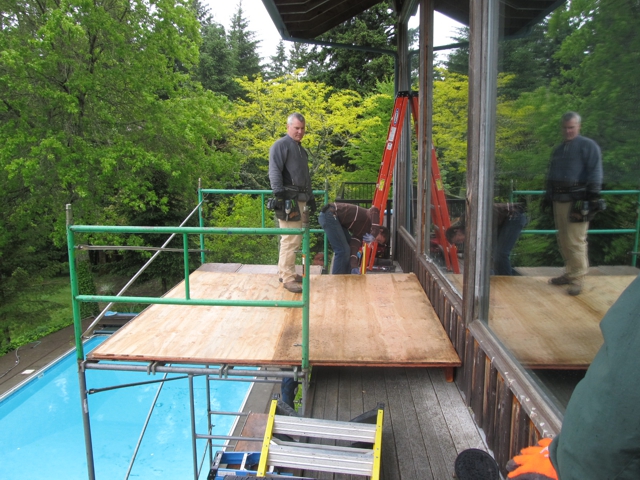
Fortunately, the builder of this house did think about these huge picture windows enough to have built a 3 foot wide CATWALK, if you will, on the exterior. Presumably, this was to provide a reasonable means for cleaning the windows. Jared & David are shown above removing the exterior stop material, while standing atop the catwalk, while others are building the scaffold platform & removing the front door assembly.

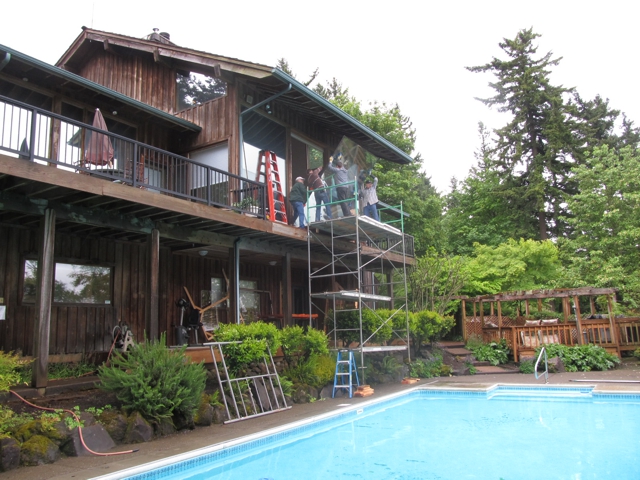
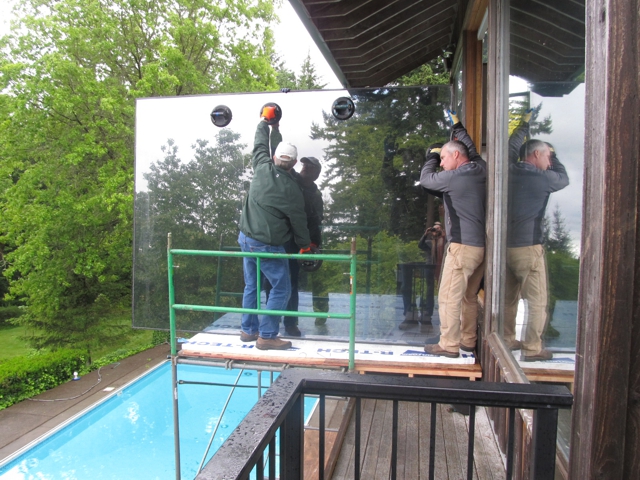
This CATWALK provided us enough additional space and support for us to erect our scaffold up to same level and to create a platform large enough for us pull the glass out to the exterior (the only way it would come) and to then lay the glass down flat, after which we tilted it back up upon the alternate axis.

This enabled us to lift the glass back up and carry it back into the house through the window opening via its narrower dimension. From this side of the house, it looks as though we are working up on the 2nd story, but that is actually a daylight basement below us. The window is actually on the main-floor relative to the front of the house.

This is of course a good thing, in that it ends up being pretty much a straight shot through the living room down a short hallway to the front door which leads out to the driveway at the front of the house.

Taking out the OLD. One of the dangers when handling large pieces of plate glass like this is that if the glass is set down upon the wrong sort of surface, it could break under its own weight. So we dare not set it down on the window sill while we wrestle it through the opening.

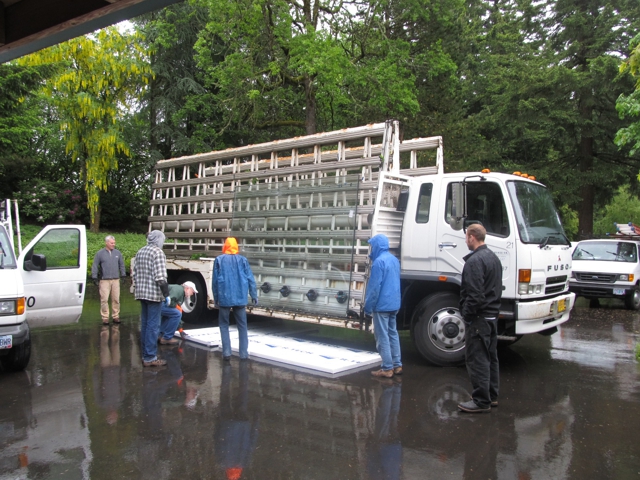
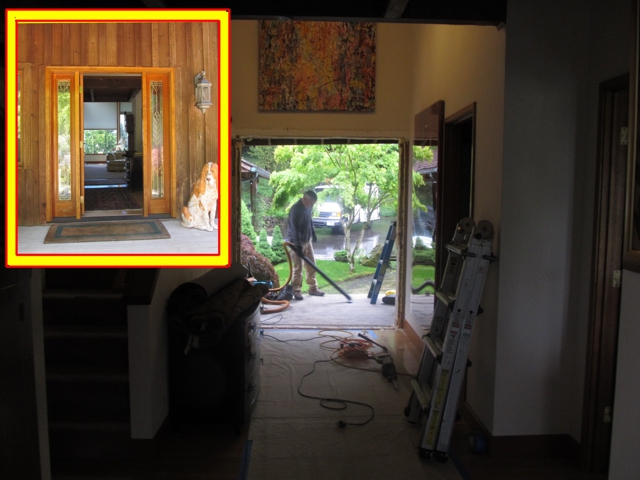
The new insulated glass unit is delivered to the job-site. Removal of the original insulated unit and installation of the new unit necessitated temporary removal of the entire front door & jamb assembly, and that is the door, sidelights, jamb and all!

Believe it or not, this was the most practical, safe and cost effective way to get the old and new glass transported from and to the opening. With the entire front door and sidelight assembly completely removed, we were able to tilt the glass at an angle and carry it through the rough-opening.

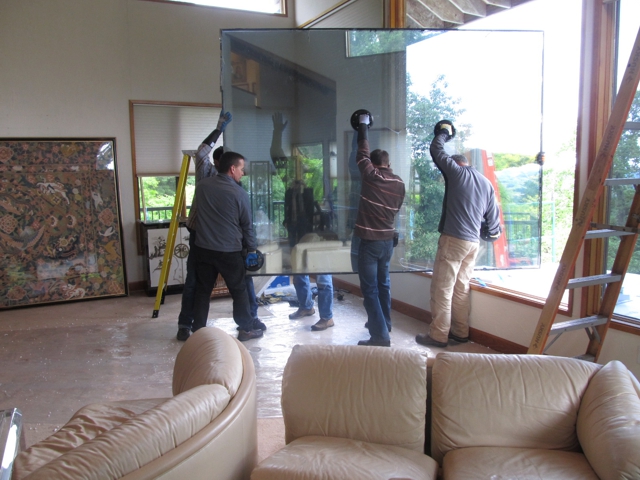
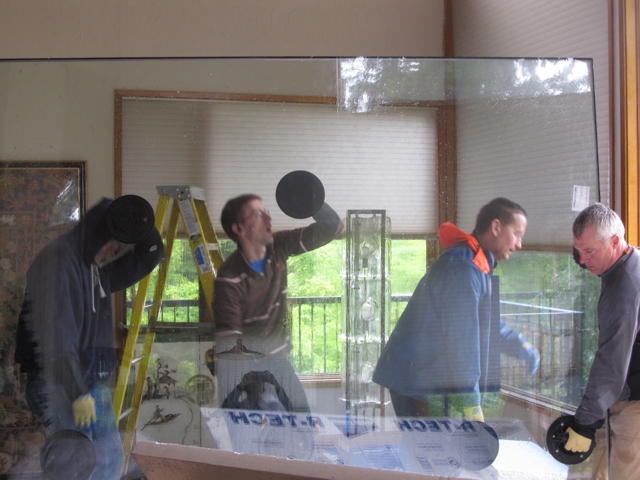
Putting in the NEW. To the uninitiated, it might be helpful to consider that this unit is actually two pieces of quarter inch thick glass (570.47 LBS). It took six of us to safely move this insulated glass unit

Every movement we made with these large units had to be thoroughly choreographed beforehand for purposes of safety for our crew and also the protection of the very expensive new insulated glass unit as we go about reinstalling and reglazing it into the original wood jamb assembly.

One of those popular contemporary modern expressions of 1960s architecture. This one in the northwest hills near Skyline.

What would you call this? A front door sidelight flourish? It is certainly more than an accent. Perhaps more of a statement regarding the use and value of light, views and image.

We promise to resist any further impulses to wax philosophical. Please note the liberal use of floor to ceiling glass on the view side of this home.

From one side to the other.

And on the lower floor as well.

And on one side of the house as well.
The project at hand here involved upgrading all this original single-pane direct-glazed glass to insulated double-pane. We decided to put this in the Unique Windows and Applications because having a house full of nothing more than floor to ceiling direct-glazed windows is somewhat unique.

Behold, the 27 new insulated glass units for this project is delivered to our warehouse in Tigard.
Our client wanted to retain the architectural detail shown there in the above 3rd and 4th photos, which was some sort of horizontal strip of zinc-caming running across the openings.

We had thought it was probably more functional than architectural, allowing the use of two pieces of glass to fill-in the almost 11 foot high openings on the main floor, but perhaps not. Between our client, who was some sort of engineer and Cedric @ Schmeer Sheet Metal, this aluminum double-channel piece shown here was designed and used to replace original zinc-camed horizontal mull-piece.

If you click on the above image and enlarge the photo, you may be able to better make out the hard black rubber setting-blocks laying in the top of the two channels and used to keep the metal channel pieces separated from the edges of the tempered glass. These are of course used on the top of the lower glass units for the same purpose.

Steve and Bruce setting the upper insulated glass unit into the top of the double-channel piece.
If you are interested in viewing more photos of this project, please scroll back to the top of this page and click on “Back to Project Listings” and click on “Project 24842 Phase Two” under this same WINDOW-REPAIR subheading of “Glass Replacement.”

Another contemporary design with the flat roofs and the infamous vertical tongue-in-groove siding.

This one nestled away in Vancouver Washington.

The initial scope of this living room project involved replacement of three rather large “failed” direct-glaze insulated glass units.

But once the work began, the clients who recently acquired this 60’s era home…

…were inspired to have us replace all the glass units while we were at it.

The original glass had a grey tint to it, which is what they had us re-install.

But it wasn’t long after we began pulling glass, that rot was discovered in the window-jambs, which lead…

…to discovering rot in the walls rough-opening components and ultimately, much of the wall structure below.

So we erected tarps and boarded-up for a much more extensive project.

This eventually led to some siding replacement and some new vinyl windows for the basement below.

Just north of the Council Crest area in the West Hills, our client has a quantity of ten…

…direct-glazed, insulated glass units on the main floor above the daylight basement, all facing…

…the same direction. Most of them have lost their seal, translating into your stereotypical foggy glass.

Our savvy client asked lots of questions about the latest low-E technologies and the subsequent tint of the low-E coatings.

If she opts for replacing only the failed units with the low-E glass, the difference will show substantially when viewed right next to the original clear glass.

So she could stay with the clear glass, but is reluctant to do so, because of what the sun does to her rugs and furnishings, even with the substantial eves above the windows.

So she chooses to replace all (10) units with the Low-E glass. Technicians Sean & David busily going about the work of journeyman window mechanics.

After the wood jambs for these direct-glazed units are cleaned and prepped for the new glass, we install the new glazing tape on the stops for the interior side of the glass unit.

And then we “wet-glaze” the exterior sides, re-installing some of the original wood-stop material, and replacing several lengths that had sustained some water-damage.

Wet Glaze pertains to a gun-applied sealant. We use a special Silicone caulking. If you’re interested to learn more about Low-E Glass, you might try checking out this link at: Wikipedia:Wikipedia.org/wiki/Low_emissivity.

An Eagle Wood-Clad Direct Glazed Picture Window

I don’t believe that our client knew how or why their insulated, tempered glass unit broke one day.

Can you see the bee-bee sized little pieces of glass that pretty much held together until we got it replaced…

New insulated unit set in place.

Remember, we work on all types, all brands, all makes and all models. We work on every sort of window known to modern man.

One of the many 1980’s era houses with aluminum-framed windows.

This one in Tualatin…

…with a bunch of failed glass…

…on the south side of the house of course.

Those white strips on the ground…that’s replacement Vinyl snap-bead.

These folks in the Cedar Mill area of N.W. Portland had 30 failed insulated glass units.

As you can see, they have lots of windows with lots of glass to potentially fail.

Whenever we’re replacing glass with the internal grids like this with other nearby adjoining windows with the same grids…

…it’s just as important to carefully measure for the new internal grids as it is important measuring the overall glass dimensions.

The obvious reason is due to the need to maintain the sightlines related to other grids in the other original glass units.

We replace a lot of glass!

The projects shown in this portfolio are but a mere smidgen of the glass replacement jobs we are thankfully called upon to apply our expertise.

If we happen to have a camera on-site with someone willing and able to take some relatively interesting shots…

…or if there is something interesting or instructional about the project, along the lines of what we would like our potential clients to know about our services,…

…then we’ll consider their inclusion herein. Some projects we’ll include to show the smaller, simpler scale jobs we also eagerly pursue as the bread and butter of our profession.

A handsome lair near the Lake Grove portion of Lake Oswego. About a hop, skip and a jump from where I was born.

You’d think from the view that this was up in the mountains somewhere. I think that’s Mt. Sylvania there in the background.

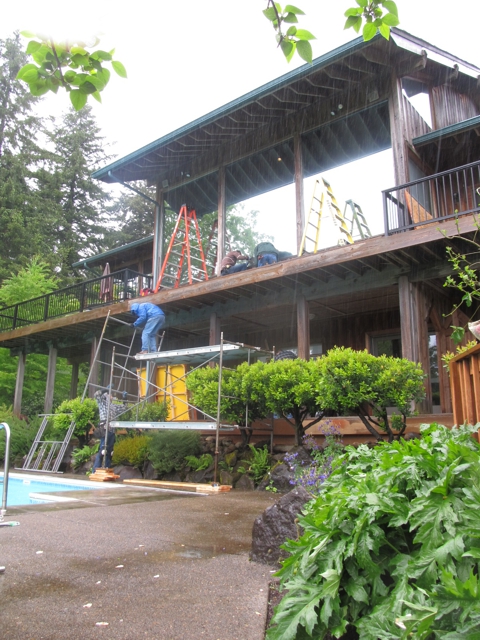
What we’ve got here is a glass project with some logistical challenges. Although not unlike what we face on a regular basis.

This was primarily a “re-glaze” project. This is one example of the preventative maintenance practices that would save folks money if they followed suit. This client wanted to ensure that the…

…glazing on their wood-clad windows was in good condition. The photo above is actually at the opposite end of the house. We had two scaffold bays installed on this project.

Of the ten insulated glass units we installed here, only one was a replacement unit due to seal failure. For the uninitiated, the “glazing” is the means by which the glass panel is sealed to the window sash, or as in this case…the “jamb-assembly.” Above, you can see Bill, our technician applying Silicone caulking directly to the jamb.

When the glass is sealed to the jamb (frame), instead of to a sash…the type of glazing-process is called “direct-glazed.” Several of the advantages to “direct-glaze” is that you maximize the daylight opening while minimizing the number of components, and thus “seams” and “joints” in the window assembly on the exterior.

But this is only an option for “non-operable” window openings…or what most folks call “picture windows.” If you want an operable window…one that opens…then you need a sash. The sash is that portion of the window that wraps (like a sash) around the glass and moves with the glass when opened…like a casement, an awning or a double-hung window, among others.

Getting two or three or more technicians who know how to work together to handle and install large glass units up on ladders and scaffolds without damaging the glass or injuring themselves is a skill-set that deserves the admiration generally associated with it.
For reasons you can probably understand, one of the most important yet difficult to define skills that we look to develop in our trade is called “finesse.”

Here we see Bill & Jared applying pressure to the glass so that the bed of caulking is form fitted to the glass and the associated jamb. The blue tape you see on the jamb and the glass in these photos is to make cleaning off the excess caulking mucho easier after it has oozed out from between the two components. Those gloves aren’t a fashion statement…they’re Kevlar gloves for handling glass.