<< Back to Portfolio

A Lake Oswego residence.

Land of some of the most dynamically designed structures in the state.

No one likes glass & light more than I do. And the more dynamic, the better in most cases…generally speaking. But boy, some of the logistics involved in reaching some of these designs if and when it comes time to work on them can really translate into some hefty maintenance costs.

We’re not complaining mind you. But it’s an amazing thing to behold the look in some of our client’s eyes when they receive our bid to simply replace some failed glass.

It might be worth mentioning that some architects…or perhaps it’s the builders, have been known to provide structural components that facilitate reasonable access to some of these openings on walls of houses that (for example) hang out over a hillside on stilts or something.

Like a cat-walk, as they’ve sometimes been called.
Can you imagine how often this particular window opening probably gets washed?

There was also a transom unit over a door and sidelight assembly that we were contracted to replace as well.
Insulated glass replacement has grown to become a huge part of business over the past 20+ years. And it can be very challenging in part due to all the differing methods that various manufactures come up with to glaze the glass into their windows and doors.

You might think it would have been a good idea to standardize the glazing processes, but no. And you’re going to think I’m pulling your leg, but now, as of this writing…at least three major manufactures that I know of that are building doors and windows with absolutely no means by which the glass can be replaced without replacing the product the glass is installed into.

If the seal fails or the glass gets broken, you have to replace the sash as well. For example, if you have one of these doors, and something happens to the glass, you’ll be required to buy a new door. I kid you not. And don’t ask me what these folks are thinking, because you won’t want to get me started.
I’m not complaining mind you, I’m just saying…

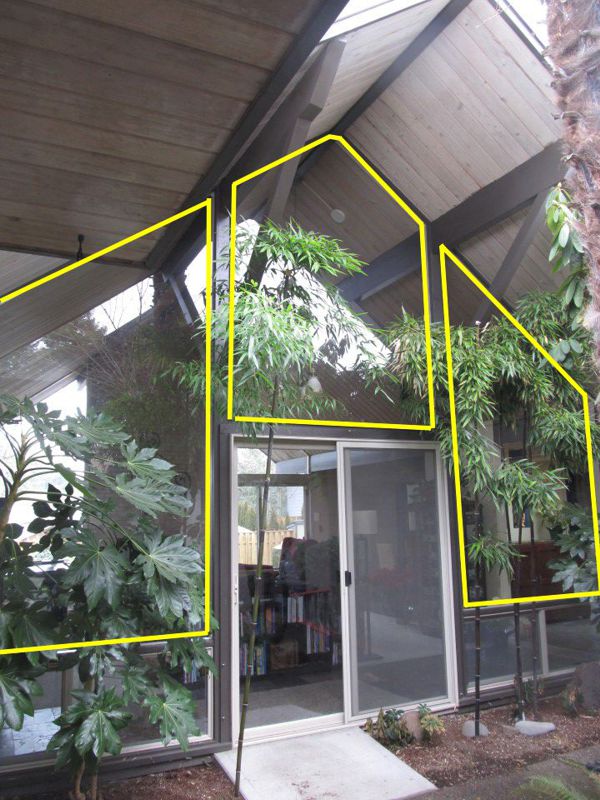
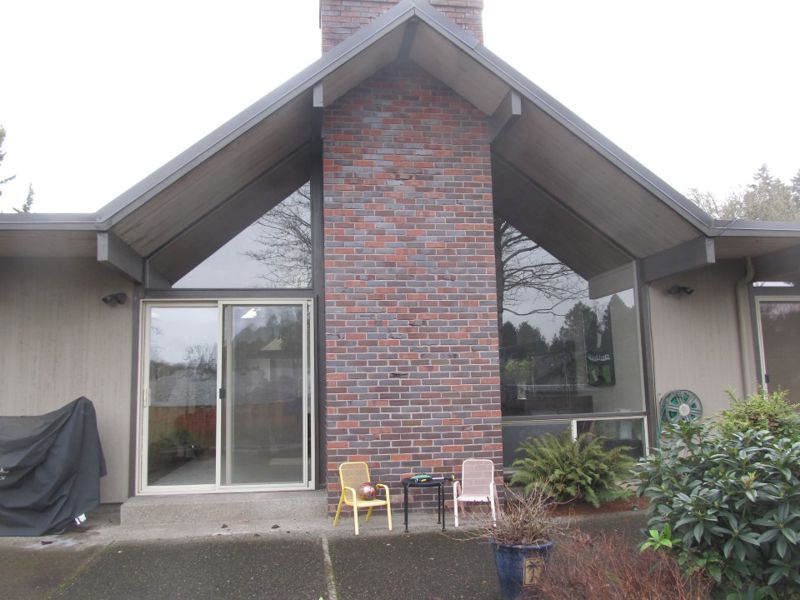
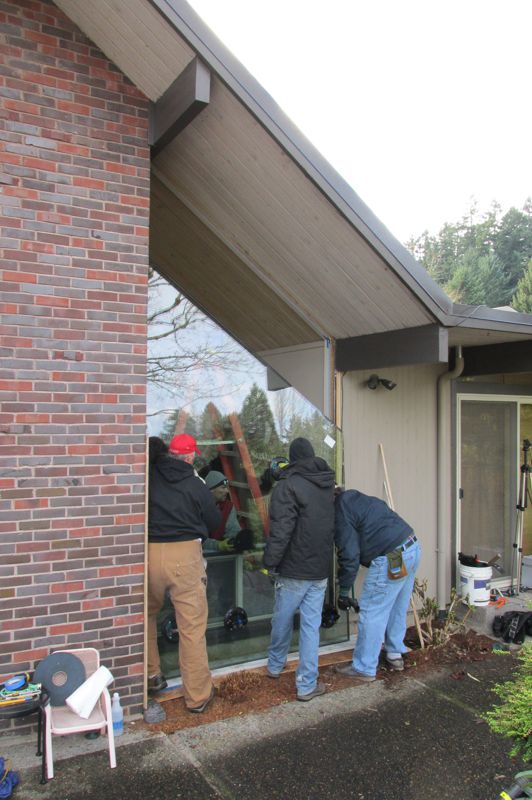
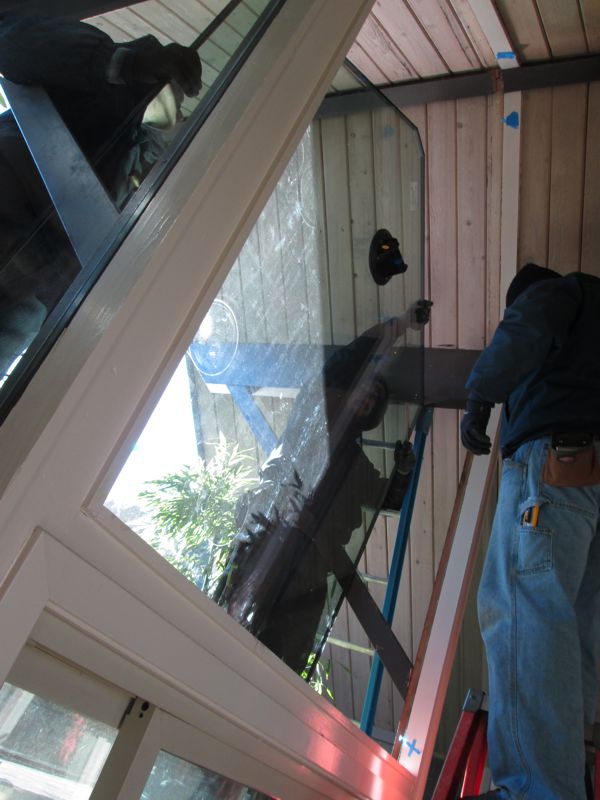
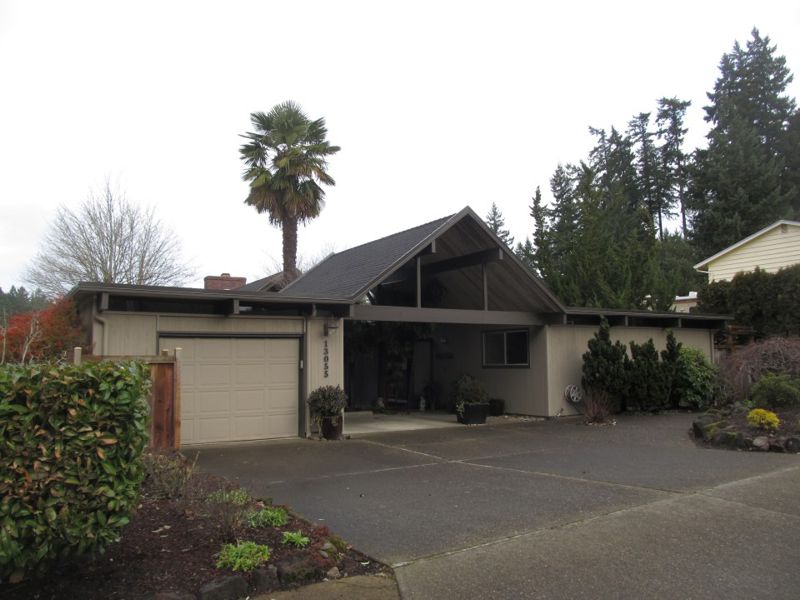
Another Robert Rummer House in Beaverton, with the typical fascia structure that leads to a courtyard (see palm tree) before you really get to the main living quarters. This is of course, a common Robert Rummer architectural detail. We are slated to replace 5 very large single-pane glass units with insulated versions.

The main living quarters, as viewed from the courtyard, with the three single-pane units slated for replacement on the courtyard side of the living quarters highlighted.

And the two trapezoid shaped single-pane units on the back of the house. Some may be surprised to hear that one of the trickiest parts of a project like this is safely removing the single pane glass. Often, whatever glazing product was used, whether it was glazing putty or caulking, is rock hard now.

If, in the process of trying to free the glass from the glazing product around the perimeter, the annealed, single-pane glass should break, it can “shard” and become extremely dangerous. Much more dangerous than annealed double-pane glass, because double-pane glass is basically glued to the spacer…

…bar, and is much less likely to fall away like a ginormous knife, taking someon’s limb with it.
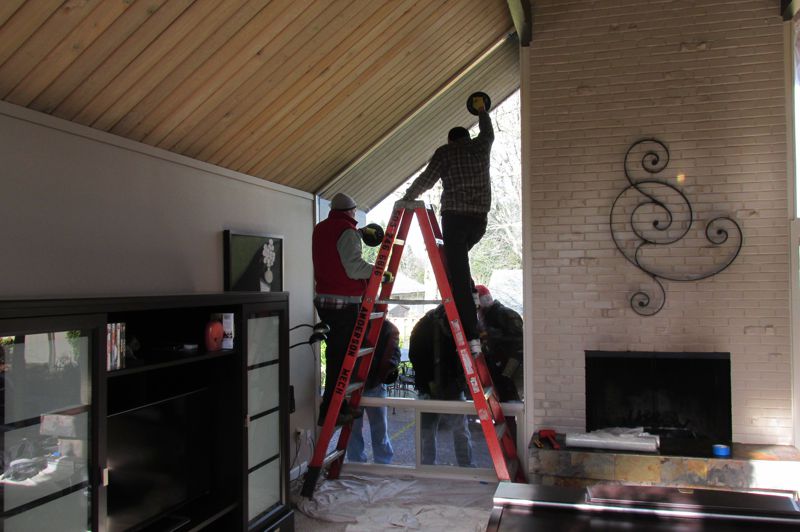
To offset this danger, we cover the single-pane glass with “carpet-mask” before removal, to minimize the danger. That doesn’t mean the glass can’t still shard and fall, but it may give us the…

…couple extra seconds needed to get out of its way.
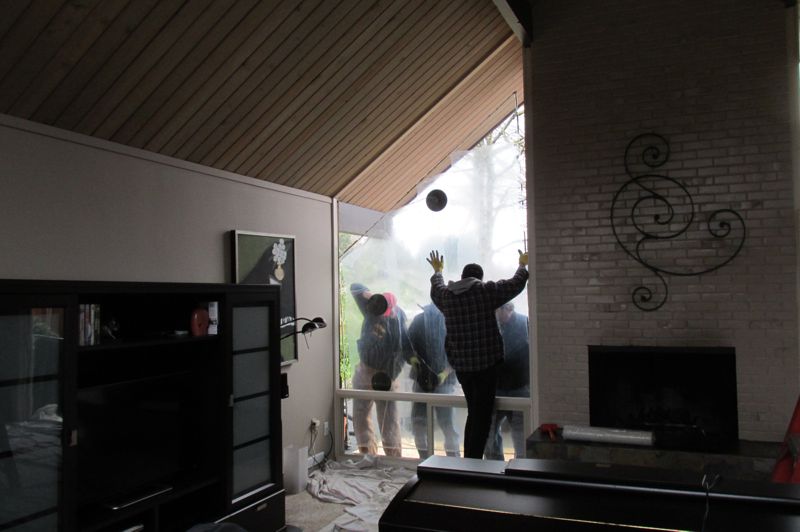
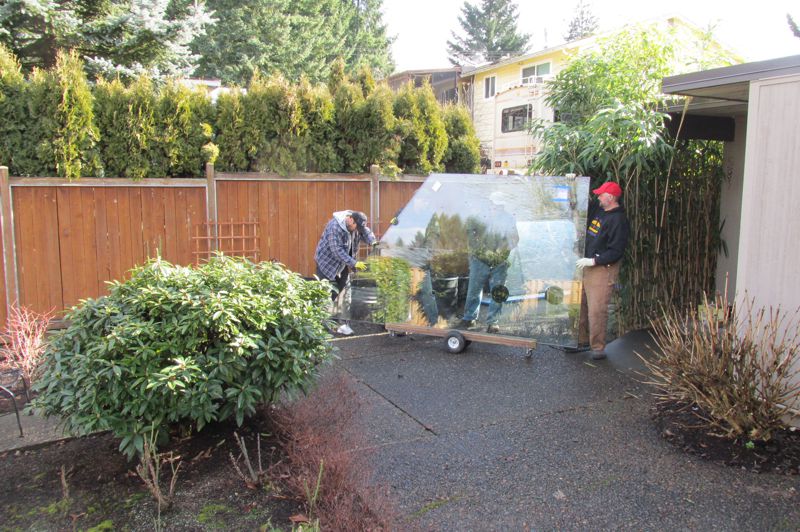
After bringing the new glass around to the back of the house on our glass cart, the field technicians prepare to hoist the new insulated glass unit into the opening. How many technicians does it take to safely lift a unit like this?

Well, if you look carefully, the above photo shows five technicians, but we also have the technician taking the photos who asked everyone to hold position while he steps away briefly to photo document the procedure for our website.

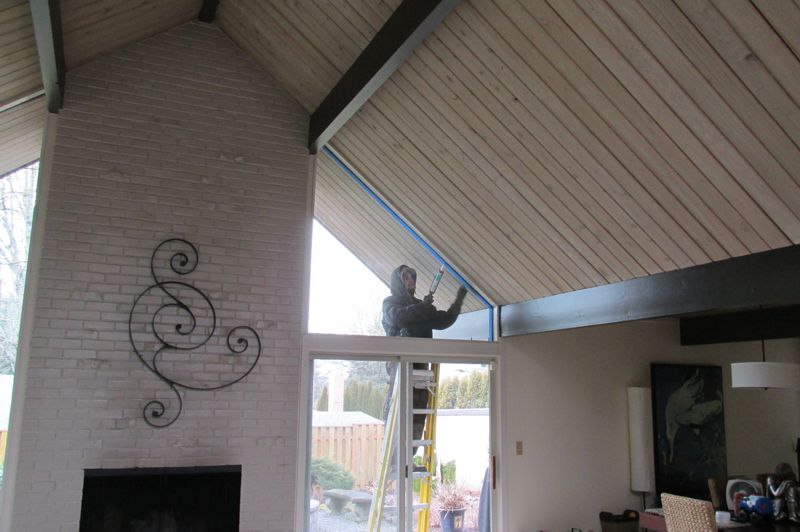
Here we have Brandon putting the finishing touches on the other back facing trapezoid glass unit.

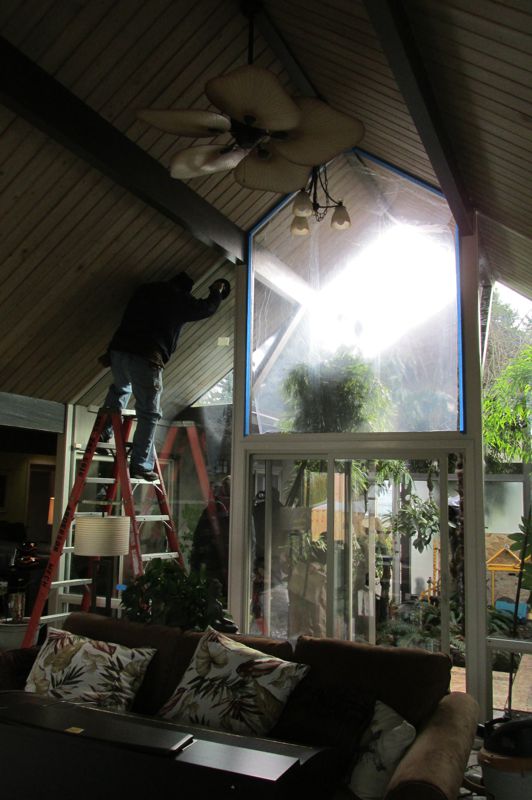
And so we turn to the three courtyard facing units. First the side “traps” are carefully and skillfully replaced.

We would go into describing some of the difficulties we had with this one opening, except that you would find it boring, there isn’t room here to describe it, and highlighting the lessons we still have yet to learn isn’t usually what a portfolio is used for. That being said, we still learn new things every day.

Trippy architecture up on Skyline Blvd.. I like it.

High exposure, high wind locations clearly seem to translate into the severe testing of anybody’s and everybody’s window products.

Personally, I suspect the flexing of the large glass panes, as it relates to wind load translating into the tearing of the airtight membrane on the edges.

When the center of the exterior pane in pushed in at the center…where it’s the least supported, then the periphery edges of the glass are going to be prone to flex the opposite direction. I propose that this could…

…result in the tearing away from the butyl or silicone membrane. Opponents of this theory would likely point out how minute this would be because of its attachment to the spacer-bar.

I understand the point, although I suspect that it might not take more than a minute amount to translate into a tear, given the relatively delicate nature of the membrane.

In any regard, that’s my 2 cents worth. There were no signs that the glazing between the glass & the aluminum cladded frames had failed, which would have allowed moisture to get in around…

…the membrane, which can also translate into failure of the membrane and the consequential introduction of humid air between the panes that then condensates to the glass, or what folks call “fogging-up.”

Note the manpower it took to get these extremely large and heavy insulated glass units down and up the scaffold. And then there was the issue back in the corner where there wasn’t room for the scaffold, so we fabricated a…

…custom scaffold segment made of 2X12s nail-lamed together horizontally and vertically. It’s all part of the problem solving skills required to do this work.

Southwest Portland, above Macadam & the Water Tower district.

A glass replacement job with some logistical challenges related to height & gravity.

Sure, there’s always scaffold. Although one would be risking their life & limb just in trying to get the scaffold down there to set it up.

Fortunately, decades of experience afford us opportunity to consider alternative options.

The only reason we had need to access the exterior on this particular project had to do with the vinyl snap-bead on the exterior.

To remove it and then to re-install it. Now as you can see, this was Nate’s sole function in our company…to provide a counter-balance …

…against falling out of a window by grabbing your harness & stepping on your feet.

We jest of course. This here was probably the scariest and most difficult aspect of the project.

Pushing the original glass out, after cutting the glazing-tape, turning it into position to pull it back into the house…

…and then lifting the new glass out through the same opening, rotating it & then pulling it back against the jamb & the newly applied glazing tape.

This is a continuation of Project 24842 Phase One, for those so interested. Above we see Steve Hilt employing the use of a Laminate Trimmer set up with a standard 1/2 inch straight-cut carbide router-bit removing of all the original putty glazing from the wood jambs, after we removed the original single-pane glass. For the corners, we used a special carbide-coated Fein Tool Blade.

Above we have Bruce modifying the original exterior wood stops to compensate for the new thicker double-pane glass.

Per our client’s request, the one 88 inch wide by 84 inch tall opening that was on the side of the house was split in half vertically. There were several reasons for this. One was to make handling the new double-pane glass a bit more manageable, but also to make replacement in the event of breakage or seal failure less costly. To facilitate this change, we fabricated a replica of the original wood mull-posts that separated all the other direct-glazed glass.

Brandon and Steve position one of the new insulated units for installation on the main-floor.

A temporary piece of plywood is fastened to the adjoining wood mull-post to allow the new insulated unit to safely and securely lean out slightly until the upper insulated unit was installed on top of it.

Brandon and Jared install the upper insulated glass unit on top.

The wooden vertical mull-post cover on the right is installed

Masking tape is applied as needed to insure a professional finish caulking job.

All seams are dressed and sealed-up as needed.

An interior close-up photo showing how the insulated glass looks along the edges and its relationship with the horizontal aluminum double-channel mull piece. You can click on the photo if want a better view.