<< Back to Portfolio

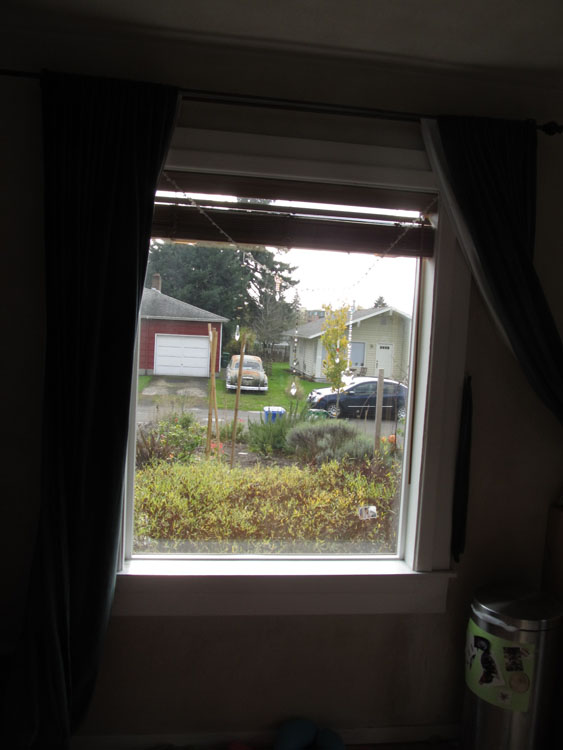
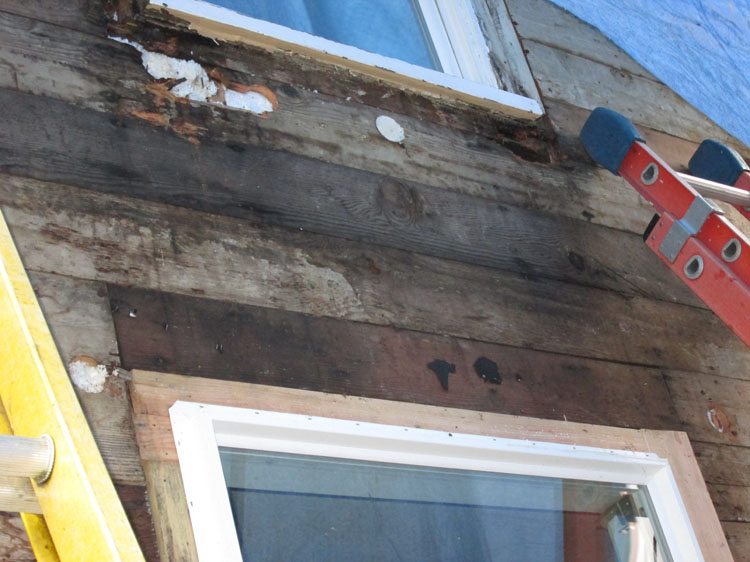
This relatively small water remediation project also involved a failed insulated glass unit in the master bathroom.

It’s not uncommon for folks to see moisture forming in-between the panes of their insulated glass unit and to assume that it has…

…something to do with the swelling of their MDF window sill. And while it is theoretically possible that if the breach in the butyl membrane that seals the…

…insulated glass is located in the bottom of the unit, the accumulating water could drain back out and cause damage to a wood window sash or jamb (if direct…

…glazed), it is extremely unlikely that water could find its way out of a Vinyl Window Frame to affect the interior surround materials. So we knew pretty much from the…

…start that unless someone was splashing water up out of the bathtub, we had an improper flashing issue, as is the case with 85% to 95% of all exterior envelope water intrusion related projects.

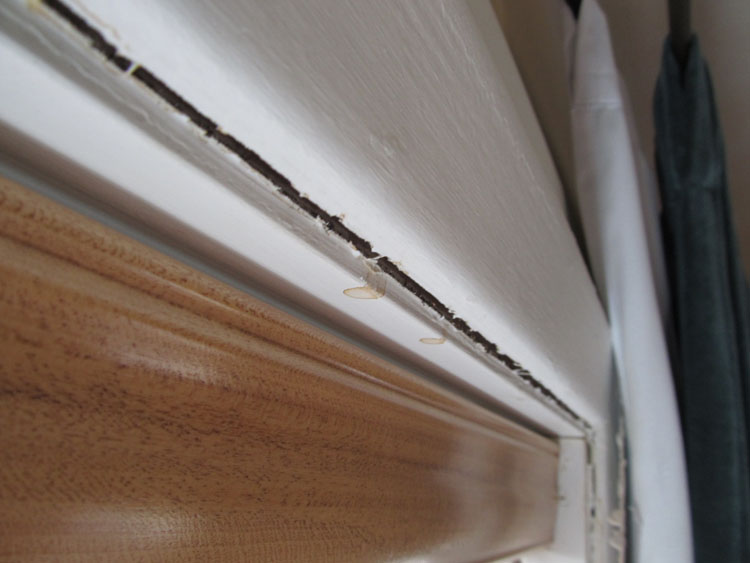
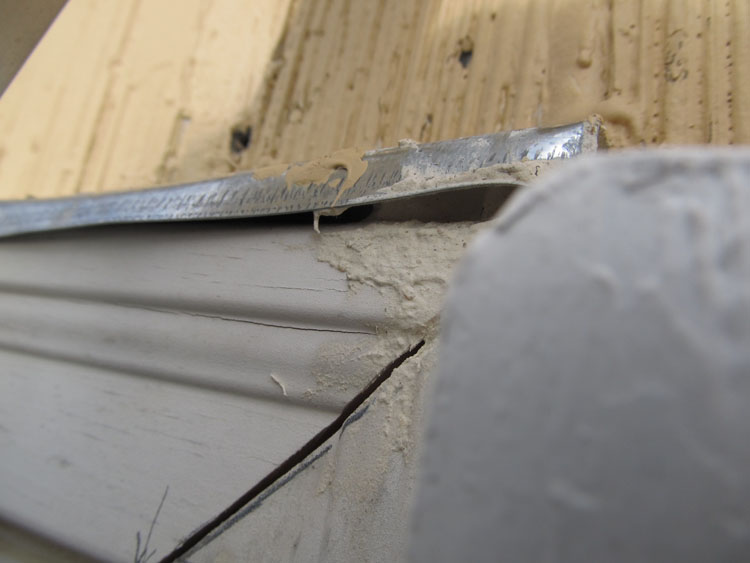
As the previous two photos depict, less than sterling flashing technique was employed in the installation of this window assembly. We could have replaced the insulated glass unit without…

…removing the vinyl window of course, but since we were removing it anyway to afford us the opportunity to wrap the rough-opening with some self-adhesive flashing membrane that would…

…subsequently be tied into the existing moisture-barrier, we thought it prudent to make use of the “saw-horses & gravity technique” of glass replacement, as Jared & Rubin are demonstrating above.

The finished product. Clearly, better than new.

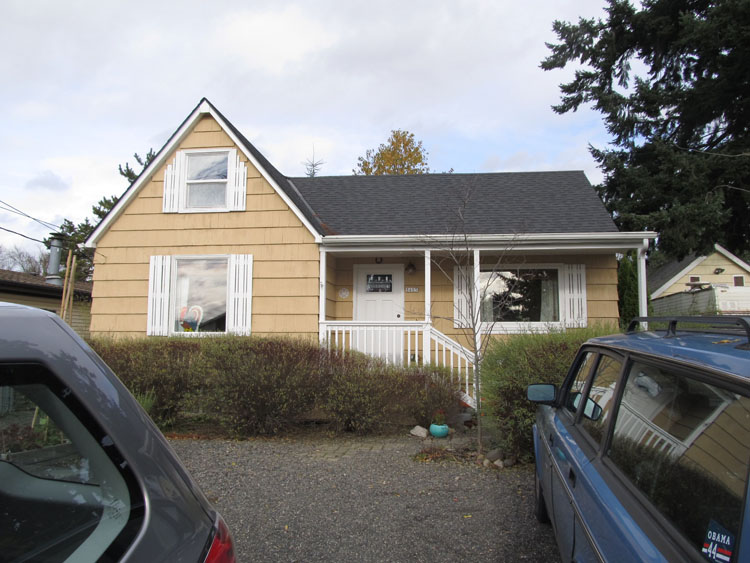
A handsome property in Sherwood.

Our client reports seeing water damage concerns in the exterior trim components around his daughter’s bedroom window.

Removing the screen and leaning out of the window reveals some of the concerns.

Lean down a little further, and a slightly more dynamic piece of evidence is discovered. Actually, this could be seen from the ground below. Once again, I apologize if you’ve been reviewing a number of these remediation projects and you find yourself…

…getting tired of hearing the same thing over and over again…but you’ll notice the self-adhesive flashing membrane is overlapping the bottom nailing fin. And the moisture barrier was overlapped that. That’s so elementally wrong.

So several questions might be asked, …what about the rest of the windows and doors and exterior envelope concerns…

…on these homes wherein we are contracted to fix the only problem that has thus far surfaced…

…Would not a reasonable person possibly surmise the same folks who messed up this opening, also bungled…

“the rest of the structure”… Indeed. But frankly, who could ever afford the cost to check the entire house…

On the backside of this home in N.W. Portland, is a daylight basement.

Several years ago, he had his windows replaced with new Vinyl Windows. But as you can see in the photos above (click to enlarge), he is getting water dripping in at the top of several of them.

Initially, it looked hopeful, given that there was flashing over the brick-moulding. But alas, it was not properly installed. Nor was the moisture-barrier at the bottom of the windows properly installed.

And so it was that our client determined that these back facing walls with the new windows needed a complete redo.

Which is what we did, because we do redos.

Some of the sheathing was water-damaged, as suspected,…

…so that was dealt with. The windows were removed so the rough-openings could be properly covered and sealed with self-adhesive flashing membrane.

Then re-installed and properly tied into the new moisture-barrier.

After which, we resided the wall.

The adjoining bump-out wall with the six vinyl picture windows received the exact same redo.

A northwest neighborhood near Oak Hills and the Cedar Mill areas.

Front facing Living Room Window is leaking at the top.

Substantial amounts of water. Which is not to say that even one drop would be an inconsequential amount.

You can be certain that whatever amount of moisture is showing up on the interior, that there is much more…

…moisture that is soaking up into the kiln-dried wall components before it reaches the top of the window.

This is one of the reasons that merely eliminating the source of the leak would rarely be adequate for correcting such a problem, unless you…

…somehow knew for absolutely certain that you caught the leak when it very first began. And also if you knew for certain that it didn’t take ounces or gallons of…

So if there’s a chance that the beginnings of rot has taken hold in any of the wall components…it will not stop its spread and destruction of your wall simply by plugging the hole.

Your wall components should be inspected to ensure that thousands of dollars in repair costs don’t translate into tens of thousands of dollars in repair costs when you go to sell your house someday.

Another of those many contemporary homes with the flat roofs & the vertical cedar siding.

Water stains are reported by our client as showing up at the top of one of his dining room windows.

If you are able to look closely, you may be able to see the brownish stains on the sheetrock there at the top.

One of the techniques we employ, depending upon a myriad of factors, is to start at the evidence and work backwards.

Initially, this may allow you to localize the point of entry, if indeed the point of entry is local. If so, this technique can save money by avoiding the…

…costs associated with having to tear off so much siding. However, this was not to be in this particular case.

As you can see by these photos, the leak began at the very top, having to do with the parapet flashing not being properly applied.

And the damage extended well beyond the plywood sheathing and on into the structural wall components.

In fact, it ended up running the full length of the wall, from top to bottom.

Journeyman Jared Anderson shown here continues the discovery portion of the project.

Up on the hill in North Newberg.

Care to guess which side of the house gets all the weather?

Please note the red self-adhesive flashing membrane laying on-top of the bottom nailing-fin.

This was somewhat systemic for most of the flashing practices we found on this house, as the damage above attests to.

And if there is any place in the Willamette Valley that a structure is going to be sorely tested by the elements, it’s the Southwest by West facing side of this hill above Newberg.

We don’t exactly know yet why that is. We don’t know what it is that is so unique as to seemingly exacerbate the weather when it moves up this hillside.

We only know that we’ve observed a pattern emerge among the projects we’ve done like this one on this hillside.

For example, if interested, you might scope out Project 24759, which is also in this category. Check out the exterior trim on the doors. We’ve only seen that exact phenomenon one other time, and it too was on this hillside.

Well, as you can see by the photos, we are well on our way on this portion of the house, replacing the water-damaged structural components & putting everything back together.

As is common with these projects, once we’ve been given opportunity to remove some of the siding…the extent of the problem that caused the damage, as well as the extent of the damage soon becomes apparent. Change-order work is not uncommon when we perform these type of repairs.

The Southwest Hills, just north of the Bridlemile neighborhood area. As it would happen, our initial on-site inspection fell upon a mid-January 2012 dusting of snow.

The primary subject of our client’s need for our services had to do with these two back facing openings. The 2nd story Master Bedroom & the Living Room below.

Pans on the window-sill to catch the water leaks showing up at the top of the opening.

No drips today (yet), but the telltale stains on the naturally finished woodwork correlate with our client’s assertions.

The Master Bedroom Double-Doors and Sidelight Assembly leading out to the Juliette Balcony.

Substantial water staining at the flush-bolt strike-plate in the door assembly header-jamb indicates that we’re not merely dealing with a door opening leaking down to the window below.

The door & sidelights are removed, showing a sill-pan below the door assembly, but no pan beneath the sidelights. And thus it was that we would return at a later date during more accommodating weather to apply our expertise.

The water coming down from above the door assembly led to the conclusion that the stucco needed to be removed and the moisture-barrier checked for proper flashing techniques.

As it would happen, the history of this home, and especially “this wall” was such that there were apparently several overlapping remodels and repairs by these and previous owners. Thus it was very difficult not only to know who had done what, but also what it was that had been done. Based upon conversations with and the desires of the home owners, a plan “A” was hatched to remove all the stucco from the peak of this wall,…

…down to the bottom of the door assembly in hopes that re-flashing the wall above the door assembly and adding sill-pans to the sidelights would stop the leaks. However, subsequent water leaks would necessitate a plan “B” involving a more thorough redo of the entire wall down to the ground almost a year later which led to the discovery of substantial flashing foibles and substantial water damage to the structural wall components.

This particular project doesn?t fall into the construction defect category in as much as the water damage wasn?t due to the usual improper application of flashing materials.

This bank of three Pella wood double-hung windows, and the two mulled double-hungs in the adjoining wall had rotten sills as shown in the next photo.

As you may be able to discern, this is not just the beginnings of some minor water-damage. This is a hole. And you probably needn?t be told what the ramifications of the hole were going to be.

So we carefully removed the jamb assemblies from the rough-openings.

We employed the use of a lift, which we were going to need to access those afore mentioned ramifications related to the hole in the sill,?

?and used it to retrieve the jambs, and carefully lowered them to the area below?

?that we had set up for repairing the various window assembly components?

?a sample of which is shown here. And yes?we repaired them, as in milled new sills and jambs & exterior trim components as needed. This is what we do. And while some will ask if it isn?t less expensive to replace them with new windows?and while the answer sometimes is yes, it?s instructive to remember that this particular line of Pella windows are no longer made, so replacement is not always a viable option.

And then back up to those ramifications related to the hole in the window sill. Now technically now days?a sill-pan would be considered by some to be part of a flashing system.
And indeed, a sill-pan would have kept this subsequent damage in the wall below from occurring. And I can assure you that there is a growing chorus of construction related folks who would scoff at the notion of installing windows without sill-pans.

But even now, as of this writing, 8 years since we completed this project?sill-pans are still not used in the majority of window installations. Although high end construction would probably be an exception to that ascertain, I do suspect that it?s just a matter of time before general building-codes will require it in regions with weather patterns such as ours in the Willamette Valley.

South side of our client’s home, on the left there, and as you can see, there is no “eve” to help protect this wall that bears the brunt of the sun and the prevailing moisture laden weather patterns.

These are the two openings where the water was showing up. A decent overhang may have helped prevent this water-leak, providing a modicum of shade, minimizing the sun’s relentless baking…

…and the Willamette Valley’s rain-patterns from soaking our client’s cedar siding. Both of which can contribute to the leakage this home owner experienced by causing the siding to excessively expand and contract, opening up the joints between the adjoining courses of siding.

If you enlarge the photo by clicking on it, you may be able to make out the water-stains on the sill, the swollen MDF surround material, and the water that was dripping down upon the top of the vinyl sash the day we inspected this project.

On the day we returned to locate and correct the water leak, one of our technicians took this photo of a handyman’s classic attempts to stem the flood.

It’s unusual to find flashing products laid directly over a vinyl window, since vinyl windows have their own inherent flashing system, but it clearly didn’t help.

And upon removing a course of siding, we discovered why it did no good.

How the moisture-barrier came to be in this condition is somewhat of a mystery. We see it cut too short fairly frequently, but the “frayed” edges left us scratching our heads.

What wasn’t a mystery any longer, was how the water was getting in. Above, you can see the water-stains on the rough-opening materials (studs) after we removed the water-damaged MDF surround materials.

The good news in this particular case was that the leak wasn’t pervasive, it only leaked when the wind blew a certain direction, so there wasn’t any structural wall damage. We corrected the moisture-barrier to window relationship, and the costs for this project were relatively minimal.

The Madison South Neighborhood in Northeast Portland.

The offending exterior wall that our client inherited from a previous home owner.

An opening that has clearly had a long history of moisture penetration problems…

…as evidenced by the advanced state of swollen wood components pulling…

…apart, and poorly repaired drywall below. Not to mention the ceiling (not shown).

The report of a handyman’s efforts to stem the flood was relayed to us by our client, the evidence of which can no doubt be seen here at the top of the lower window. Note the brand new metal-flashing that was installed. Who needs to hire an expert when these handymen are out there working for $35.00 – $55.00 an hour? If you’re not in the trades, you might not be able to appreciate what I’m showing here, sorry.

The sins were many on this wall, but the primary maleficence in the equation was that a retrofitted vinyl window that had been installed into the upper original wood window jamb was never sufficiently sealed to its surrounding original components, and so water was being routed into the wall via holes in the original…

…rotten wood window sill, as the water-stains coming down over the shiplap sheathing evidences in the above photo.
So we replaced the water damaged sheathing and some structural studs that were substantially damaged inside the wall, etc., etc., installed your requisite moisture barrier, properly flashed the windows and re-sided the exterior wall.

If you’ve been going through very many of these remediation projects in our portfolio here, you have probably noted that we possess the means to deal with all manner of exterior siding.

This is due in large part to the good fortune we have had in employing some of the finest talent available in the construction trades. Much more than merely “handy.”