Door & Window Installation & Repair
<< Back to Portfolio
|
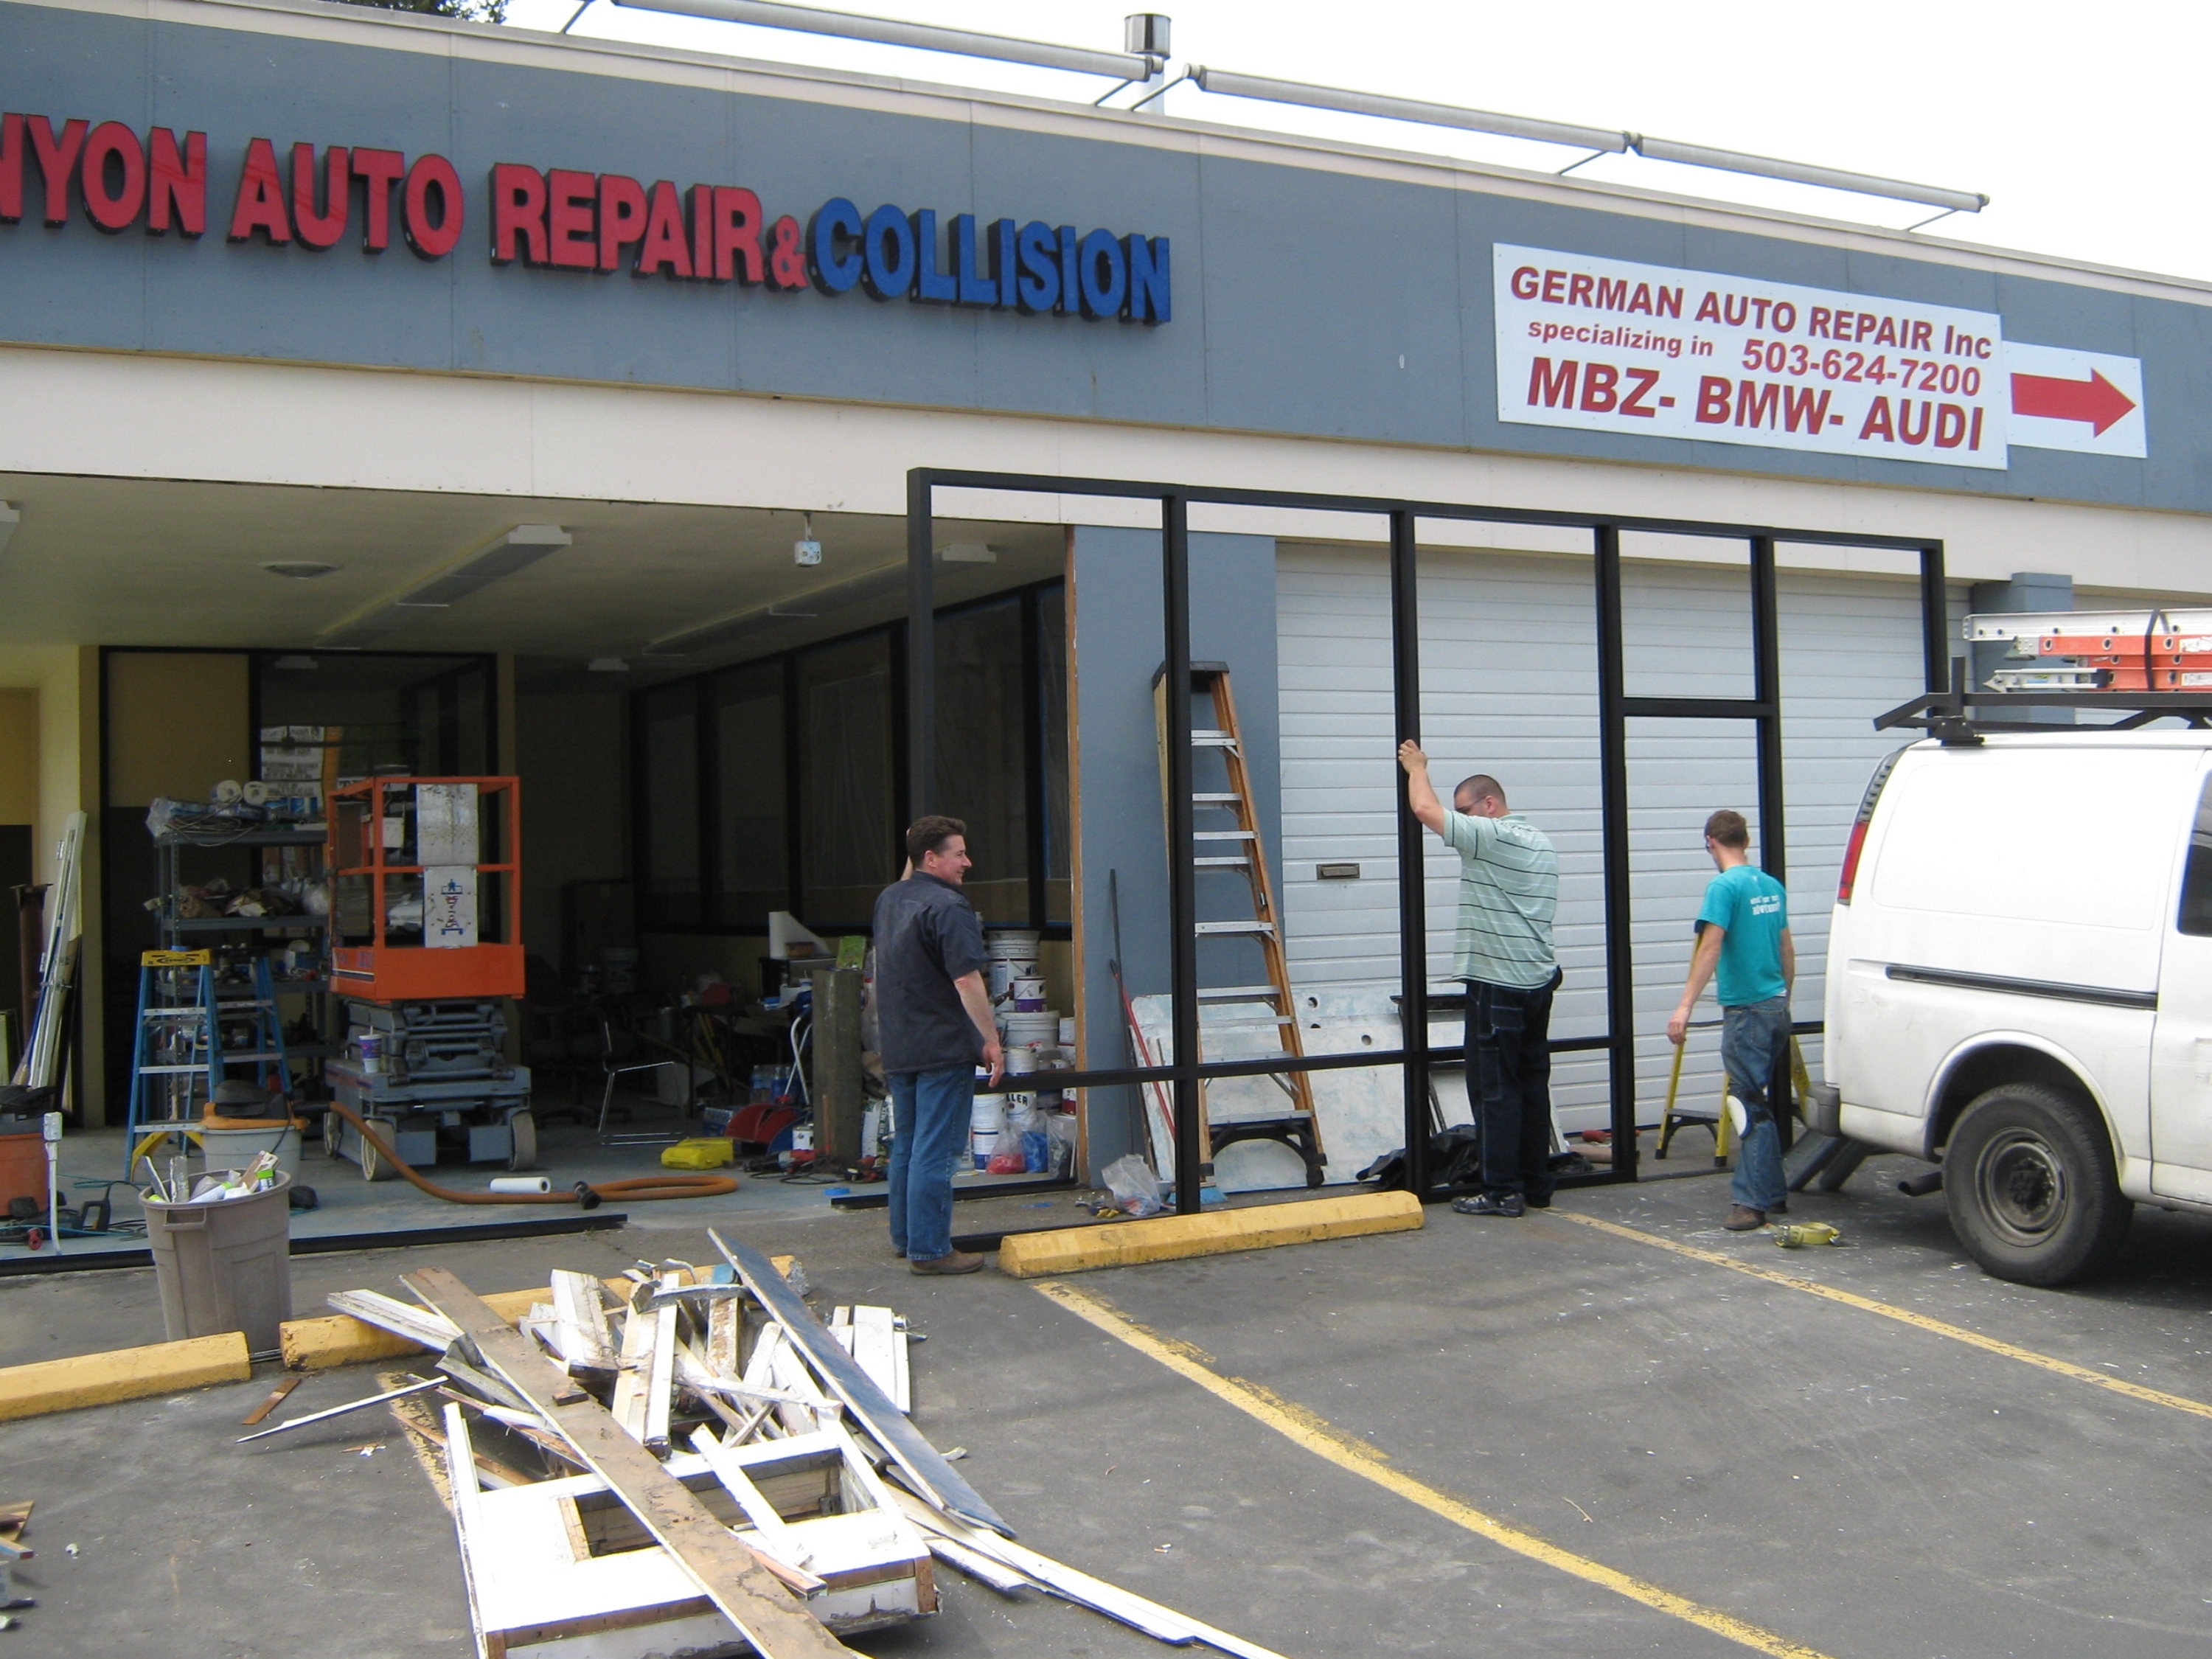
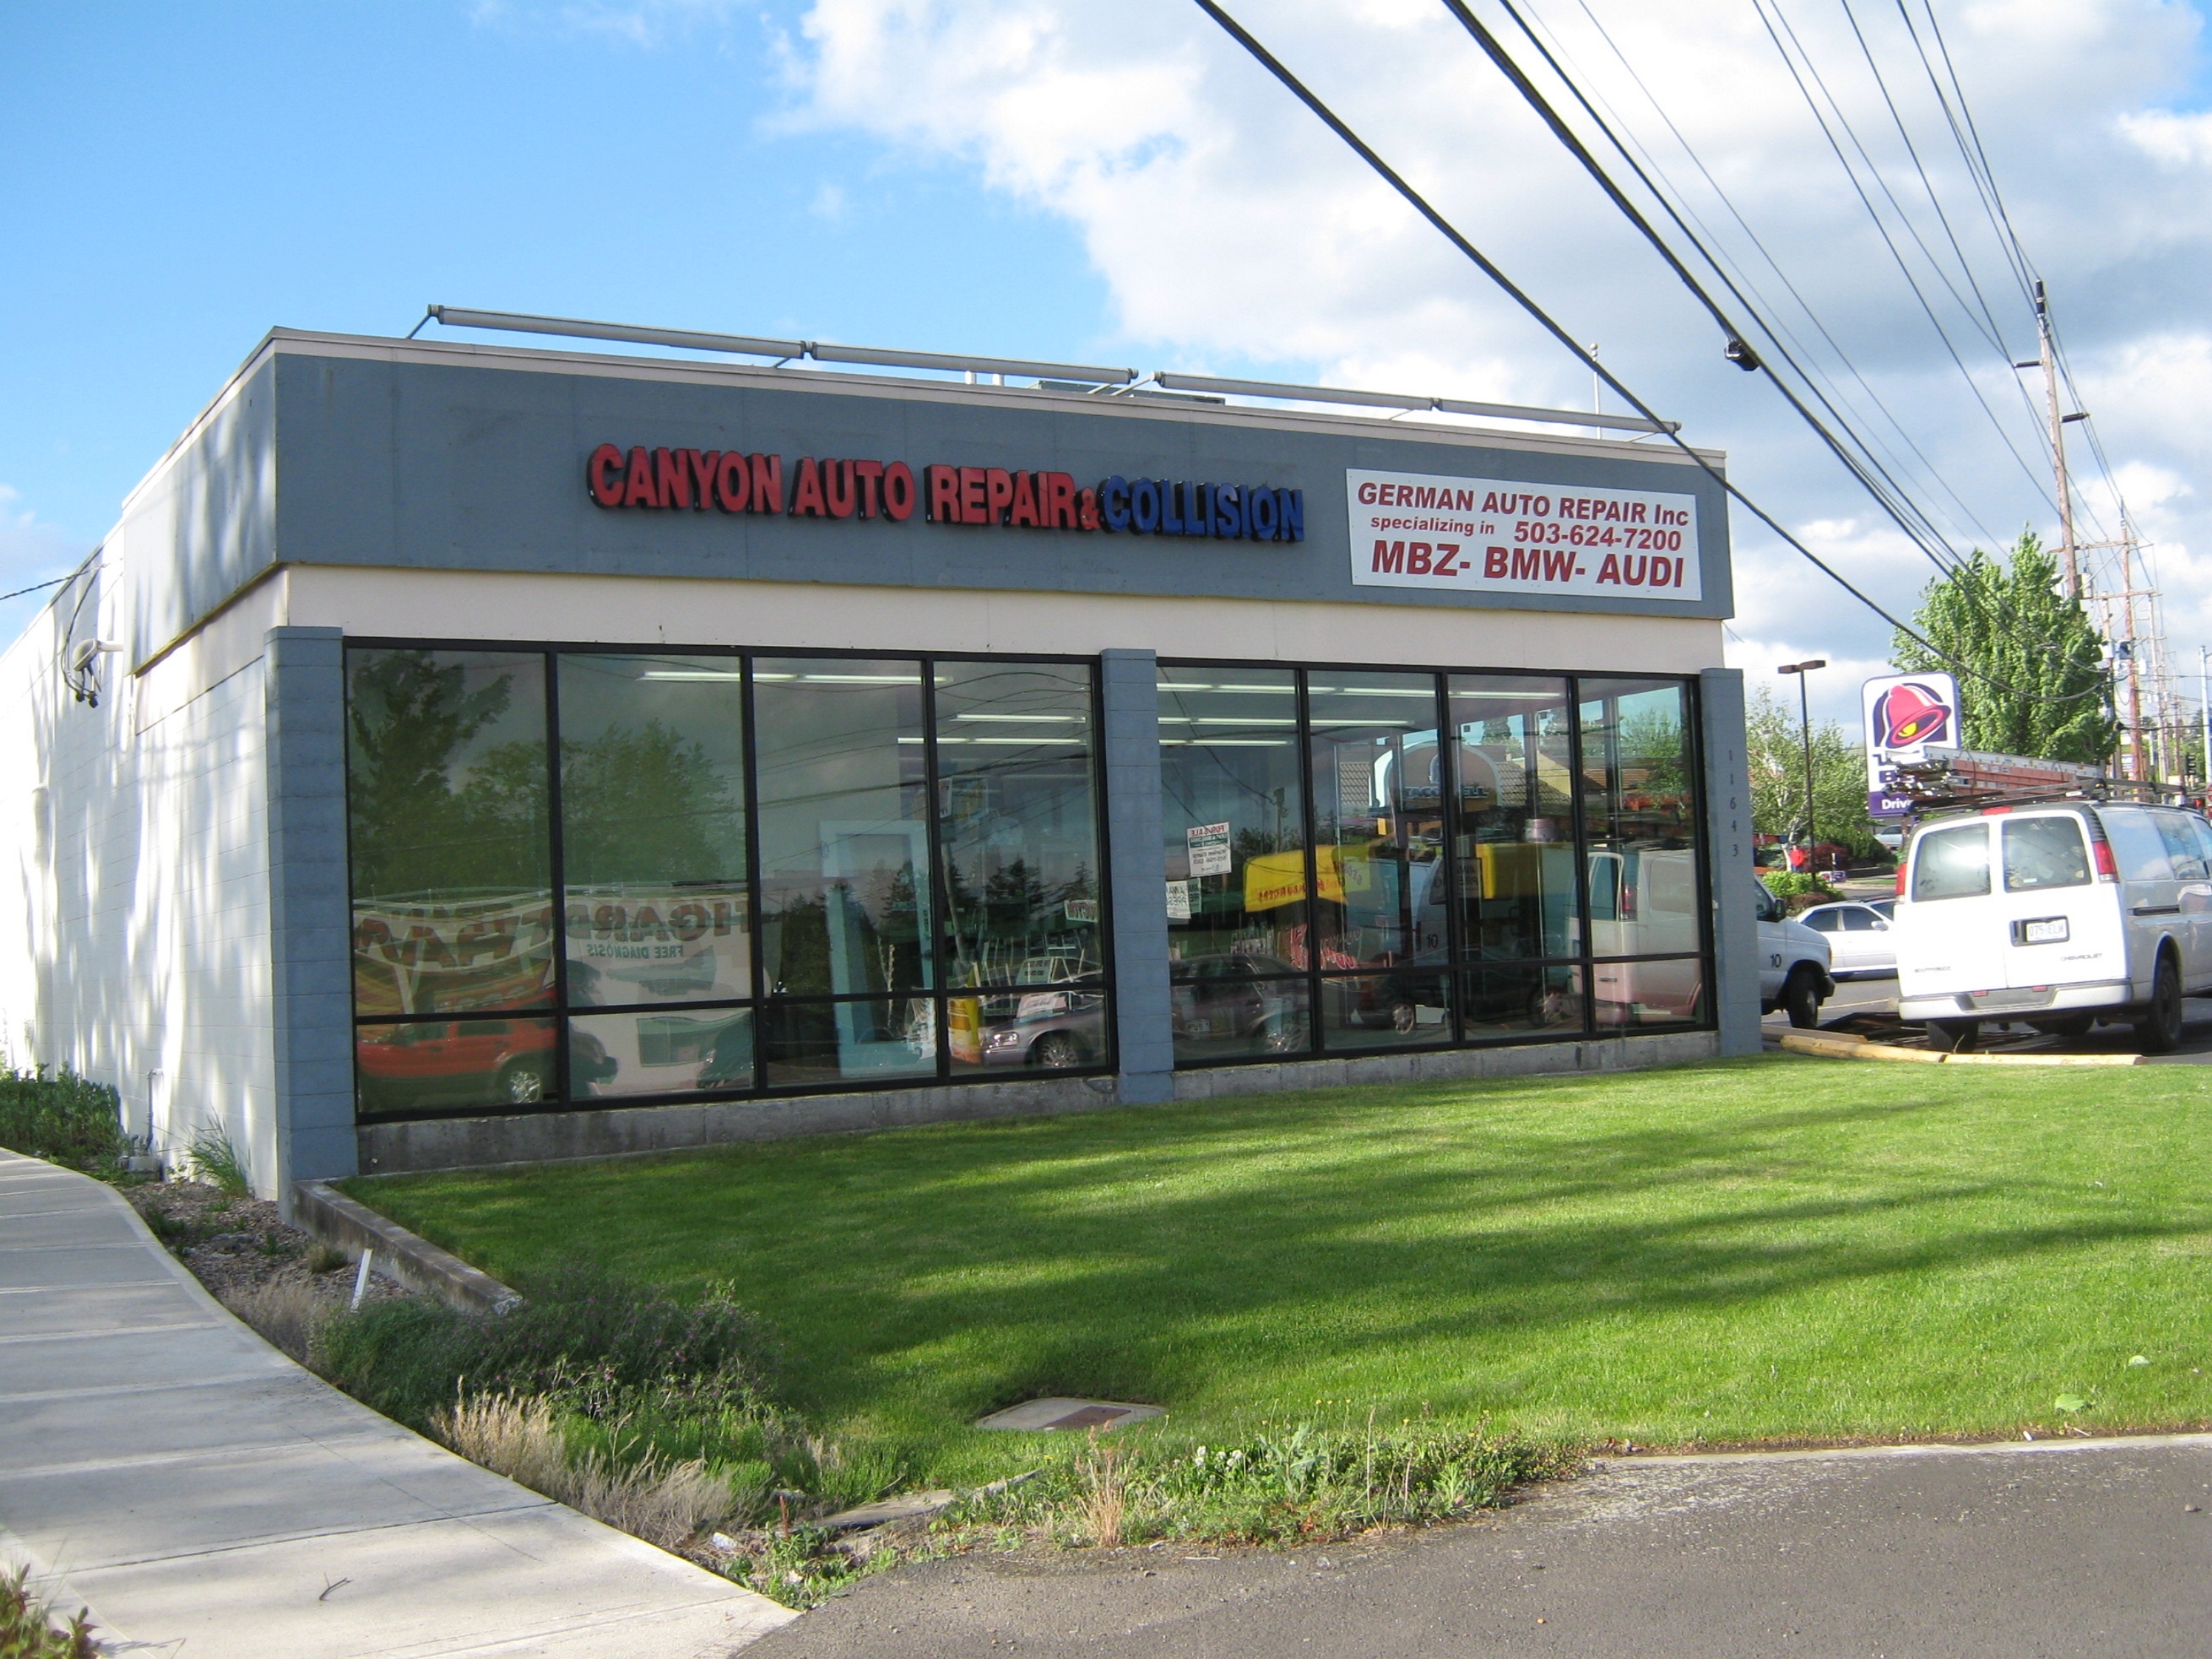
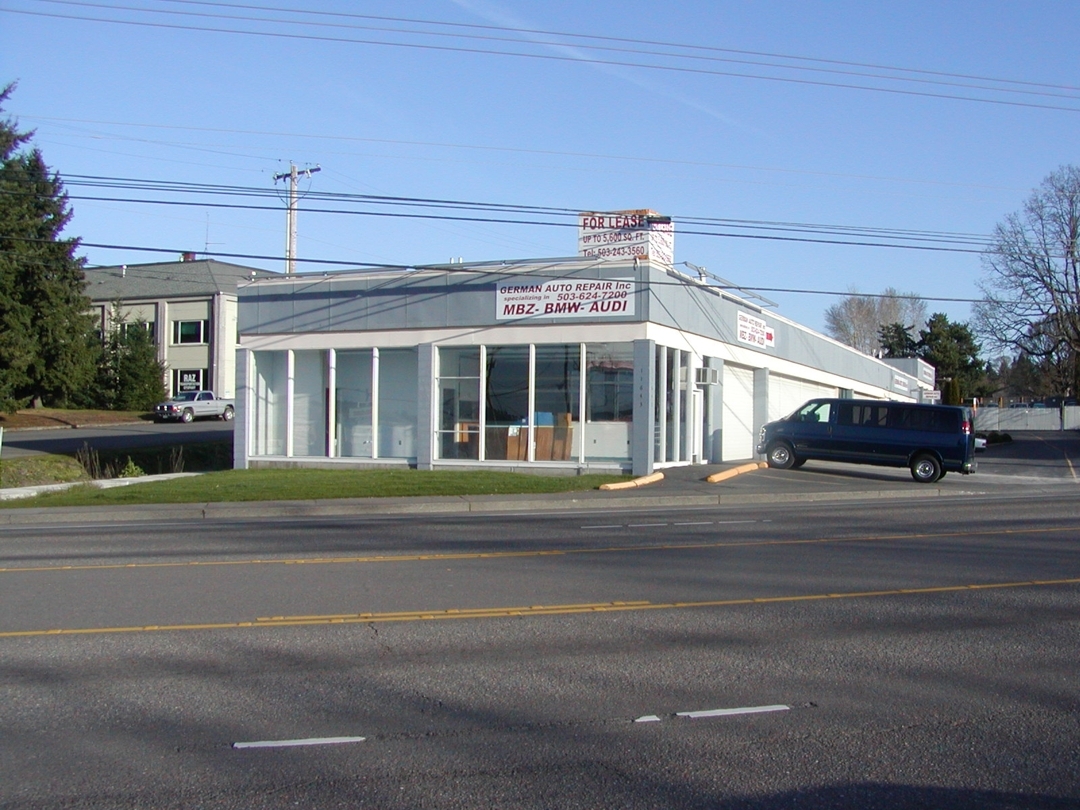
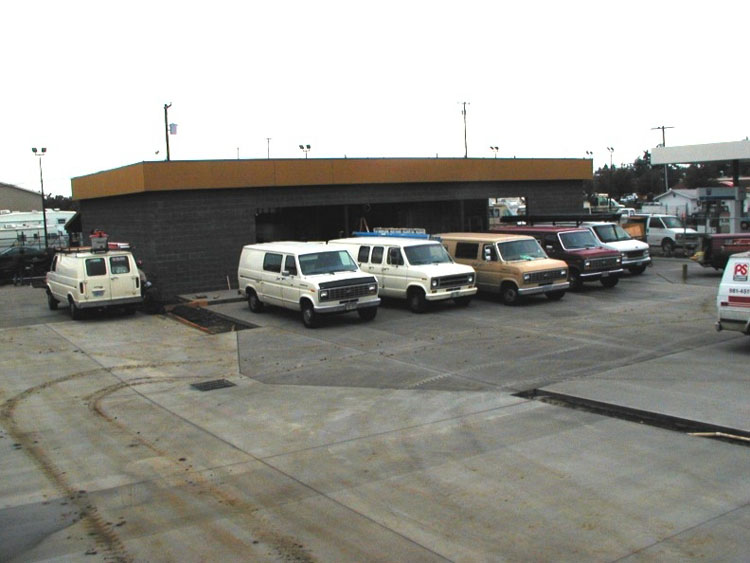
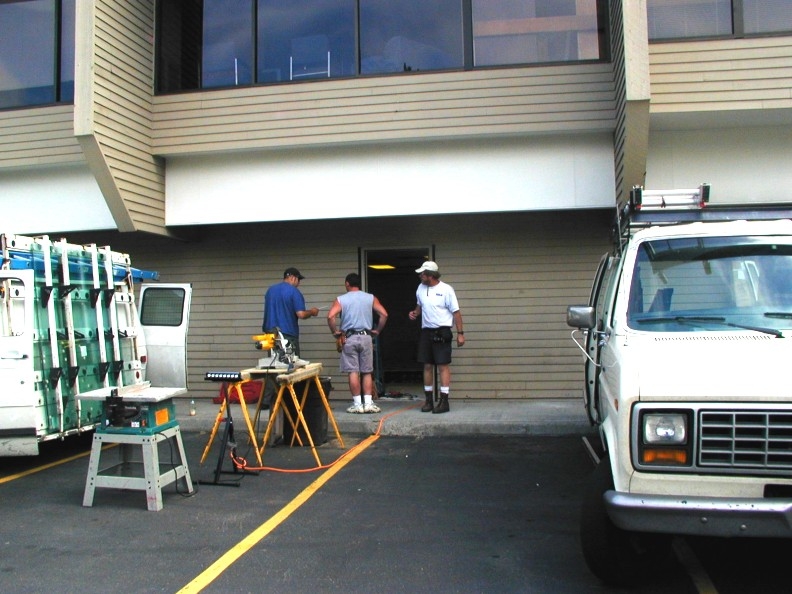
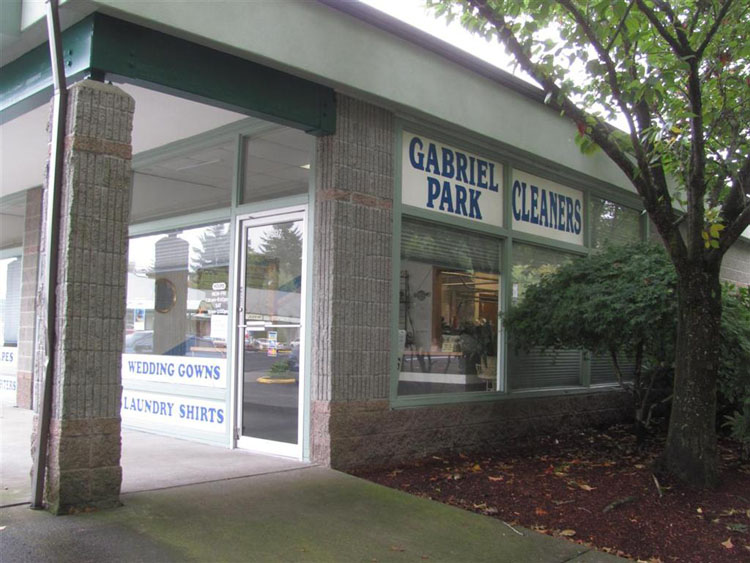
A building almost as old as Tigard itself on Hwy. 99. Soon to become the second installment of a successful auto repair facility.
|

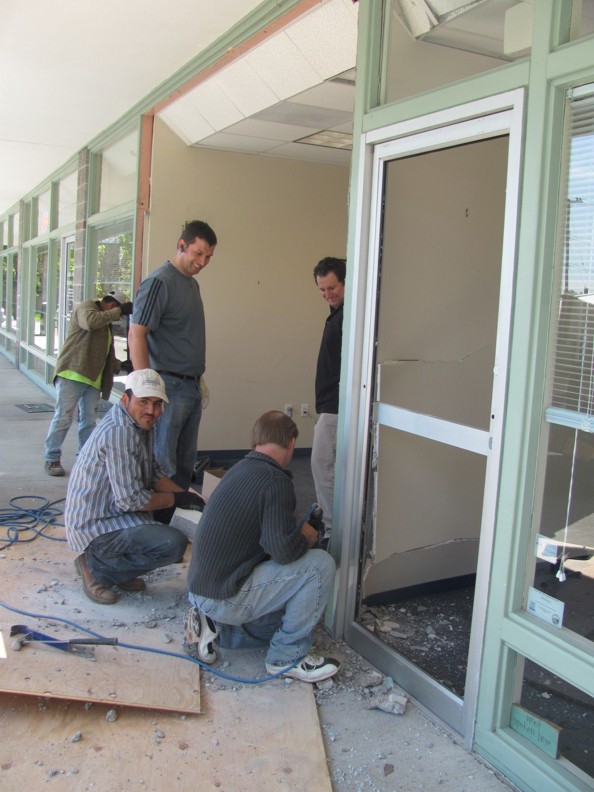
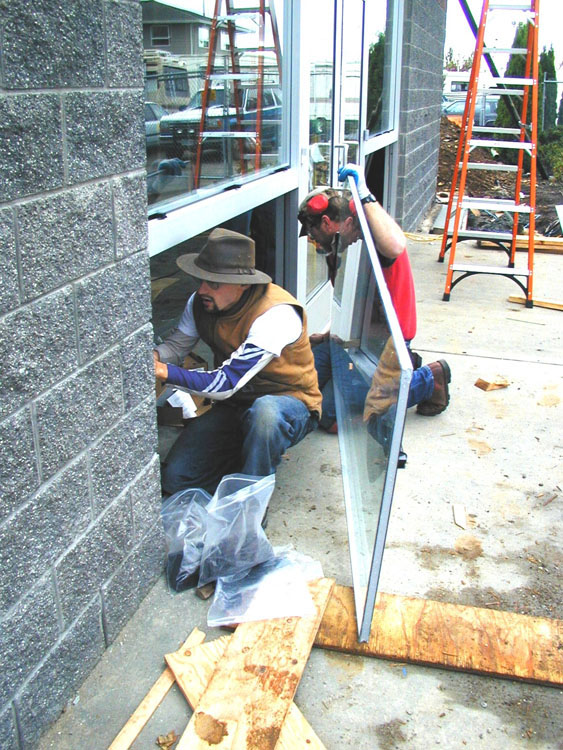
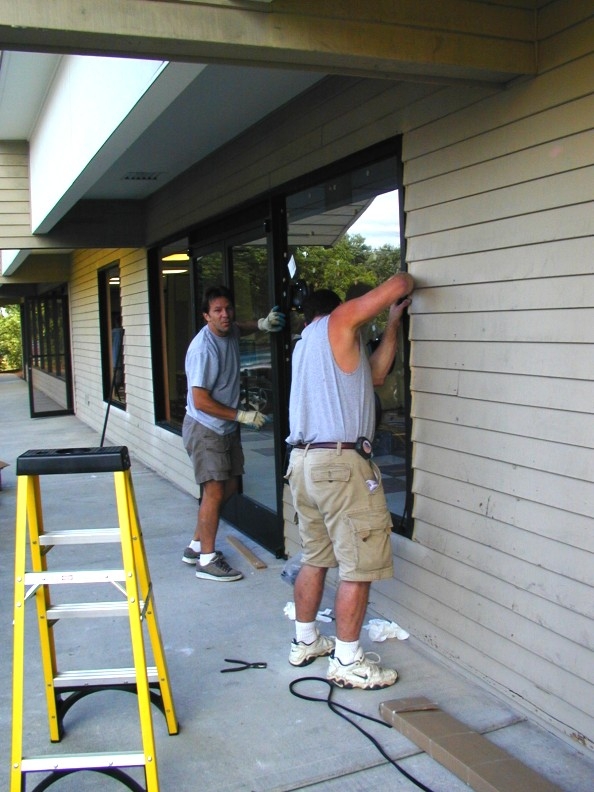
We descend upon the job-site to take out the original wood-framed single-pane windows and door assembly.
|

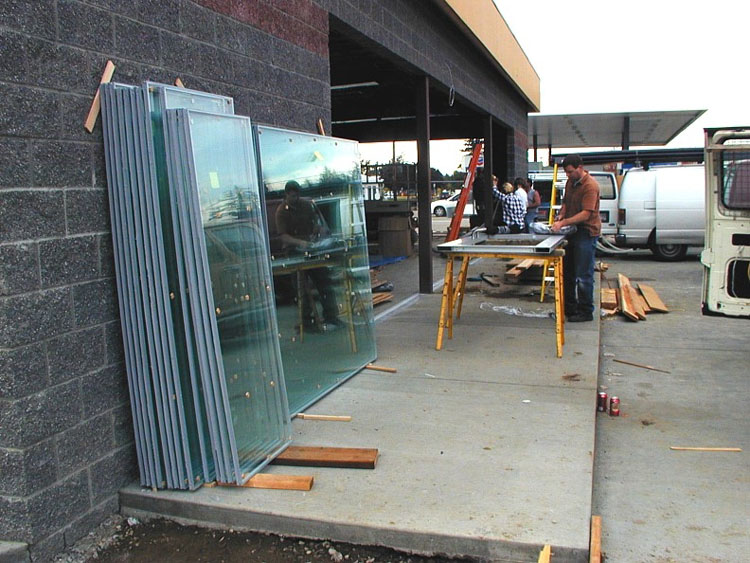
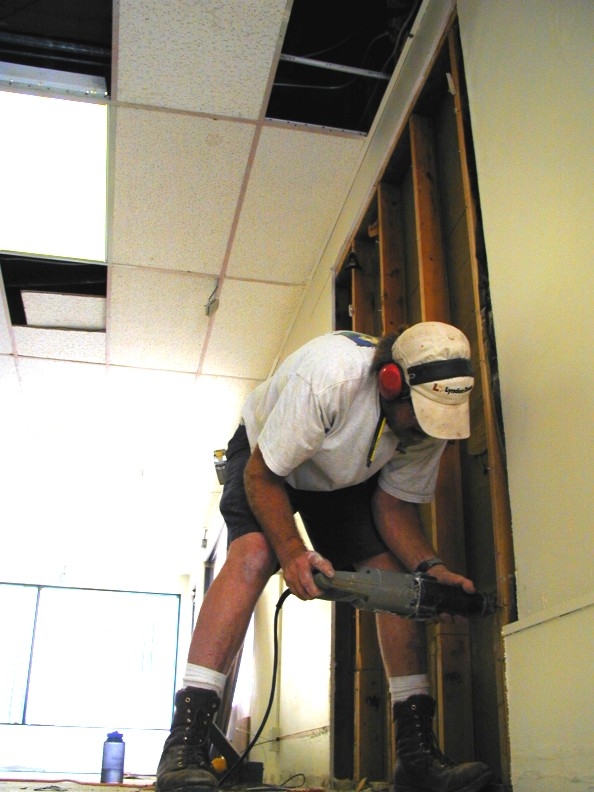
The old quarter-inch annealed plate glass panels must be removed with considerable care to avoid serious injury.
|
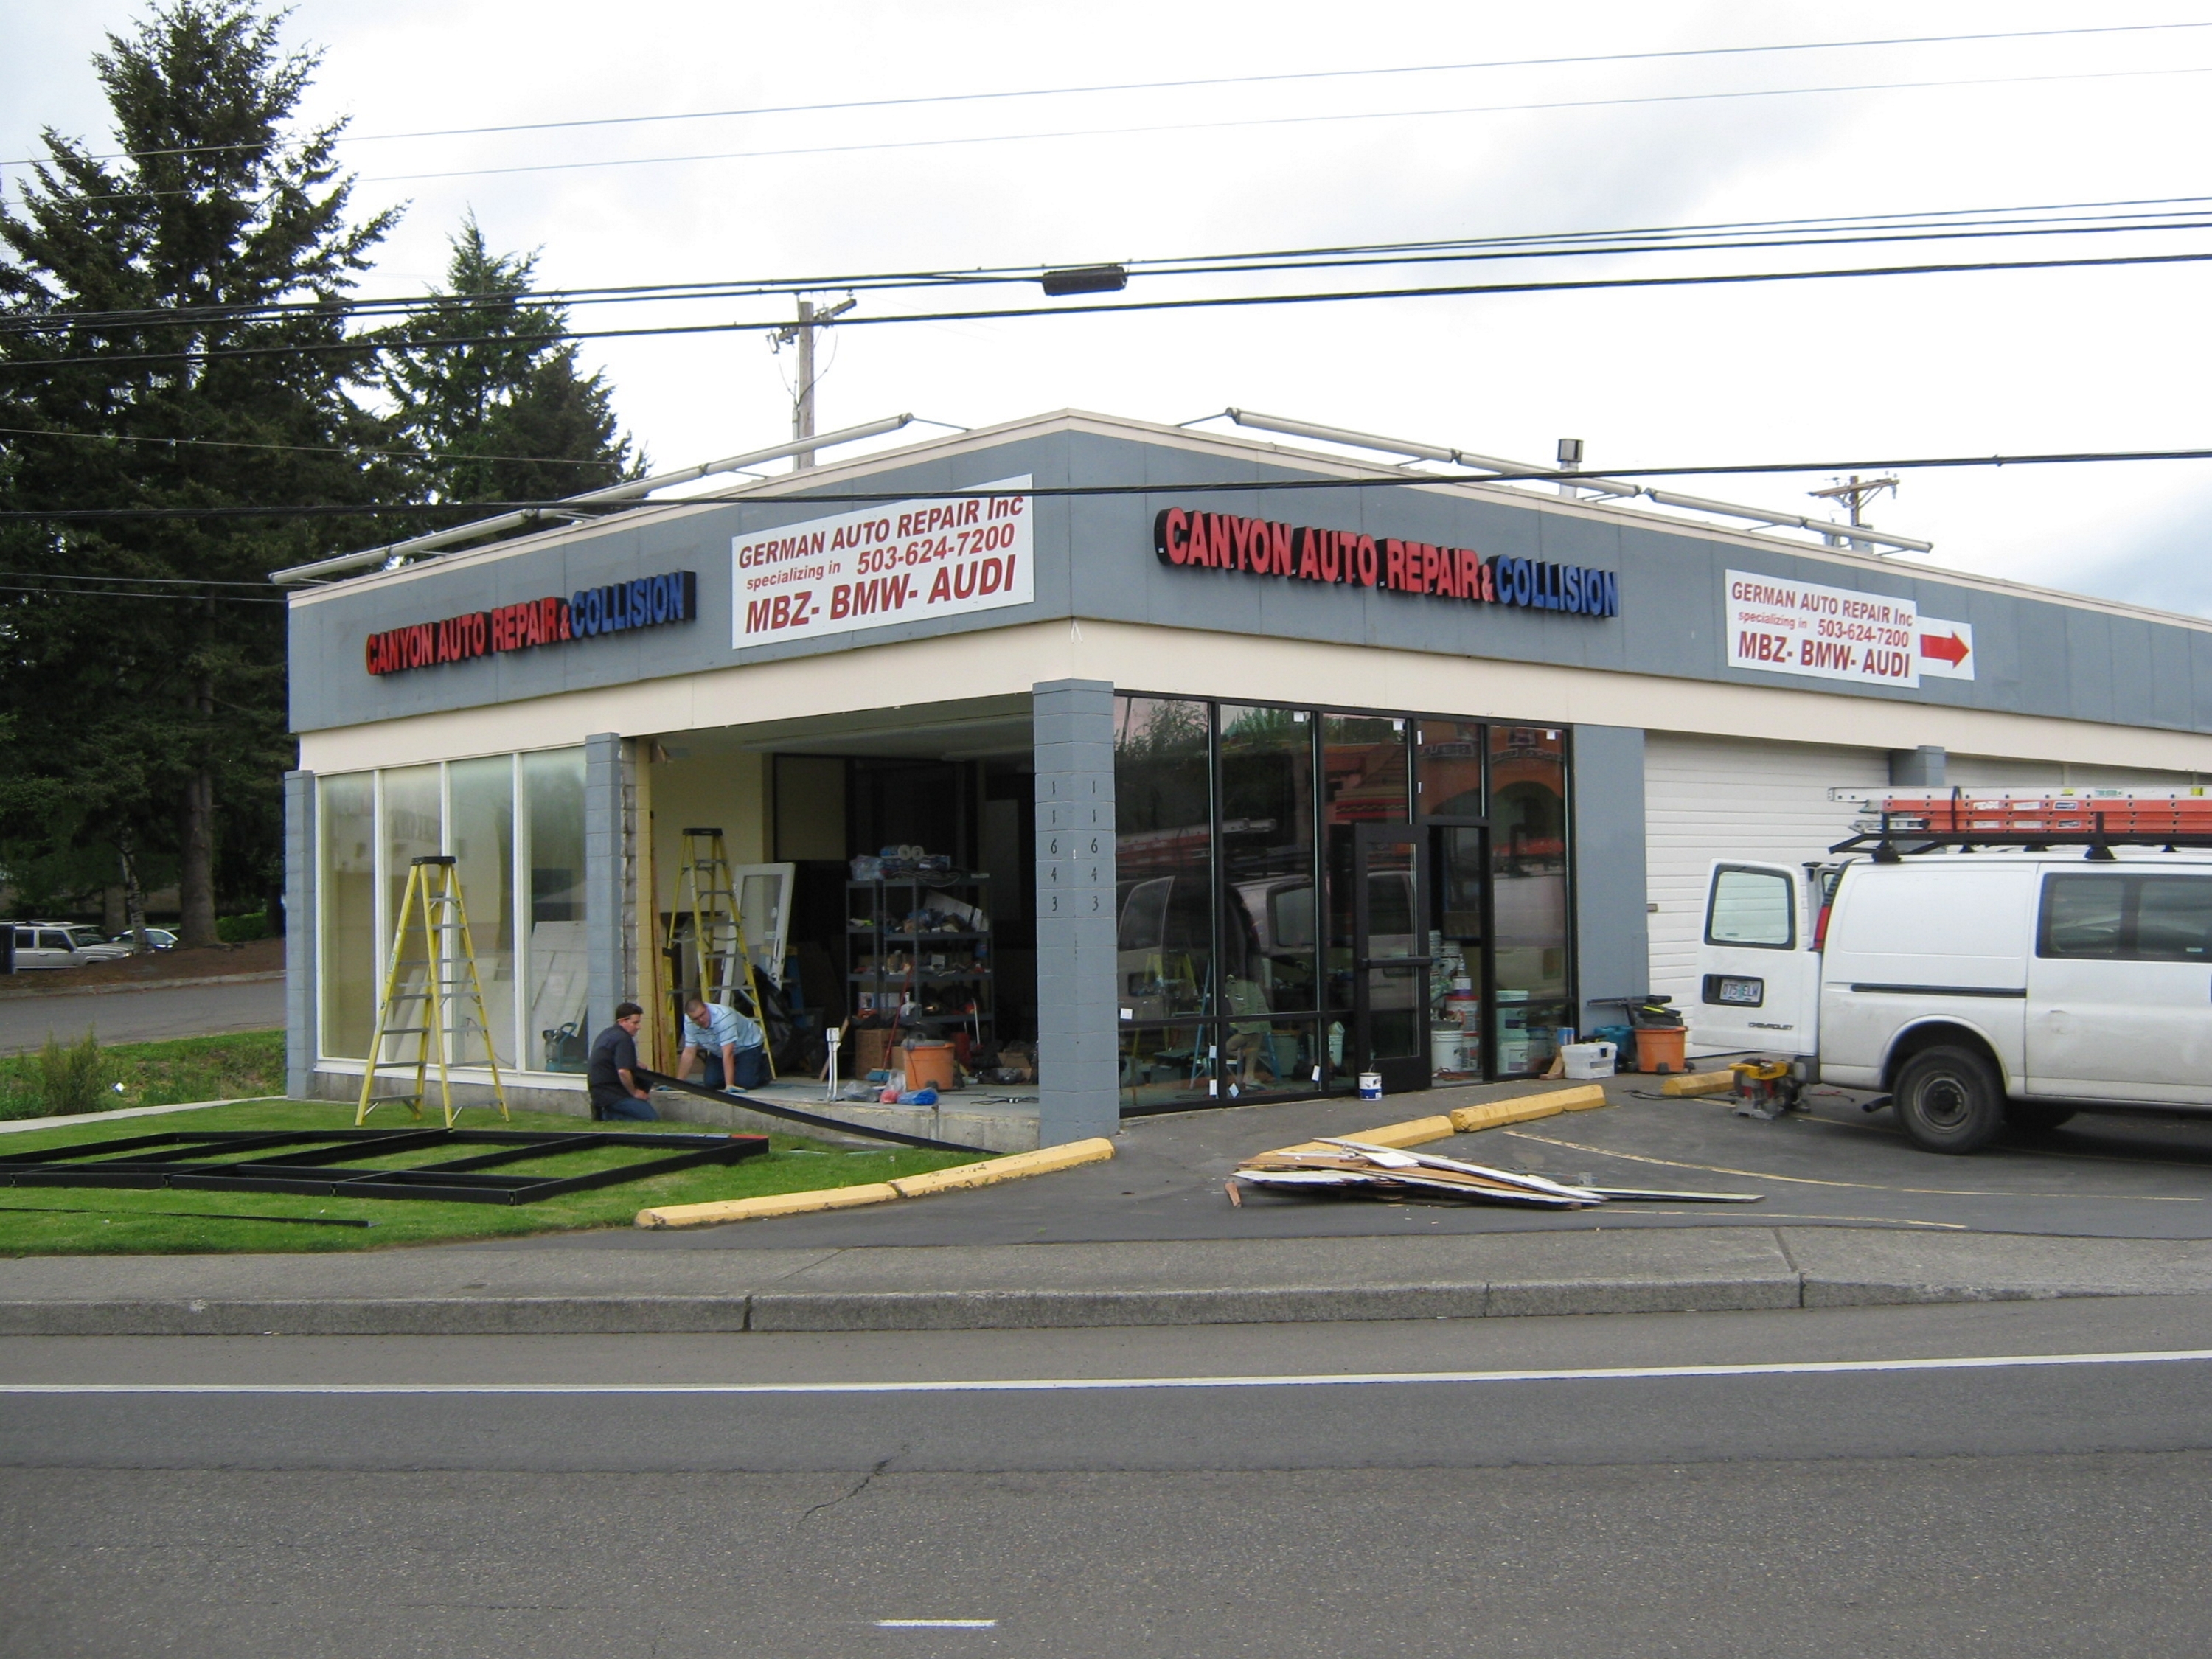
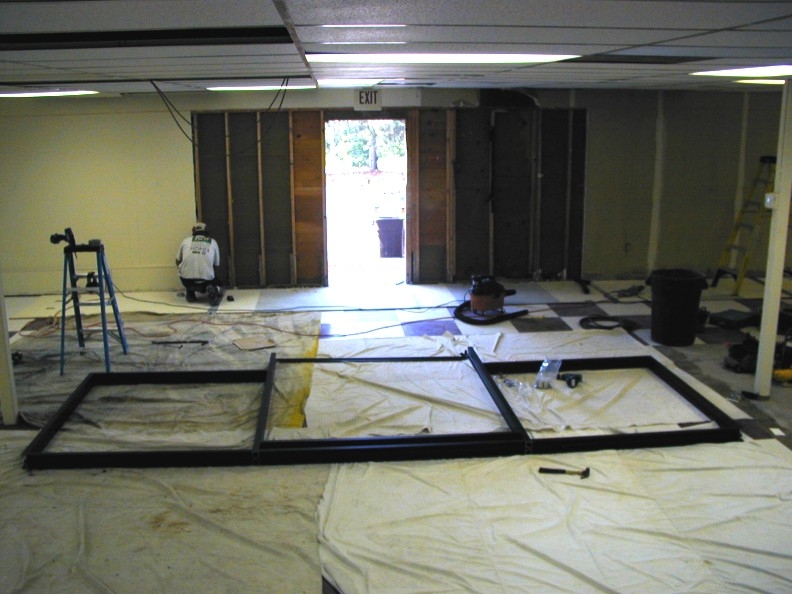
The rough-openings are then prepared for the new storefronts.
|
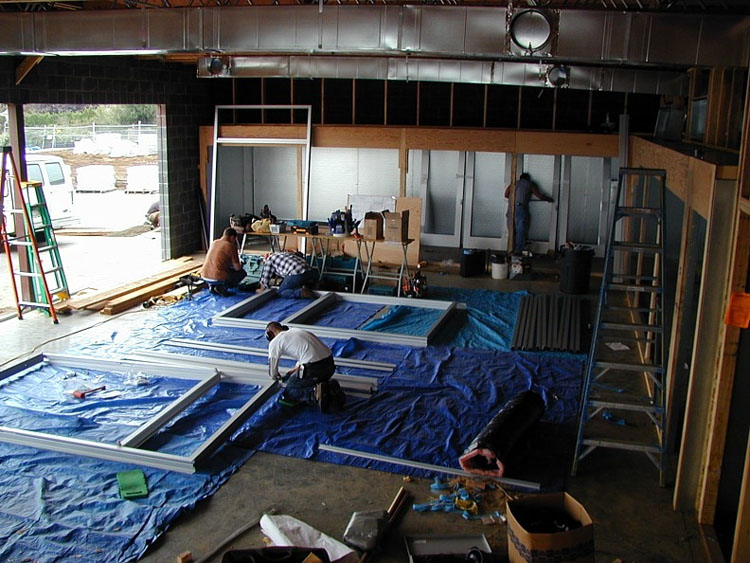
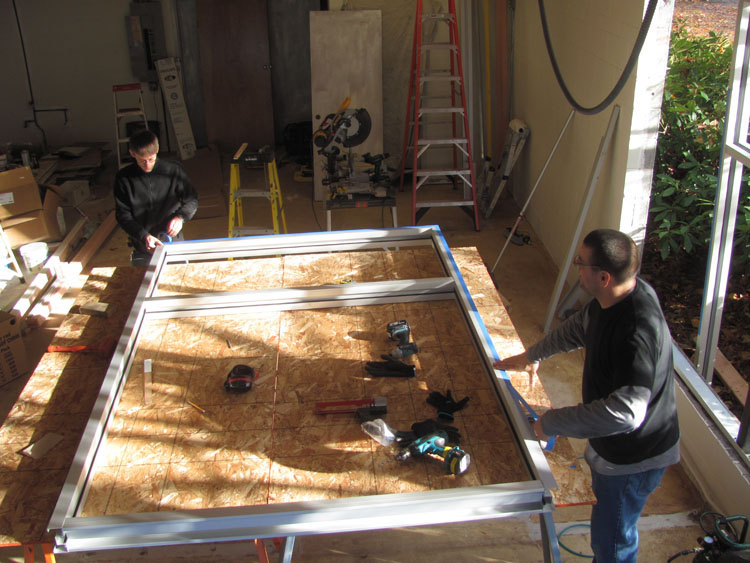
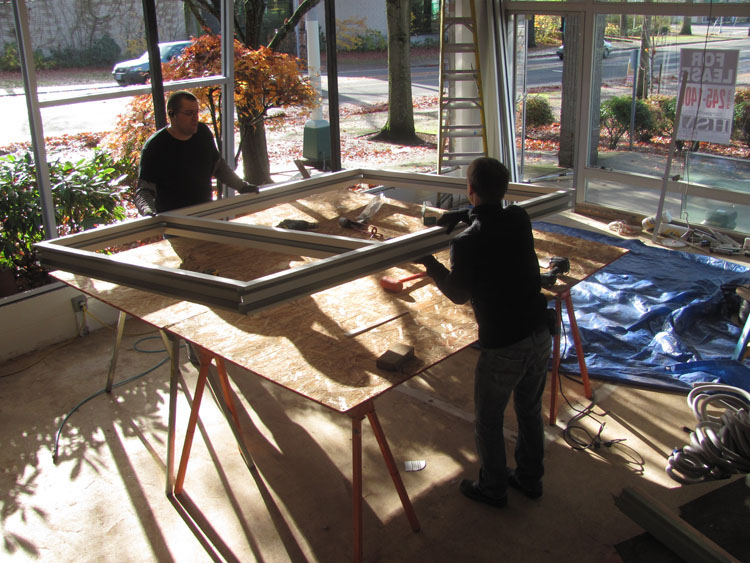
We preassembled the jamb assemblies at our warehouse in Tigard before we brought them to the job-site.
|
The new anodized-aluminum window-frame assembly is readied for installation.
|
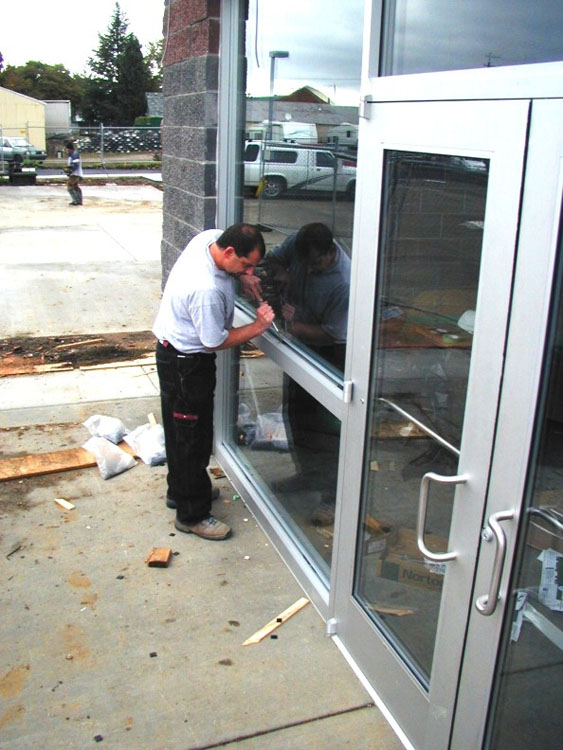
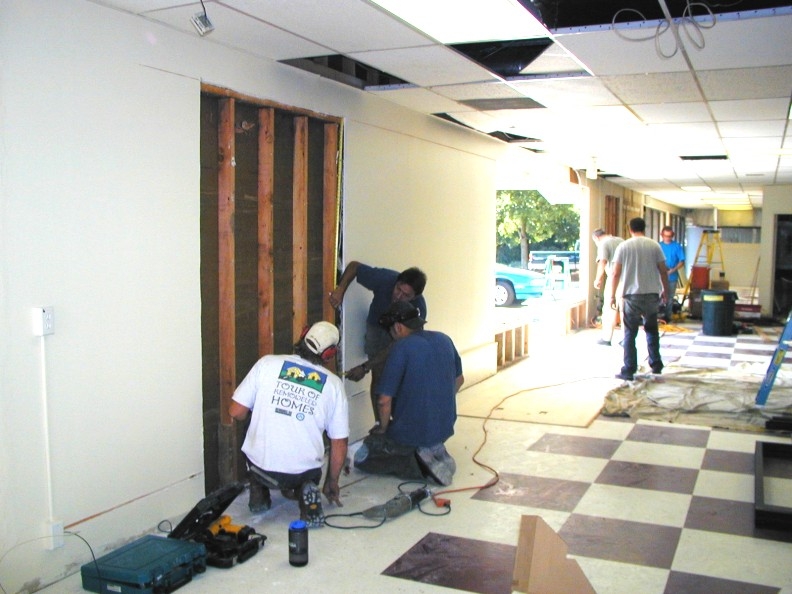
And the second bank of wood-framed windows are removed and that rough-opening is prepared.
|
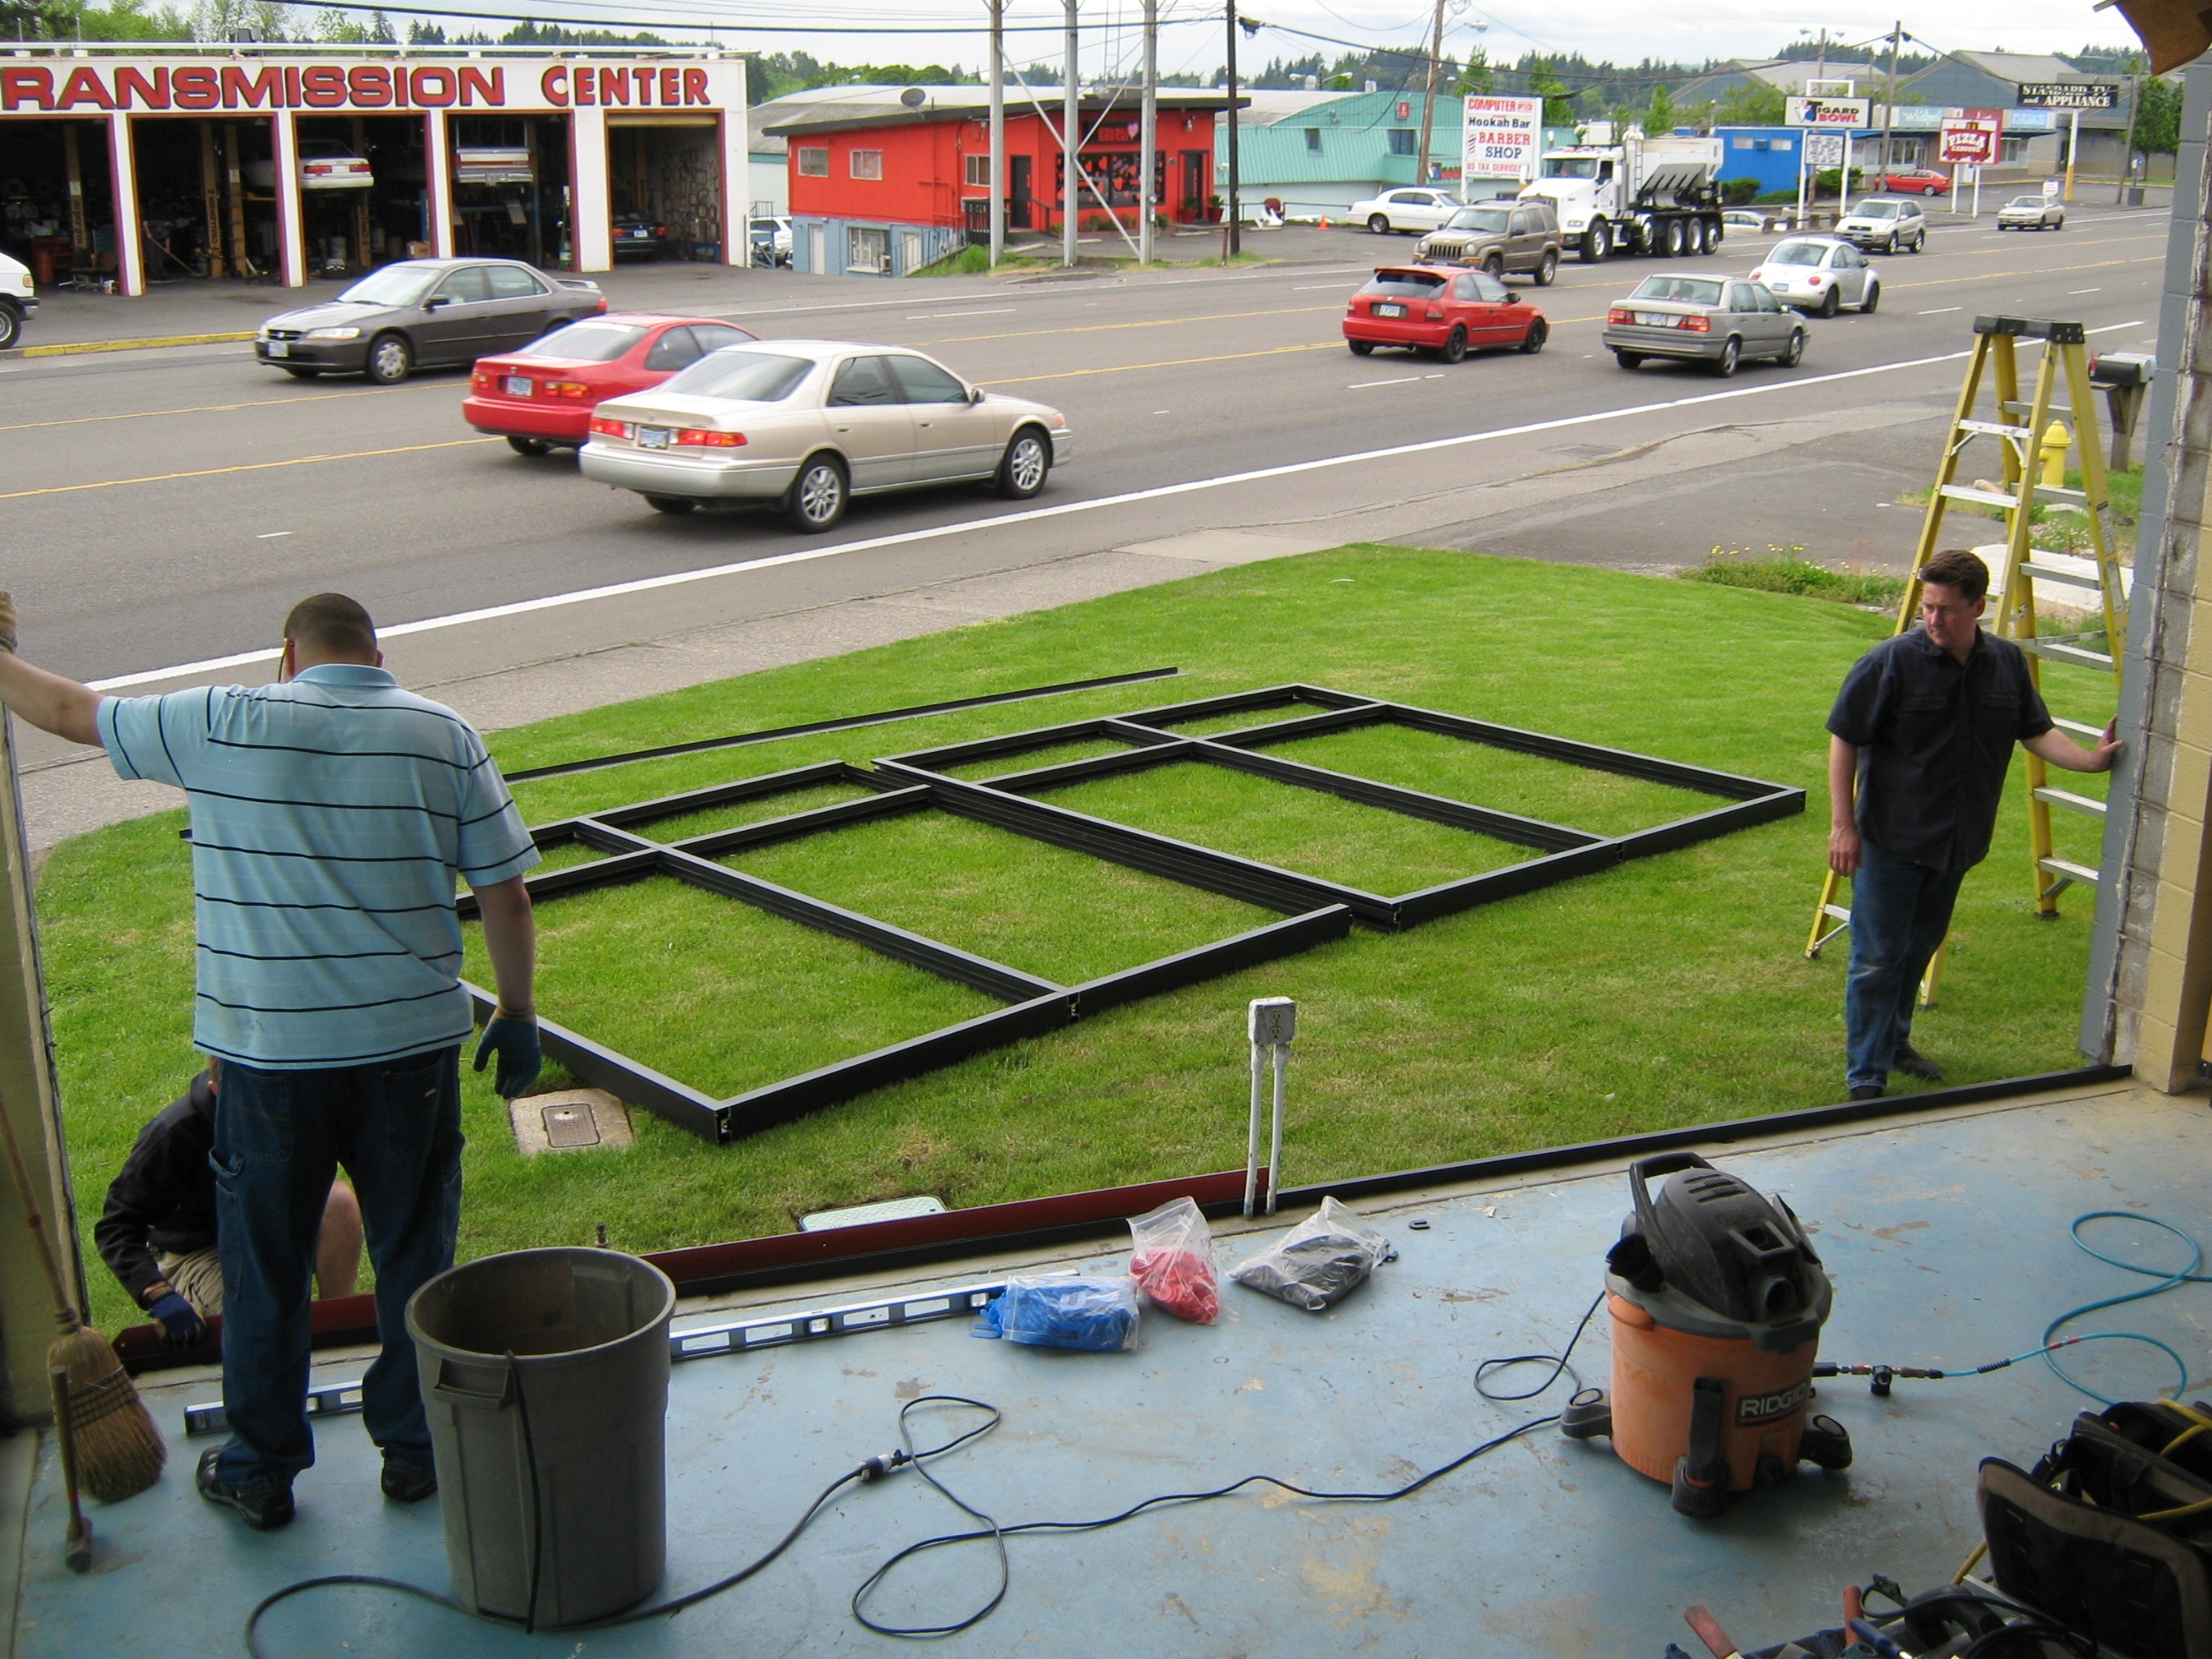
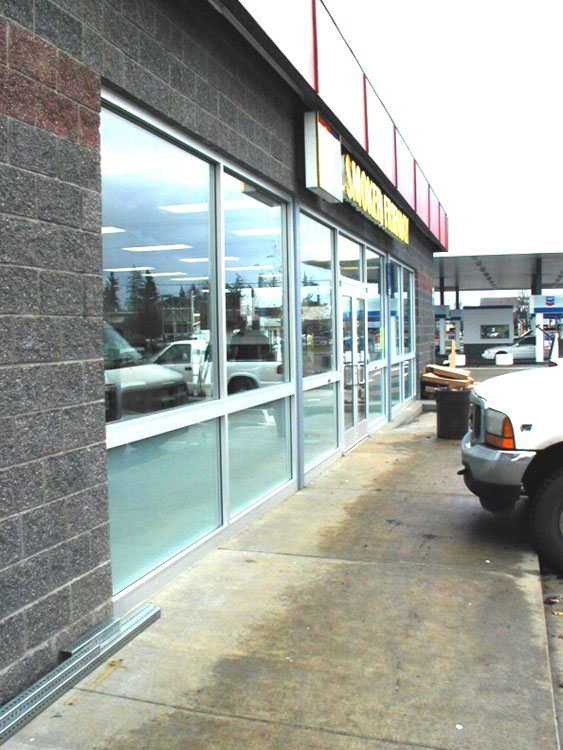
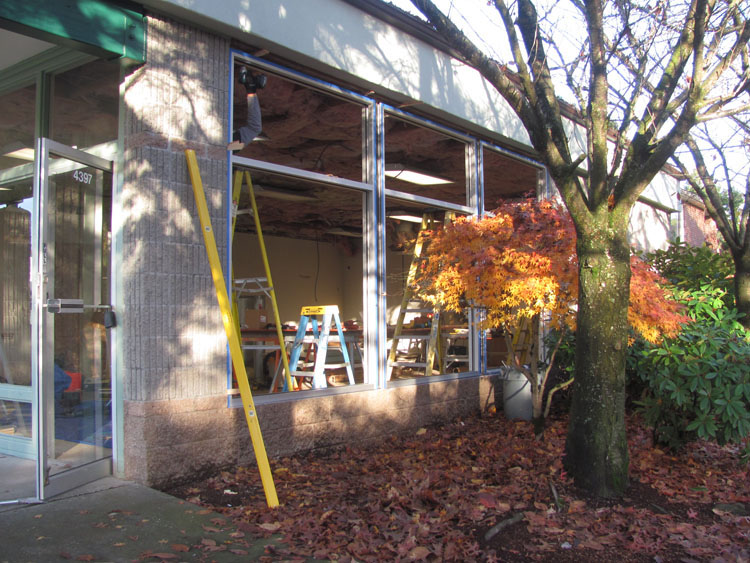
And so on, until all three banks are installed and the glass is glazed into the frames.
|
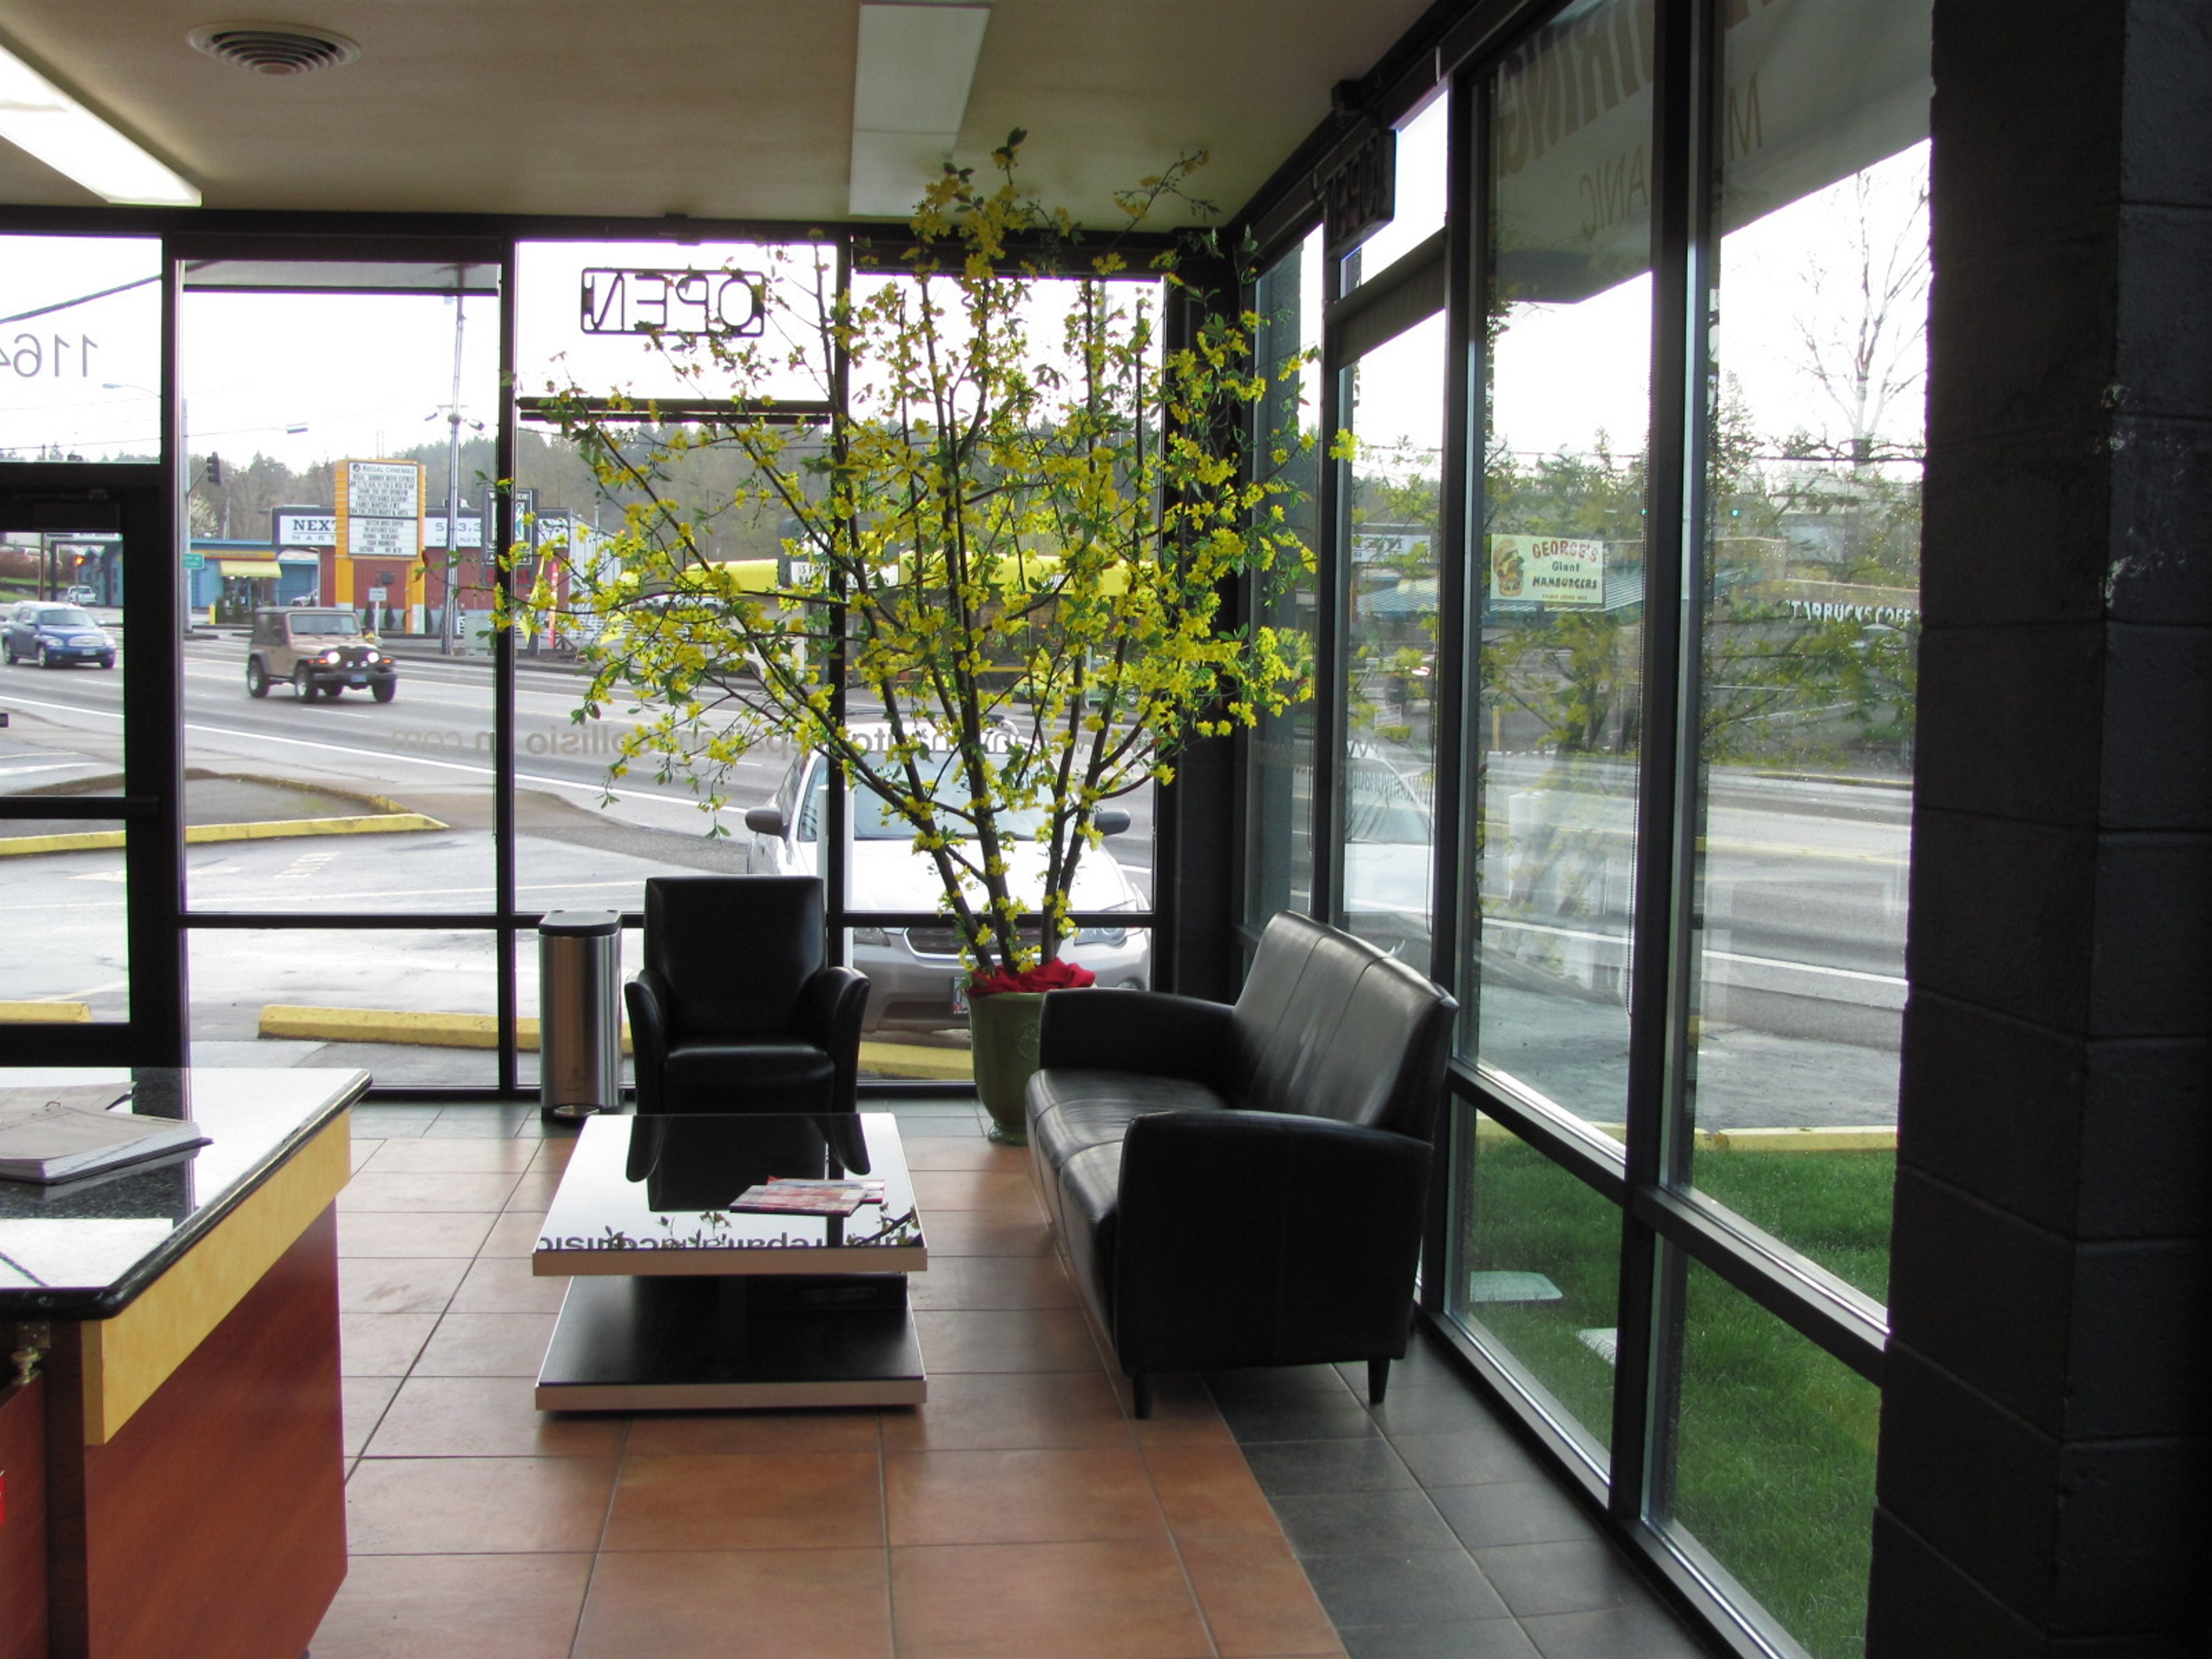
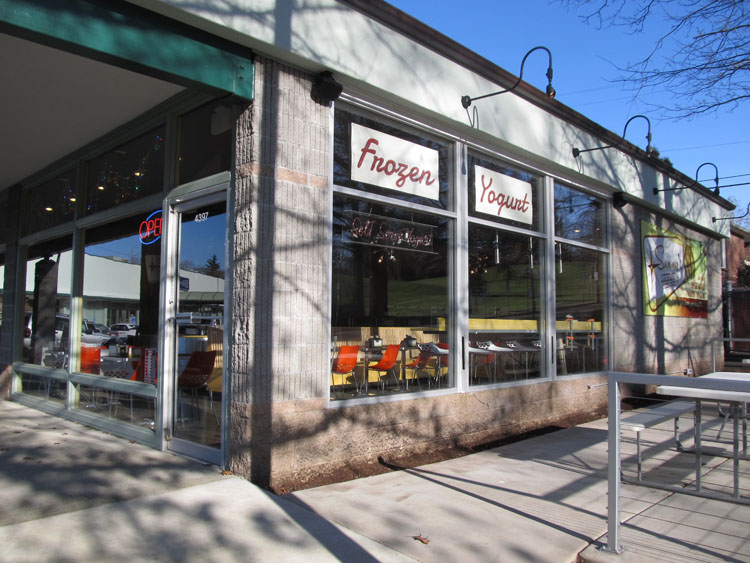
Our client opted for the newest Low-E Insulated glass known as 366 Low-E, or Triple-Coat, as some refer to it.
|
To read about “Low Emissivity Glass,” you might go to: “http://en.wikipedia.org/wiki/Low_emissivity”
|
|
New Construction.
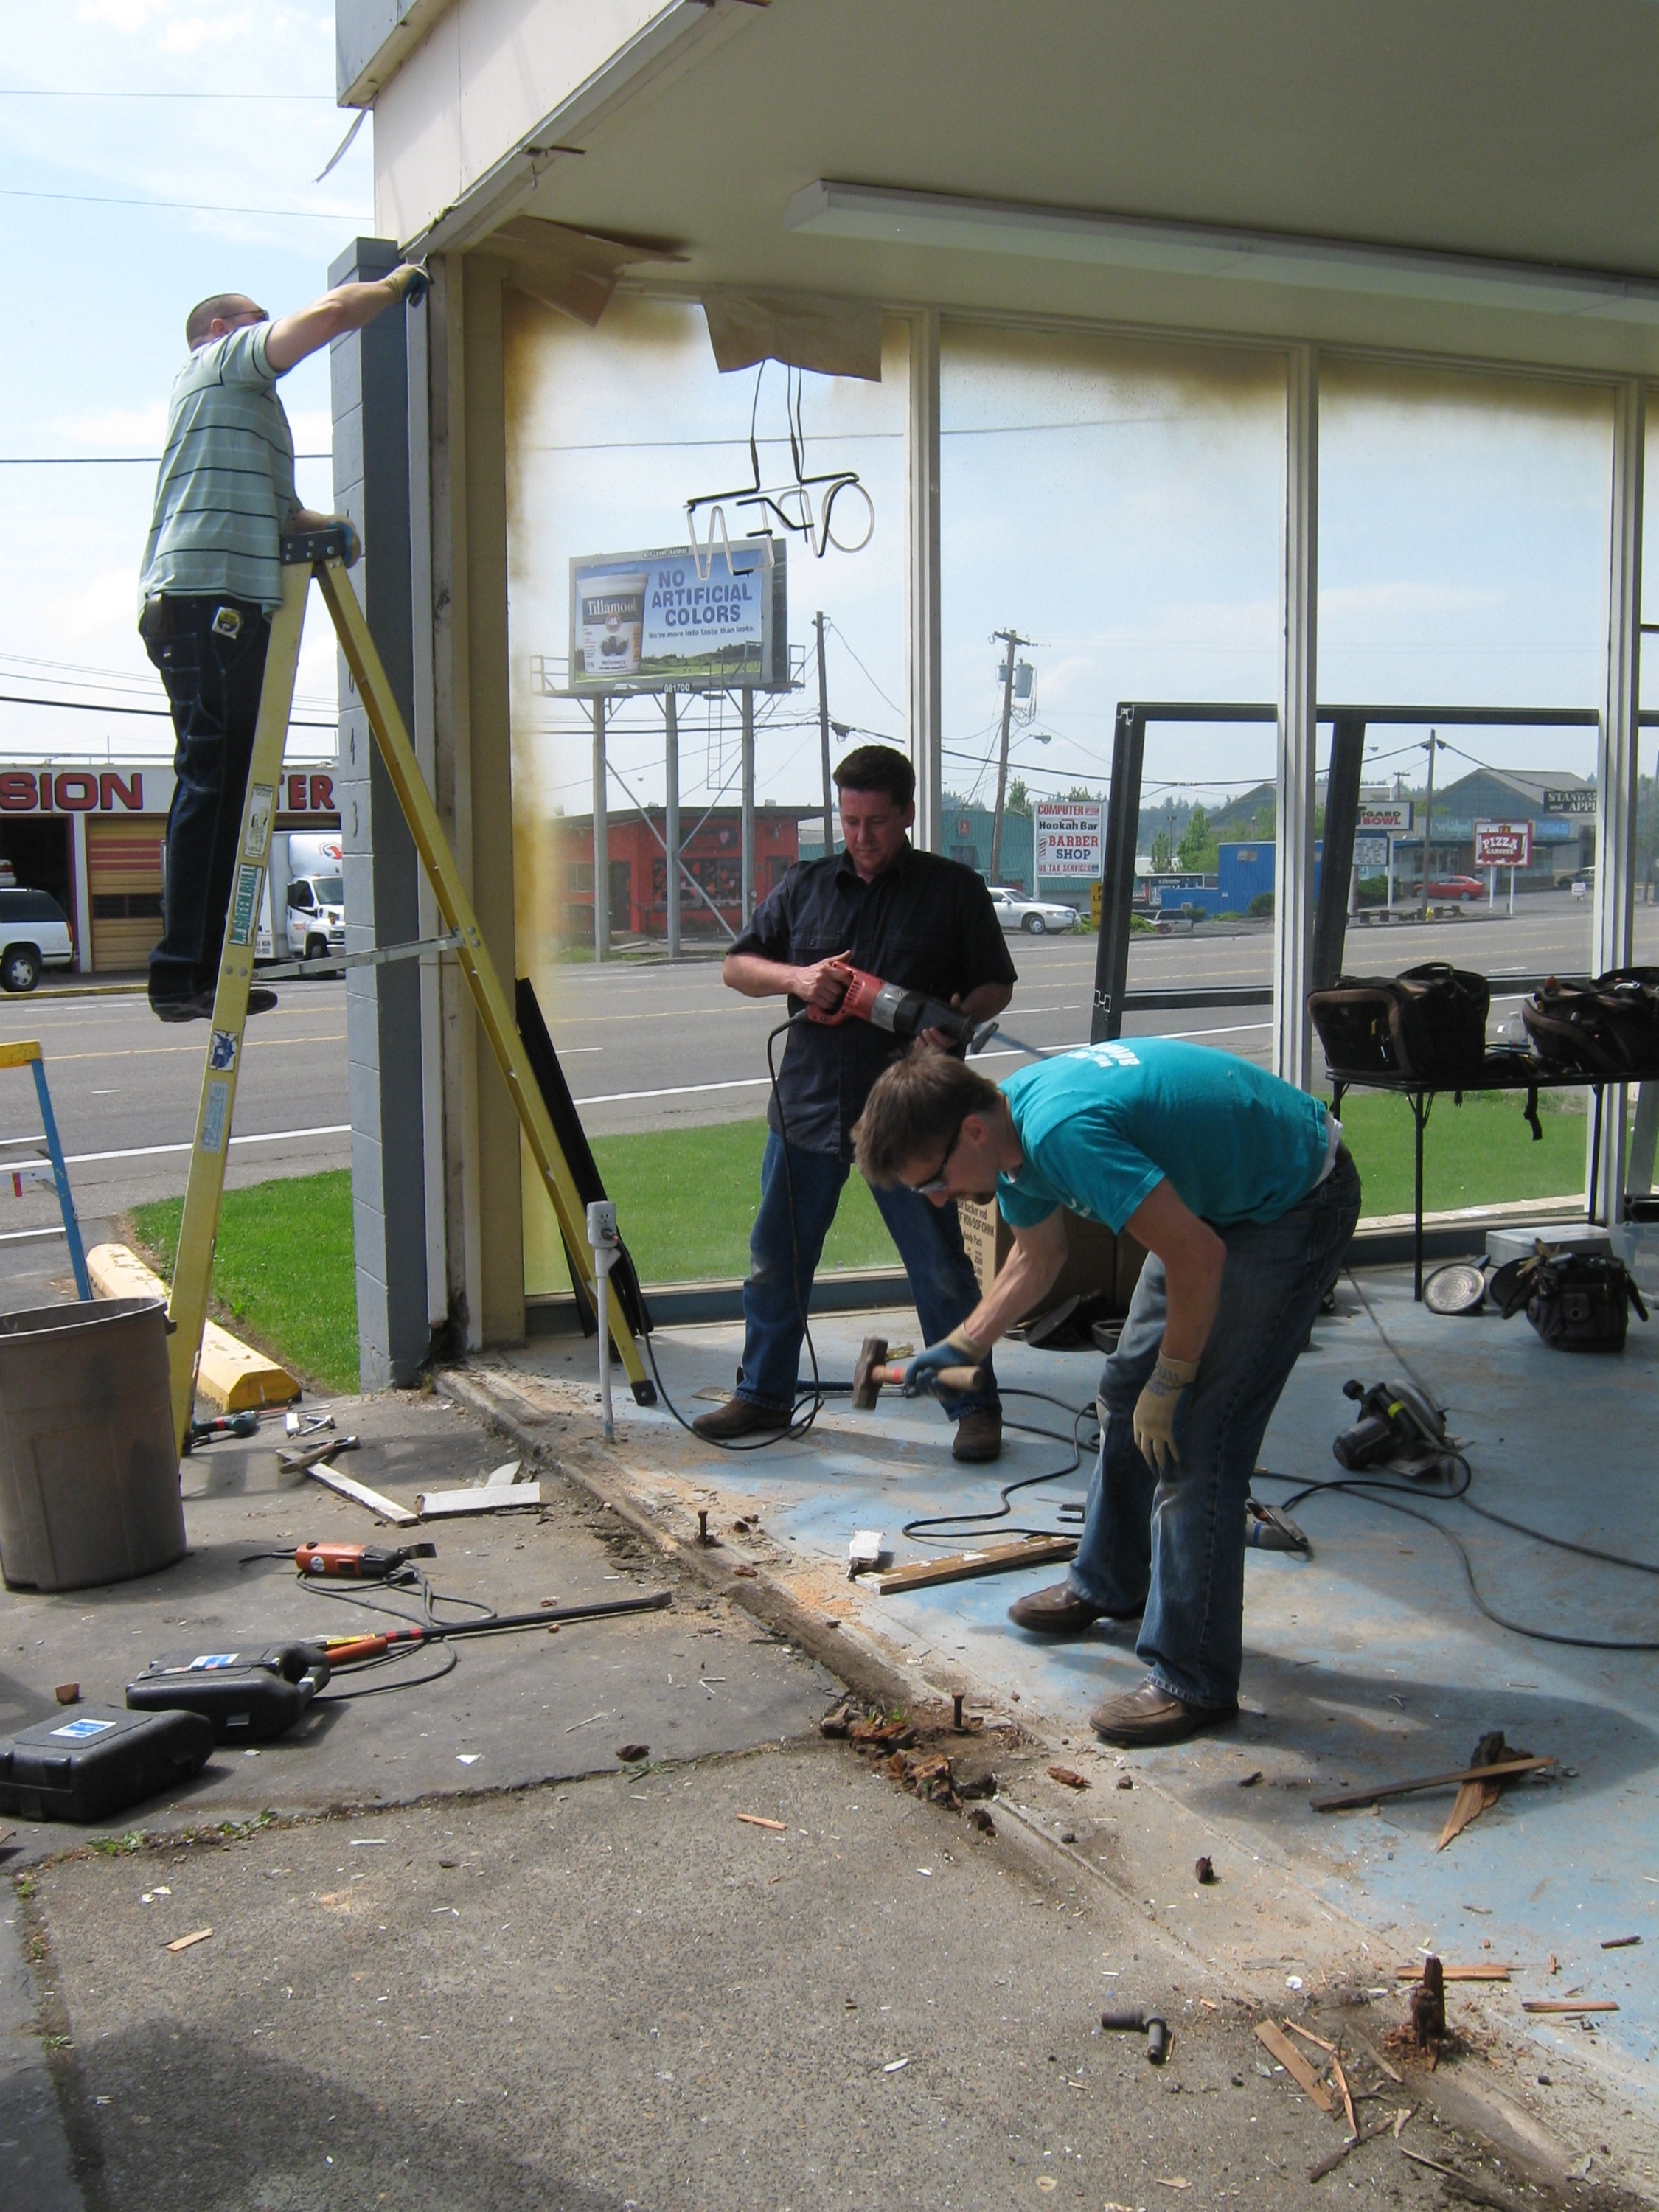
Our crew converge upon the project with the new materials in hand. |
We proceed with the task of assembling and preparing the window and door assemblies for installation.
|
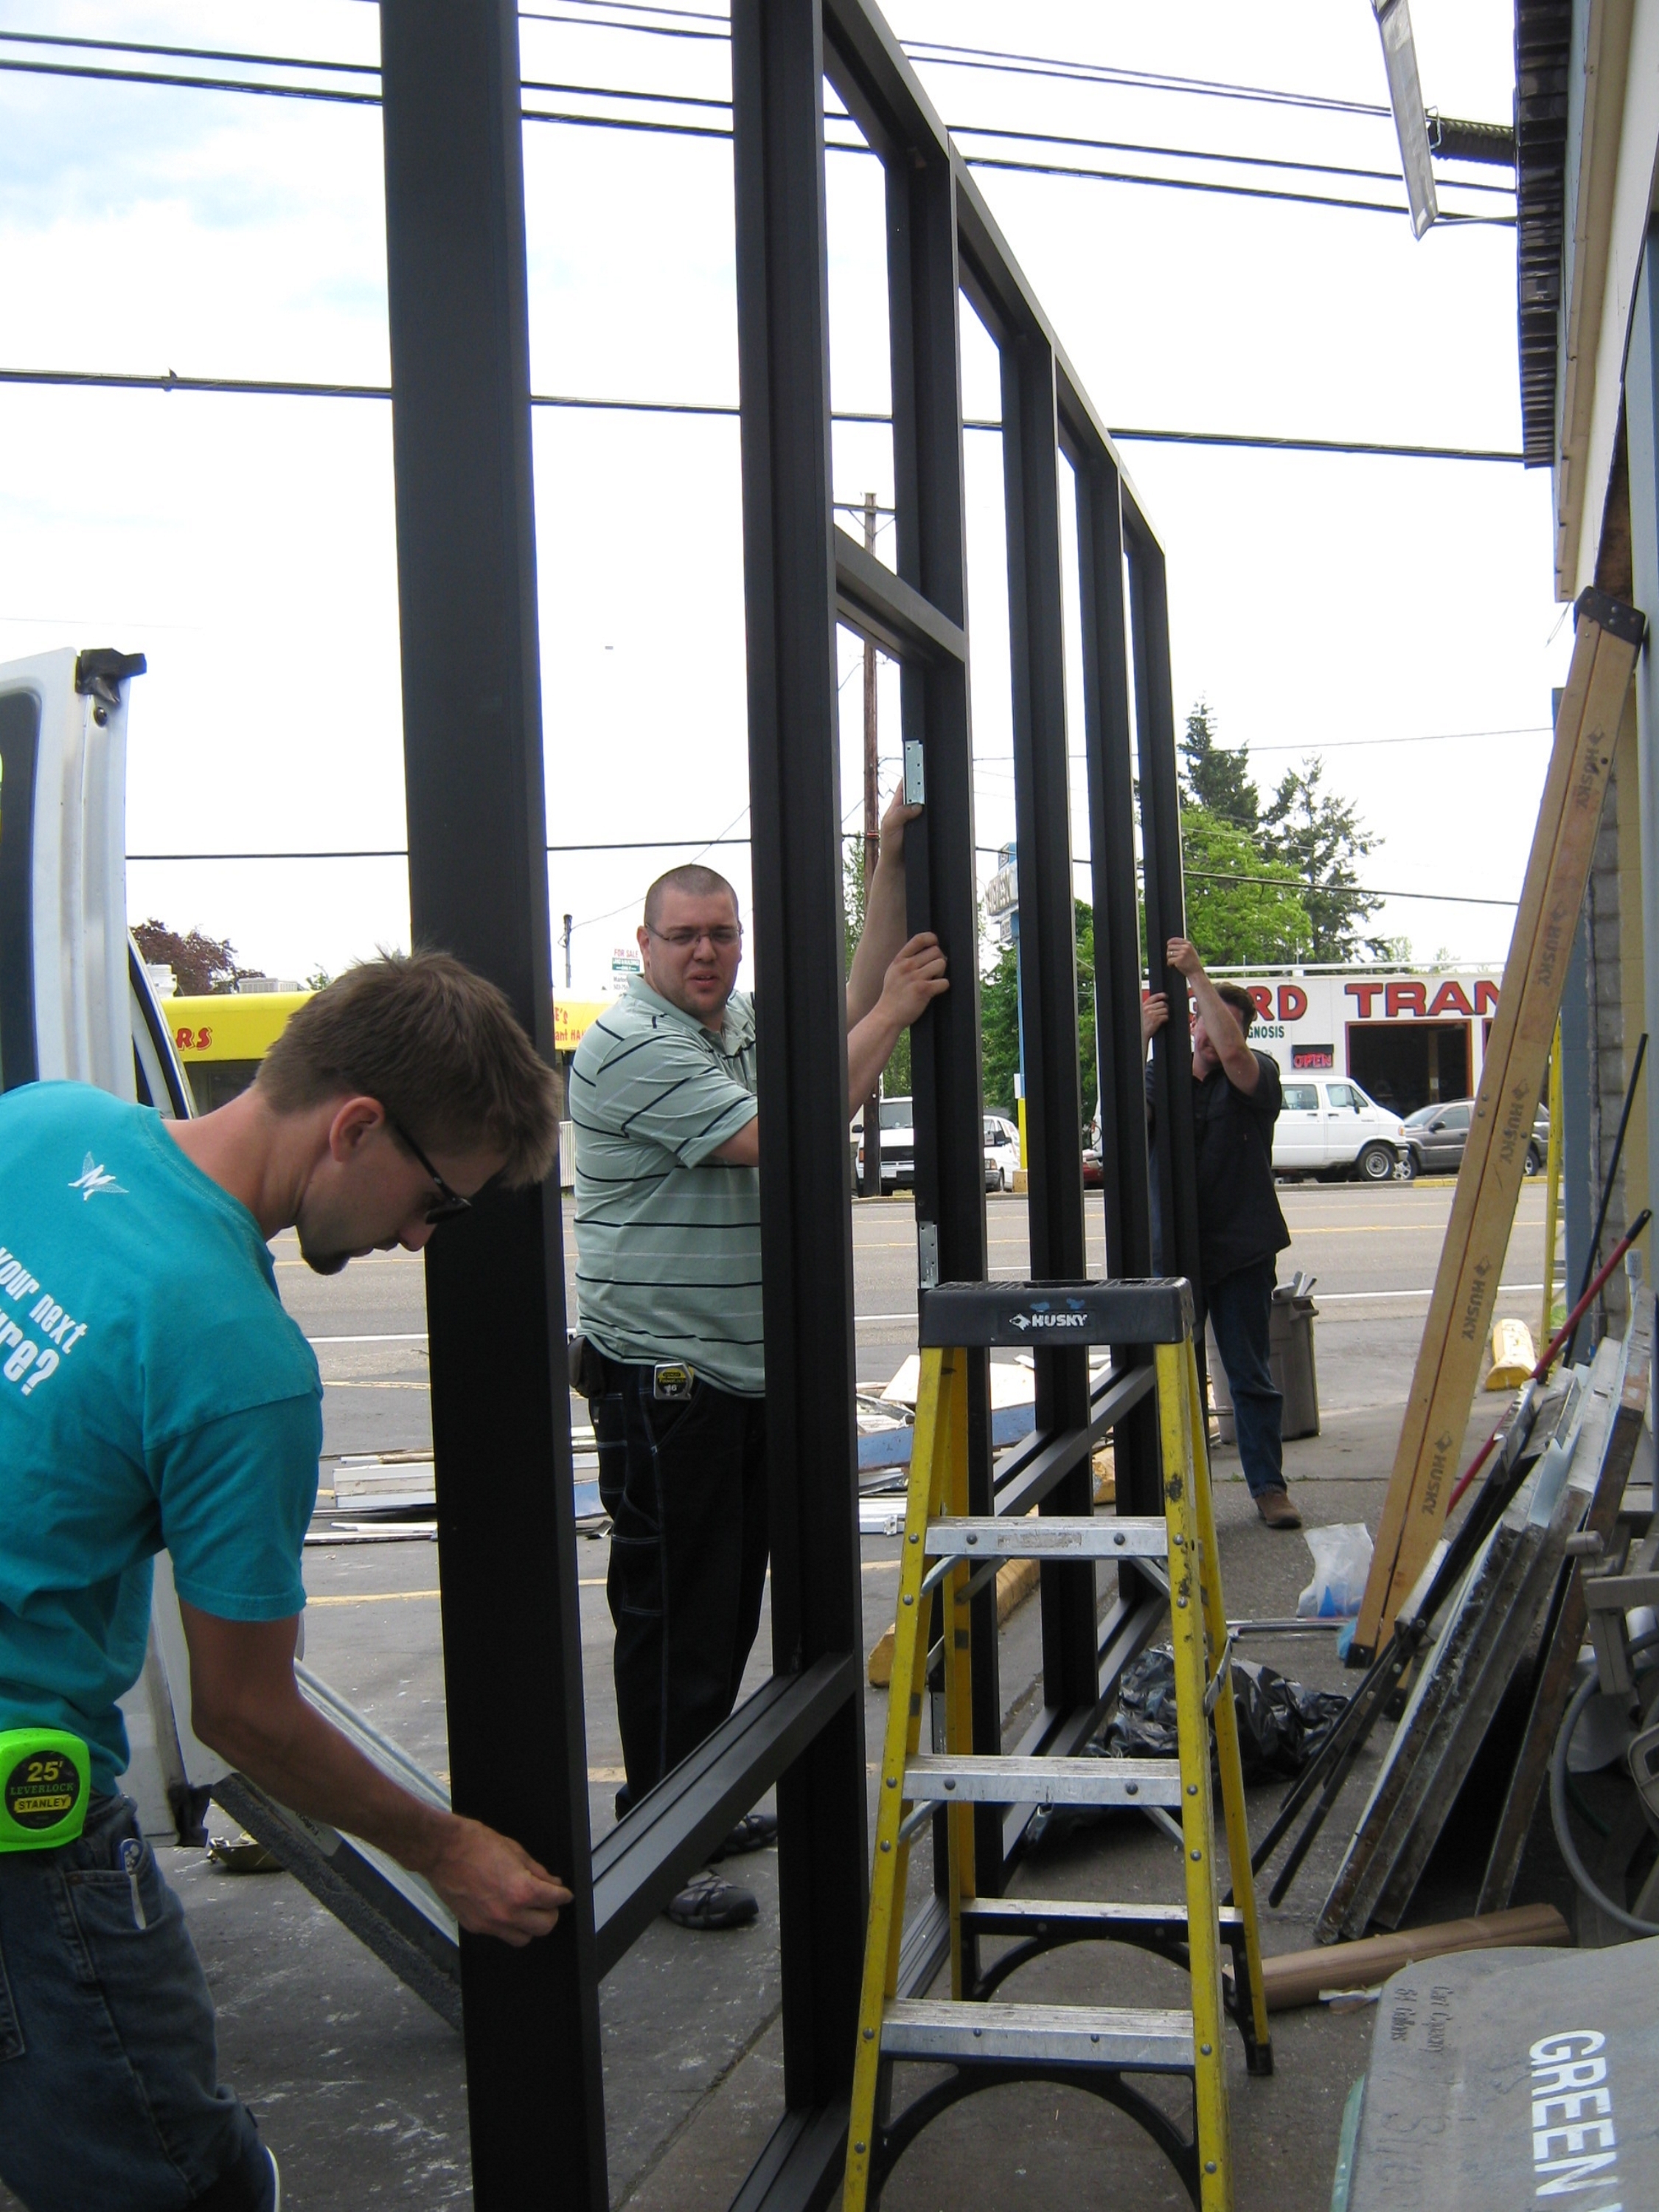
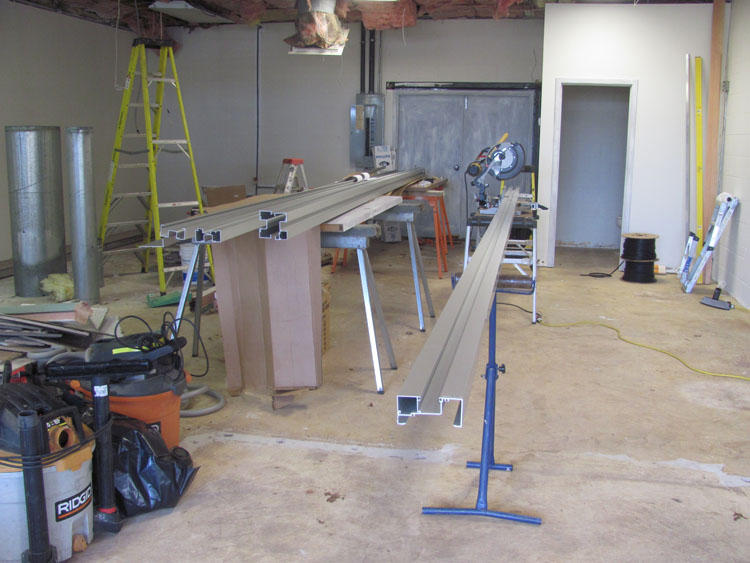
The jamb assemblies are assembled on-site for this project because we had the room to do so.
|
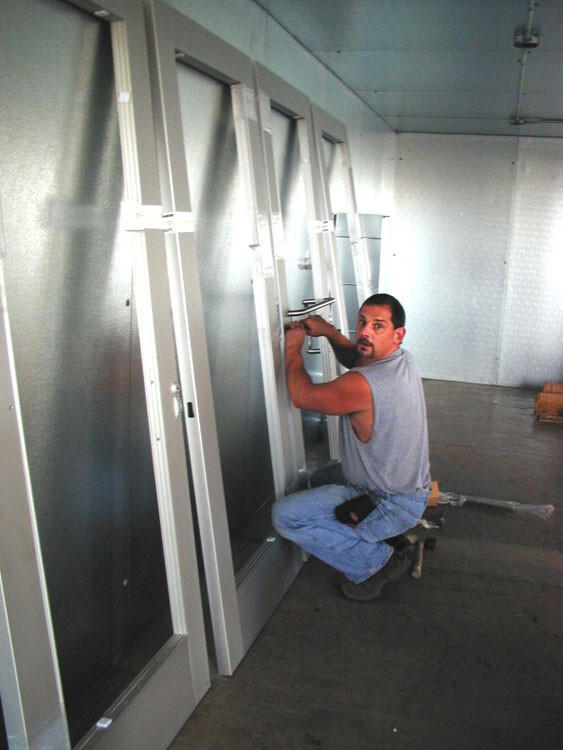
Our service technician Jim prepares the doors for their respective hardware.
|
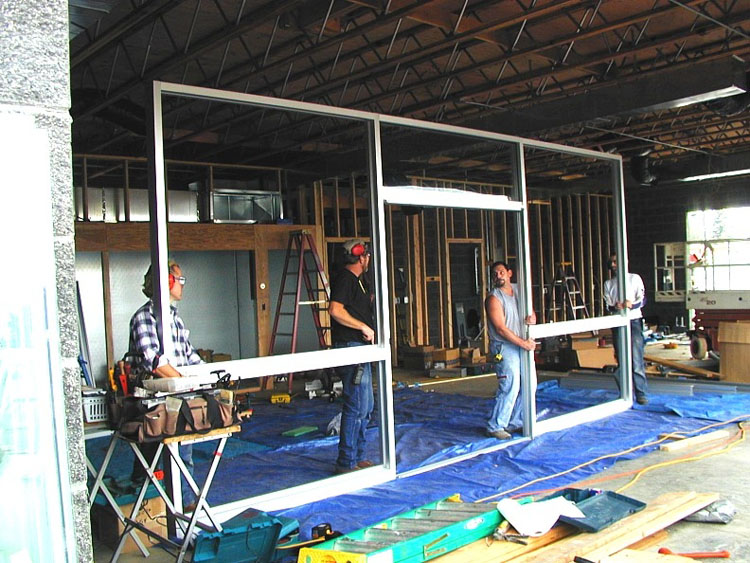
The jamb assemblies are moved to the rough-openings.
|
And then they are fastened into place.
|
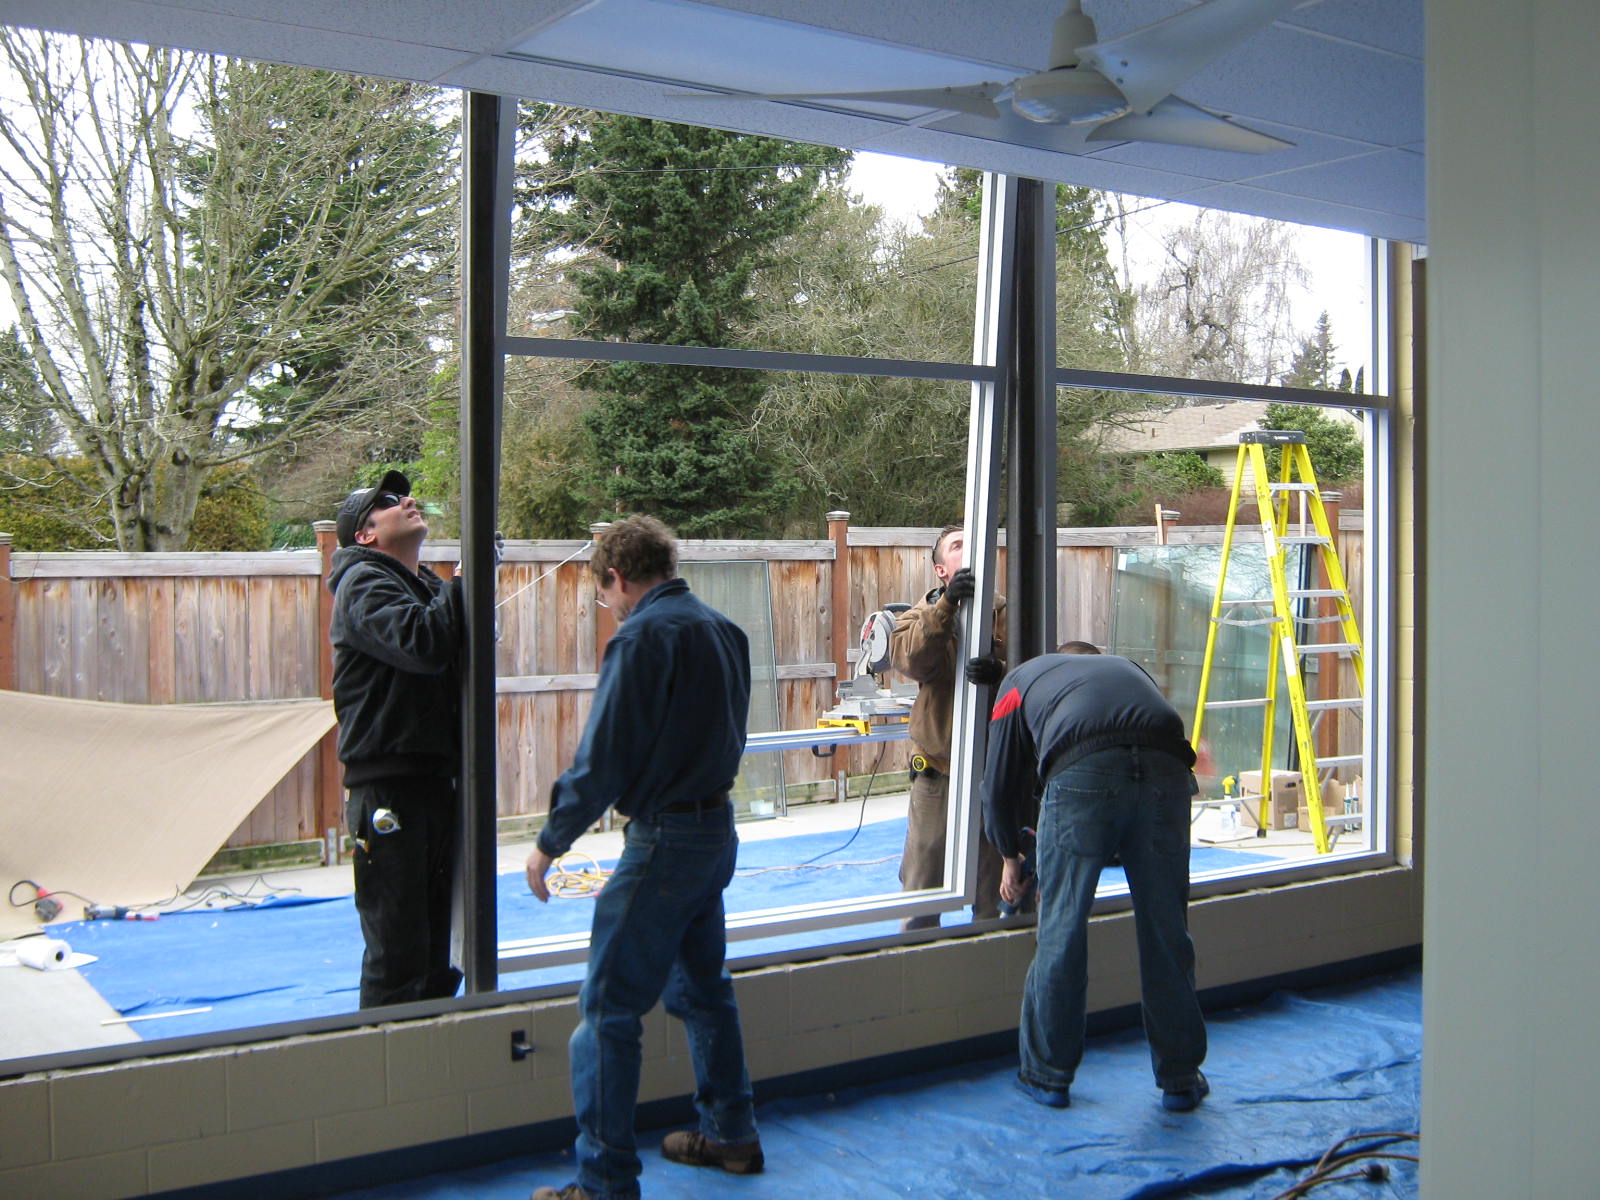
Next comes the glazing of the glass into the aluminum jamb assemblies.
|
Our technicians Jared and John are readying the jamb for the glass install.
|
Jim finishes working the vinyl glazing bead into position between the glass and the aluminum frame.
|
The finished product.
|
|
This was a little project we did for Norris & Stevens.
|
One of the many property management companies we work for.
|
A change from office space…
|
…to retail space necessitates a face-lift.
|

And we are only too happy to do our part to help.
|
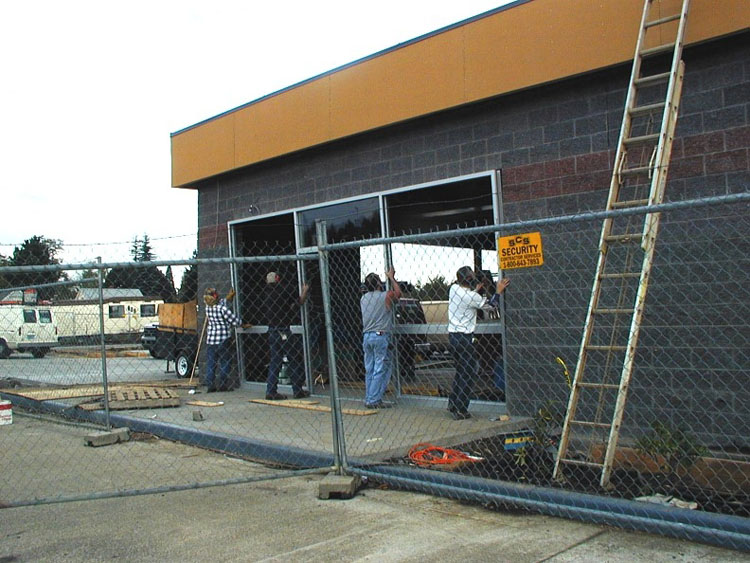
New rough-openings are created.
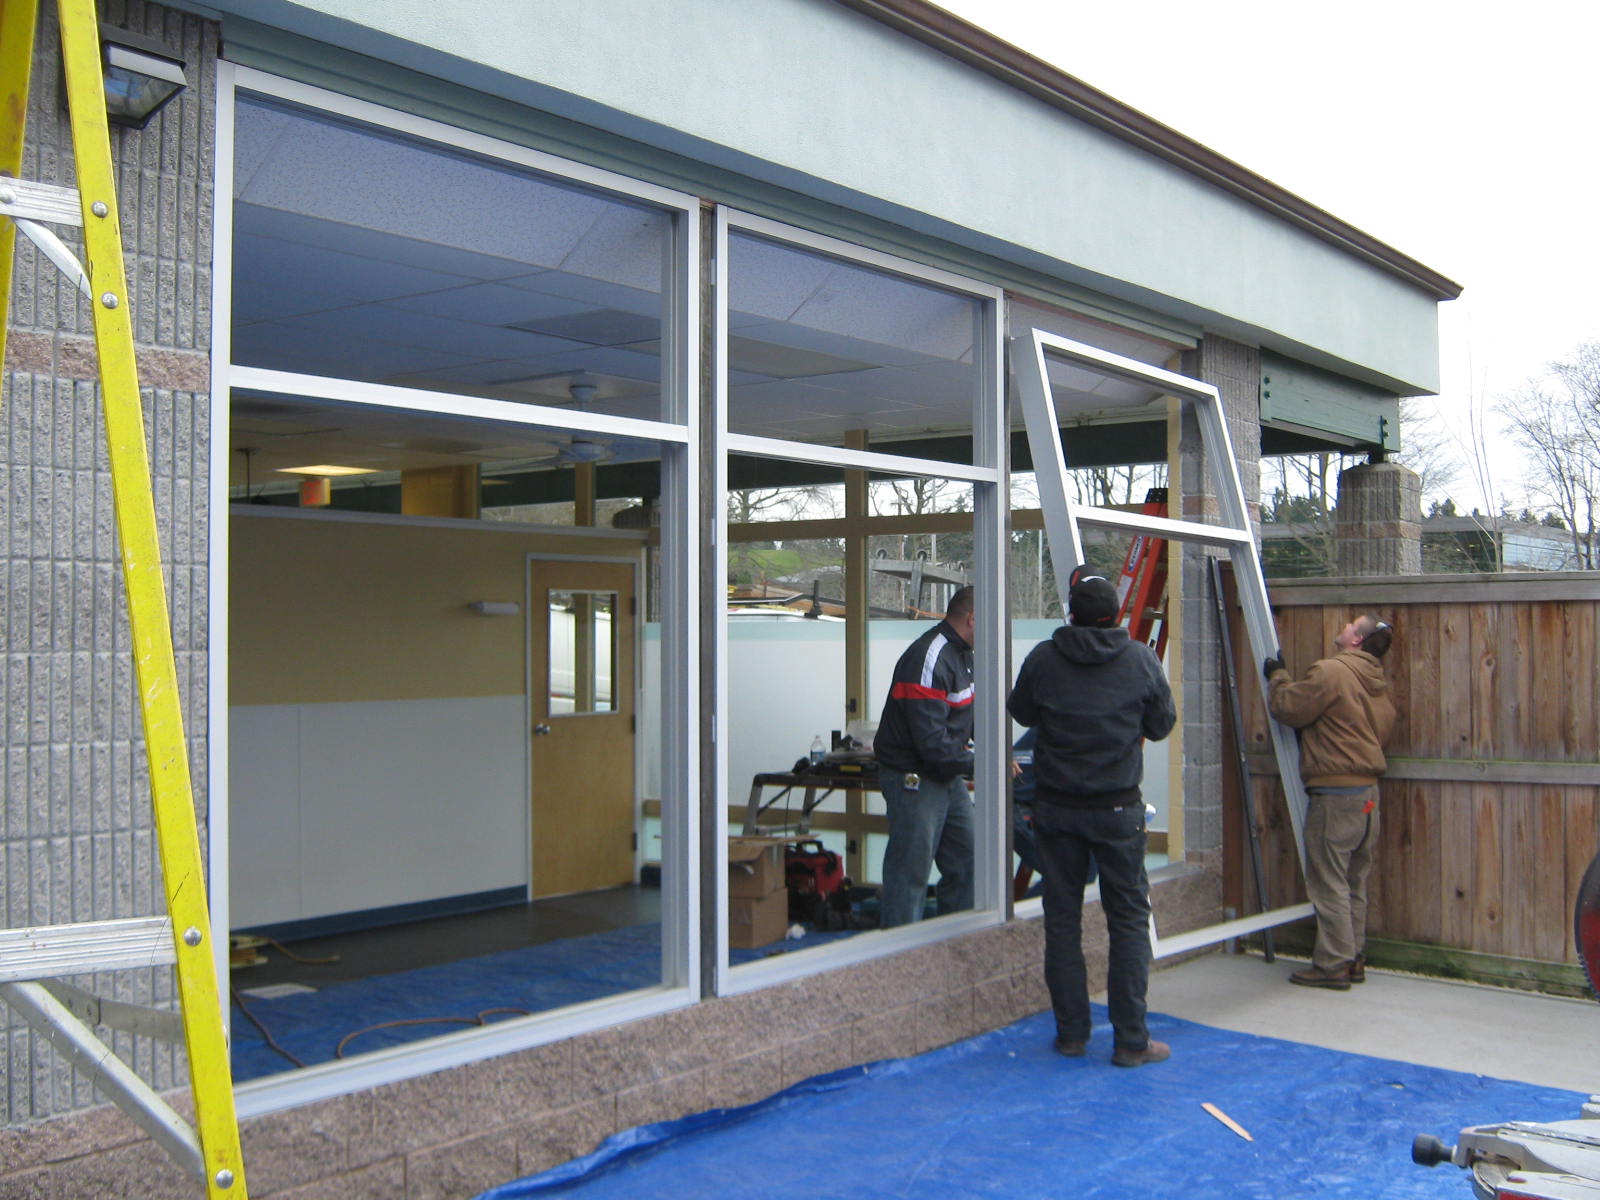
|
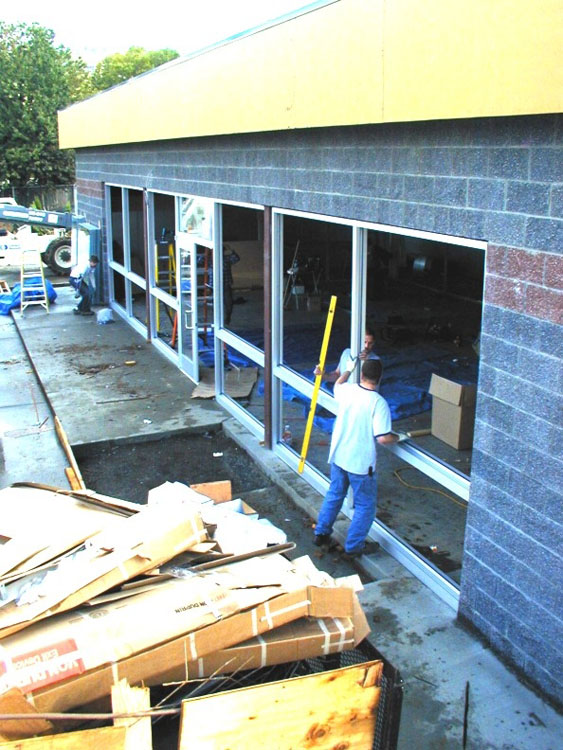
New storefront aluminum windows & doors are installed.
|
The new client moves in,…
|
…the new business ensues…
|
…and one more small step for local commerce is facilitated.
|
|
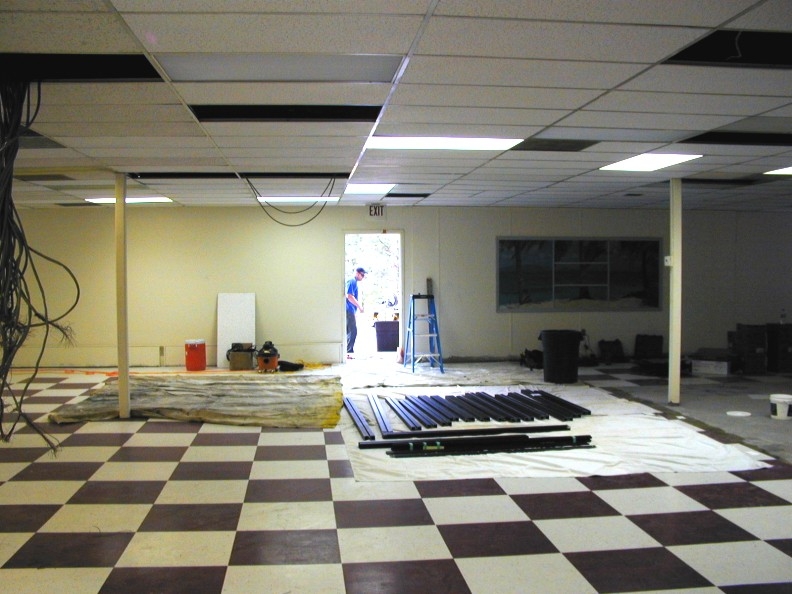
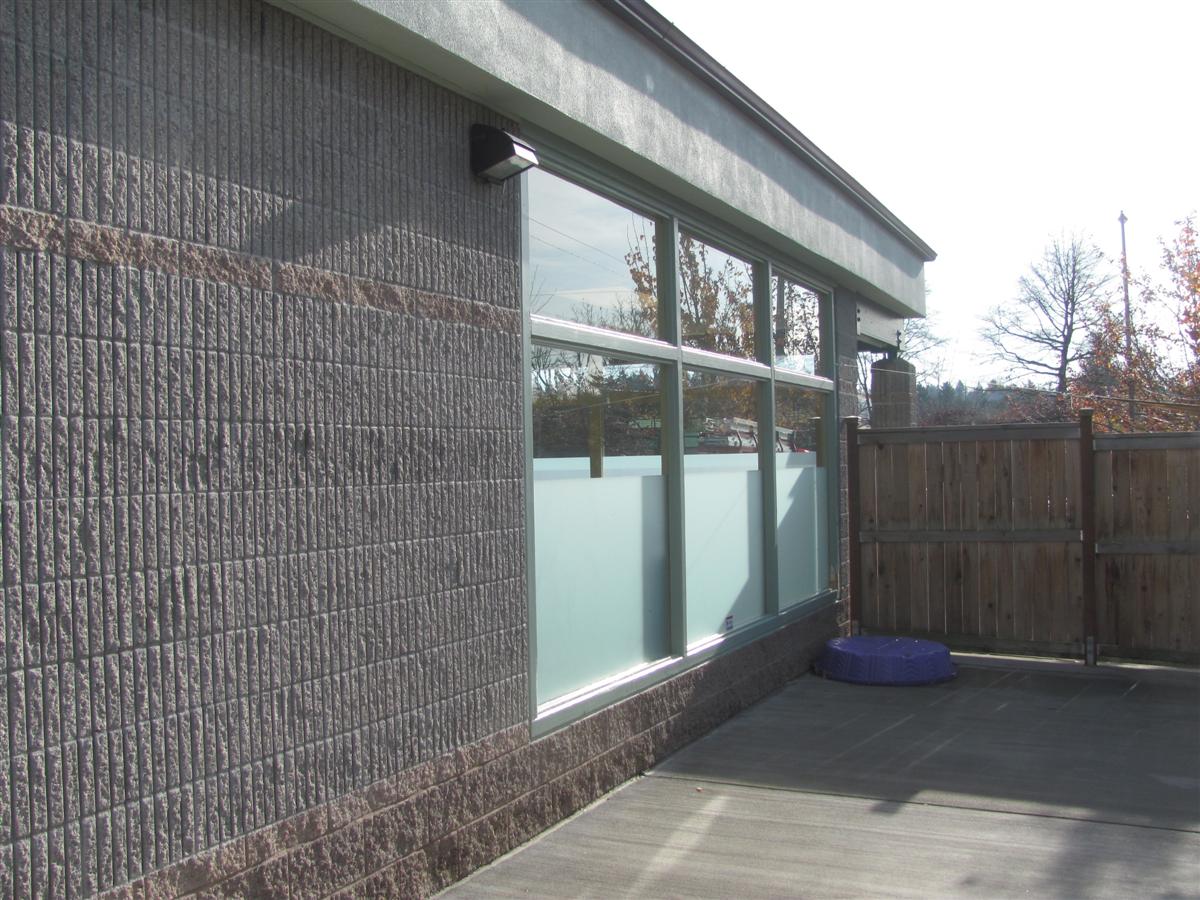
A doggie day care facility. Time to upgrade the window assembly on the exposed side of the building from wood to aluminum products.
|
The dogs are corralled,…
|
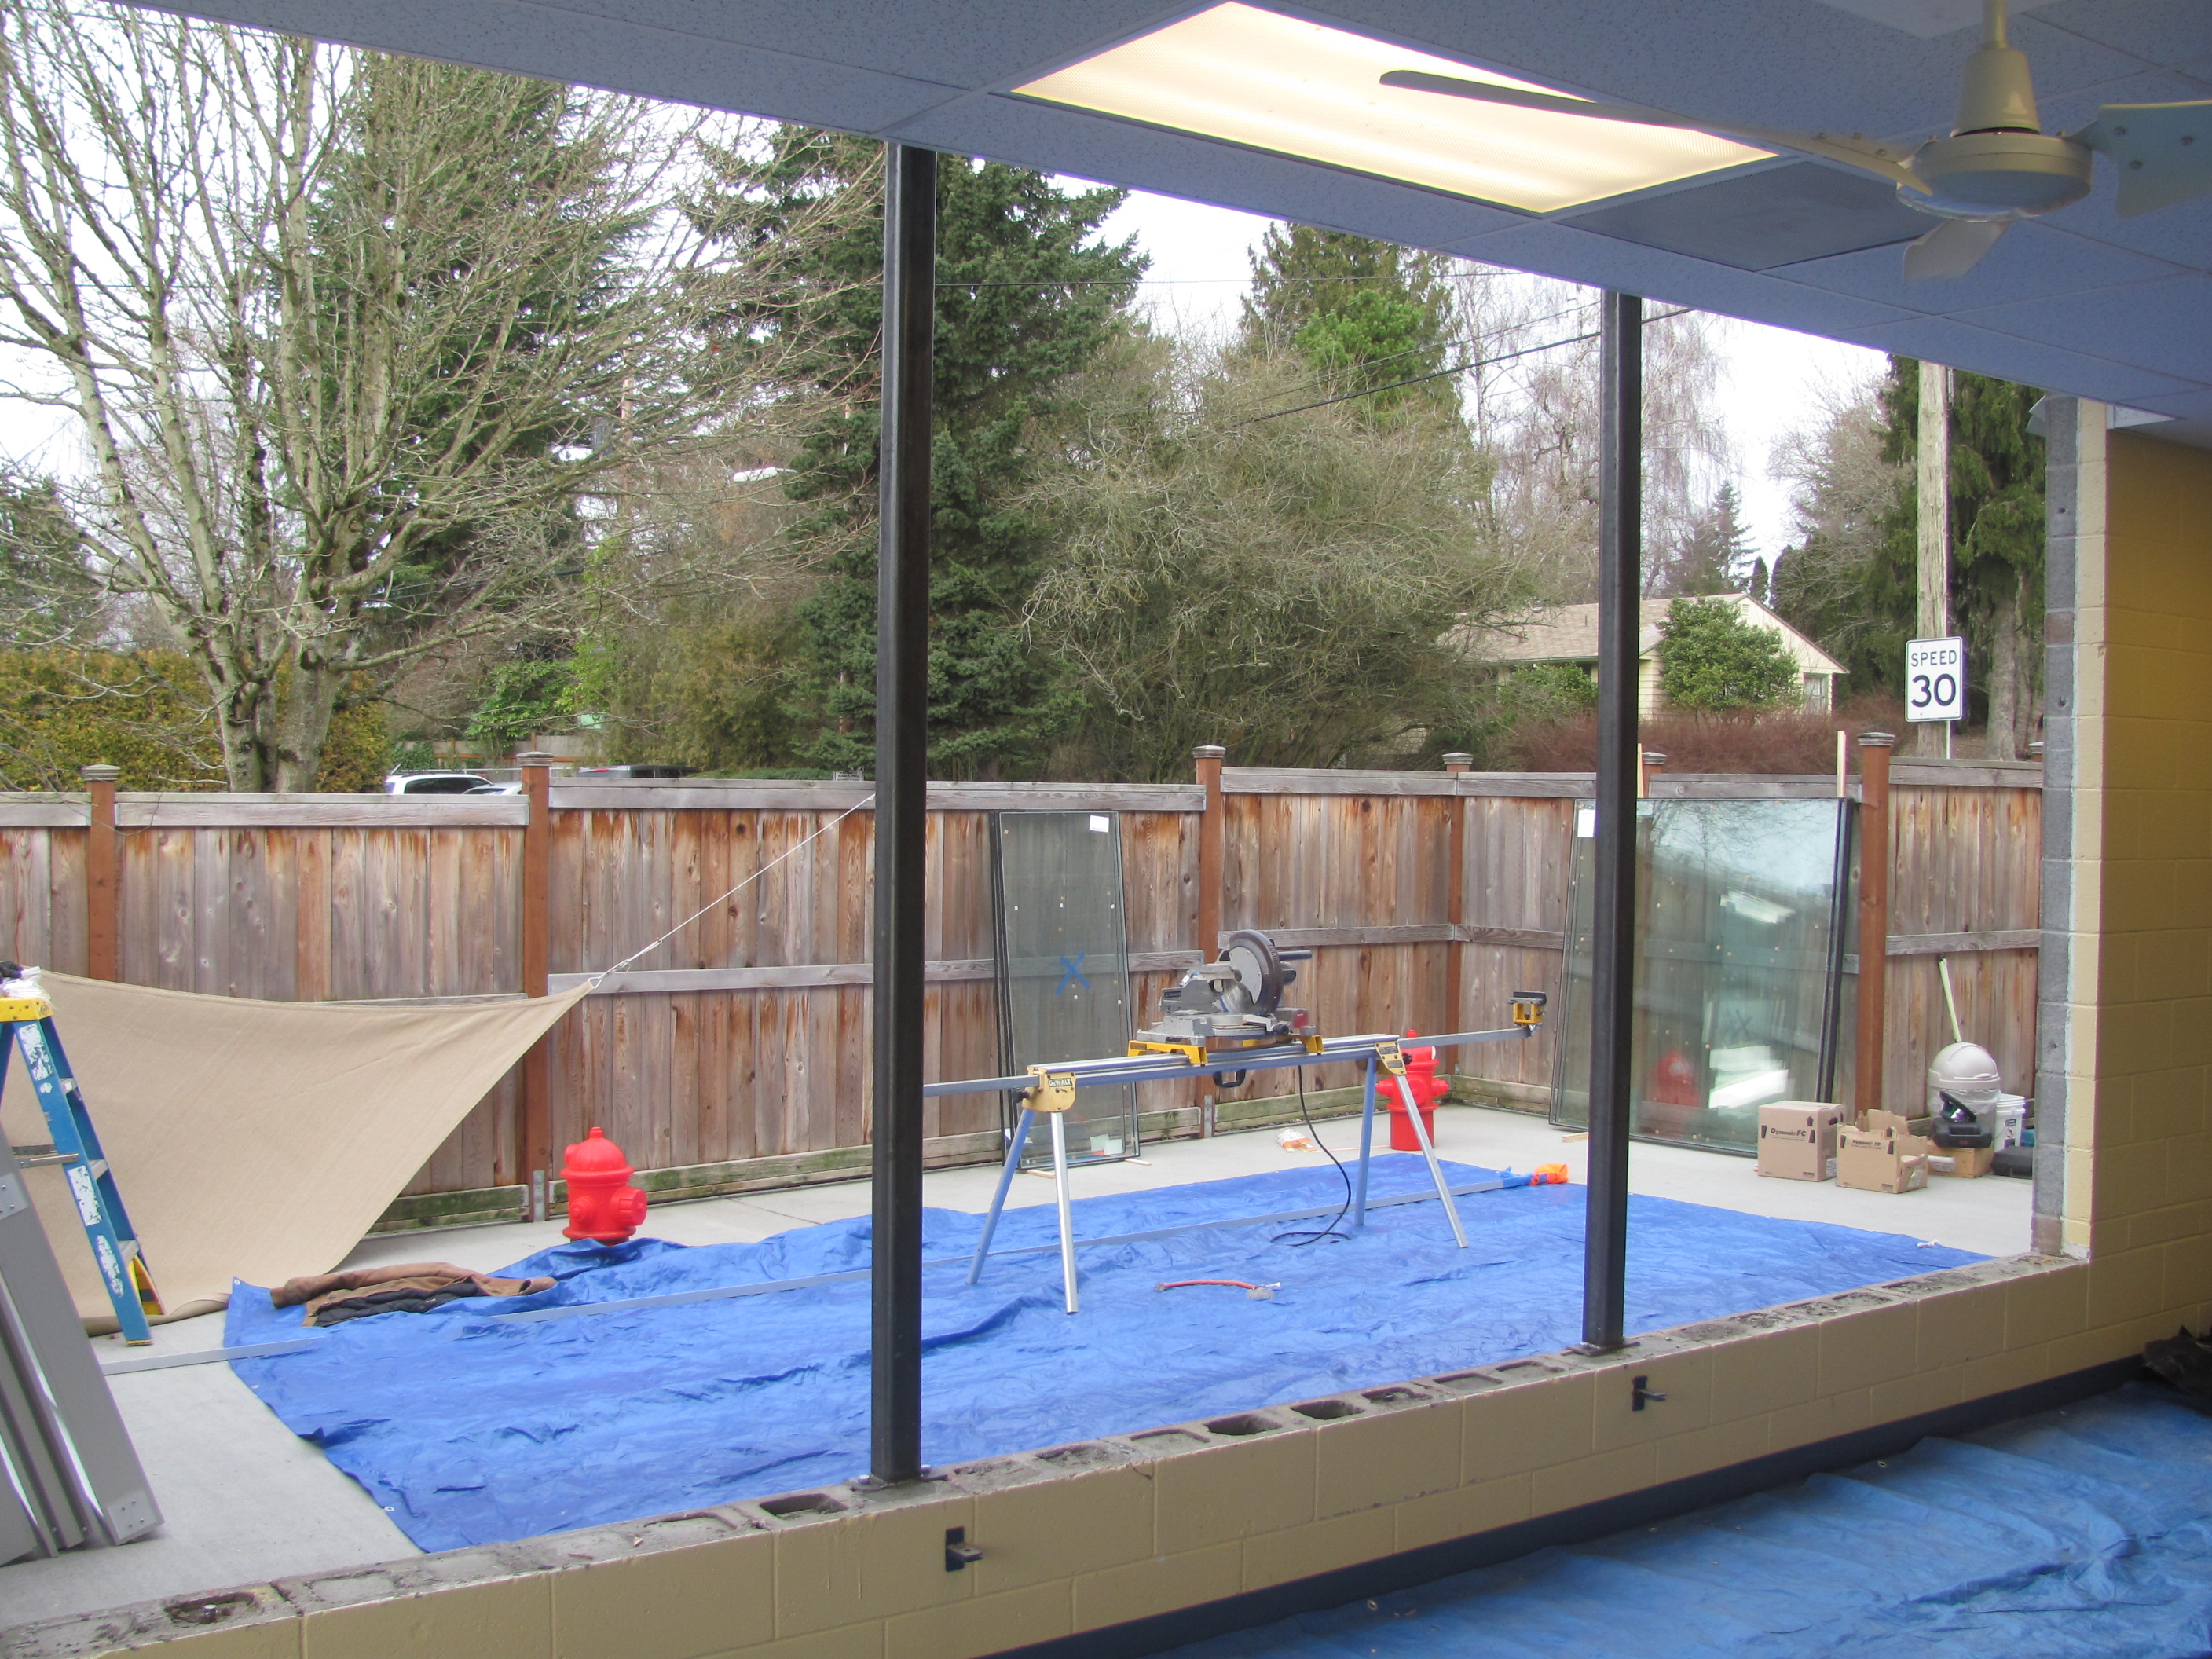
…the tarps have been laid, the tools set-out and the materials are in place and ready for the installation to commence.
|
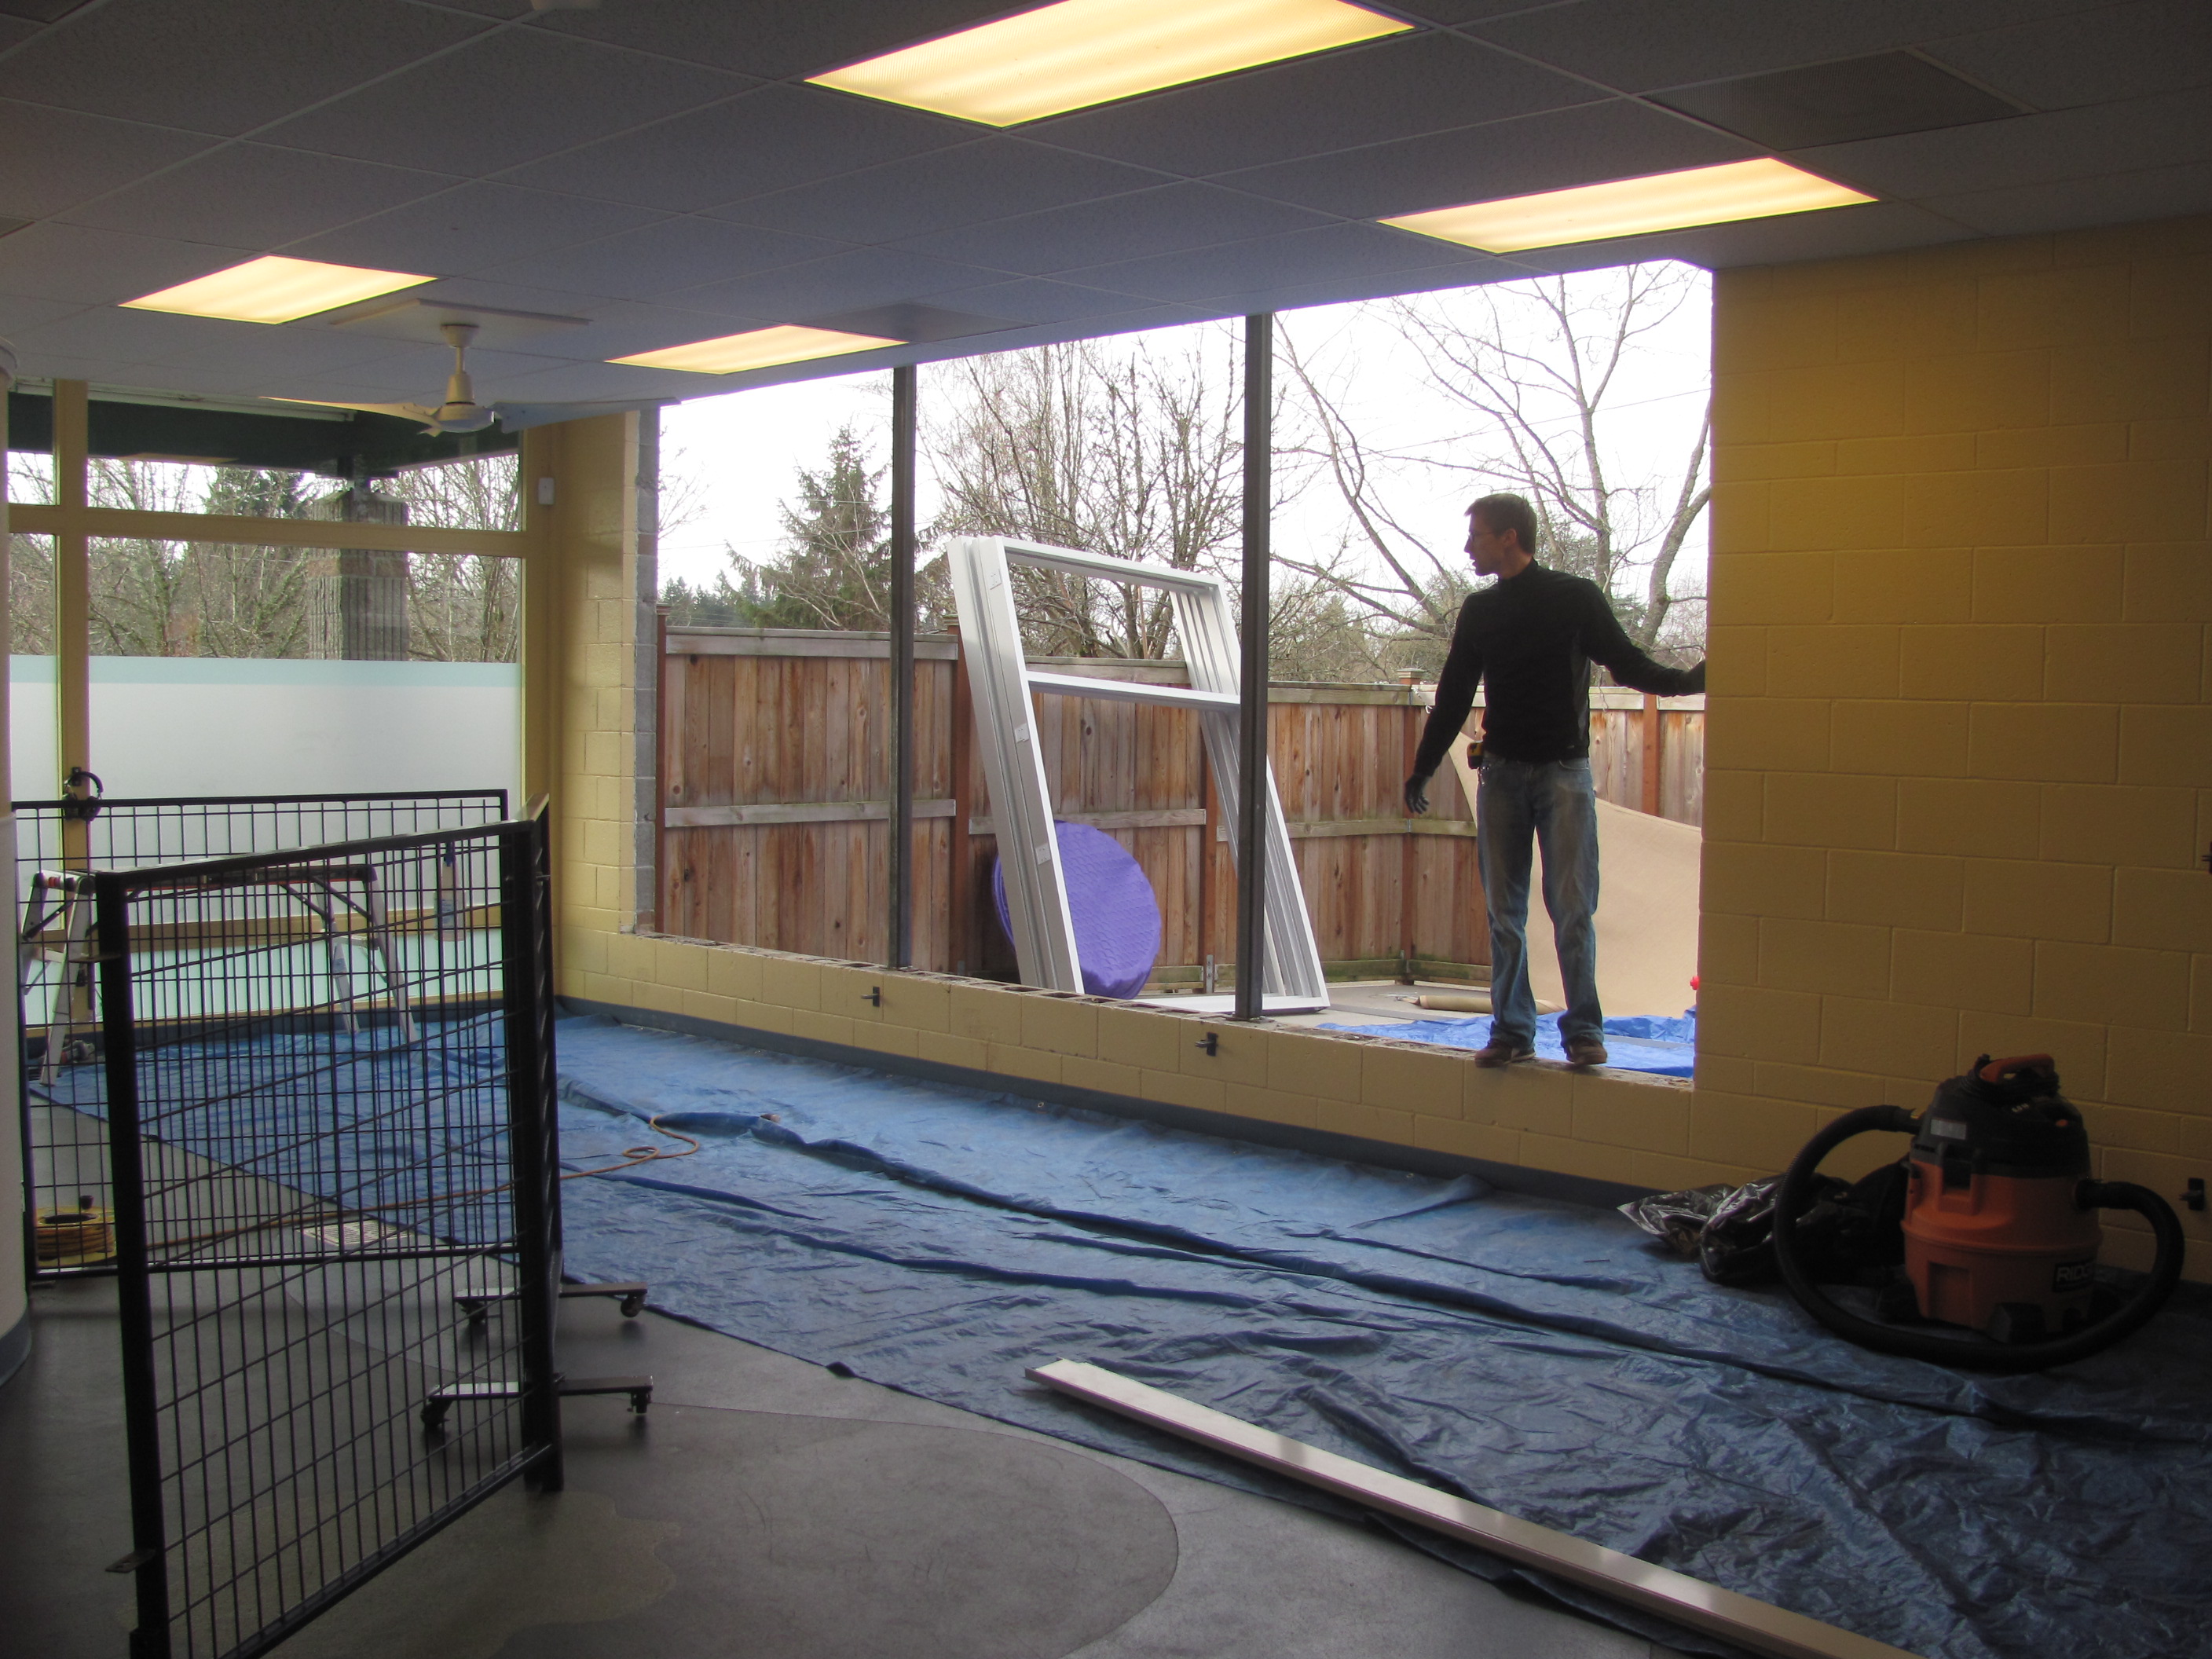
The original vertical wood mull-posts provided structural support to the header above, so they had to be replaced with steel-supports posts.
|
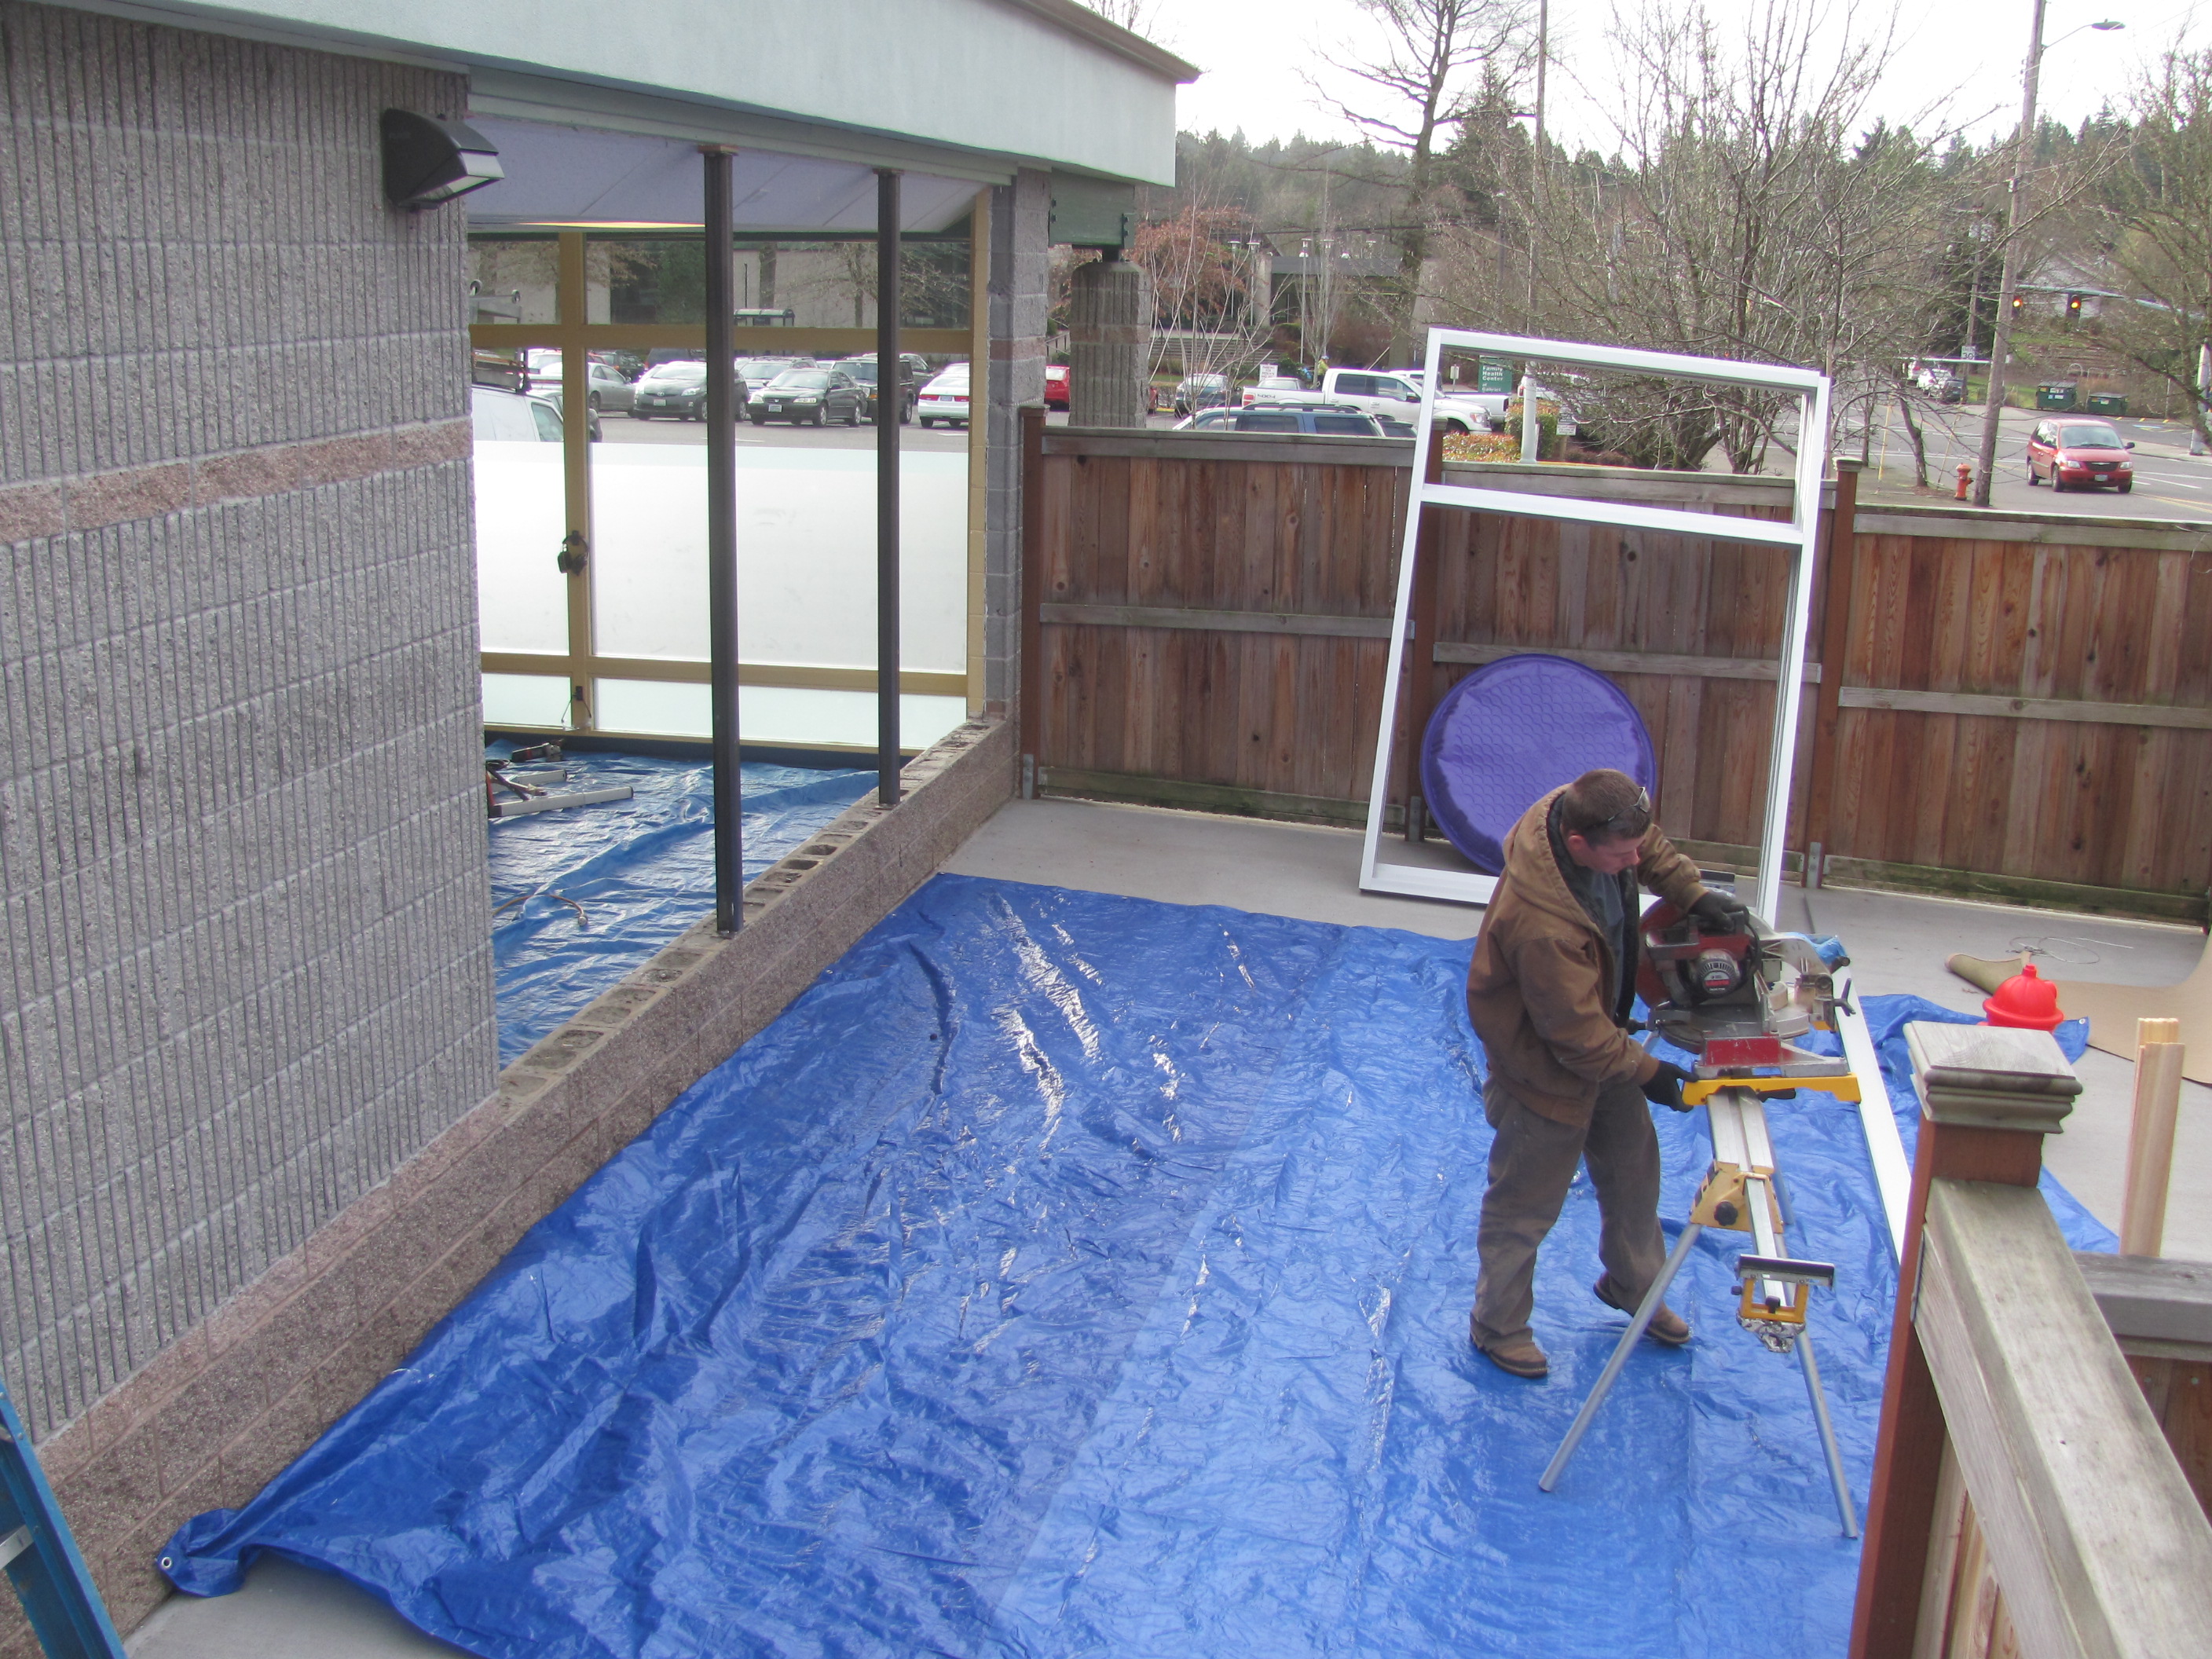
We cut and preassembled the primary components at our shop in Tigard before bringing them to the job-site. But some of the associated materials still had need to be cut to length…
|
…such as the sill-pan, which is the first component to be installed.
|
And then the jamb assemblies are put in place.
|
Now we’re ready for the insulated glass.
|
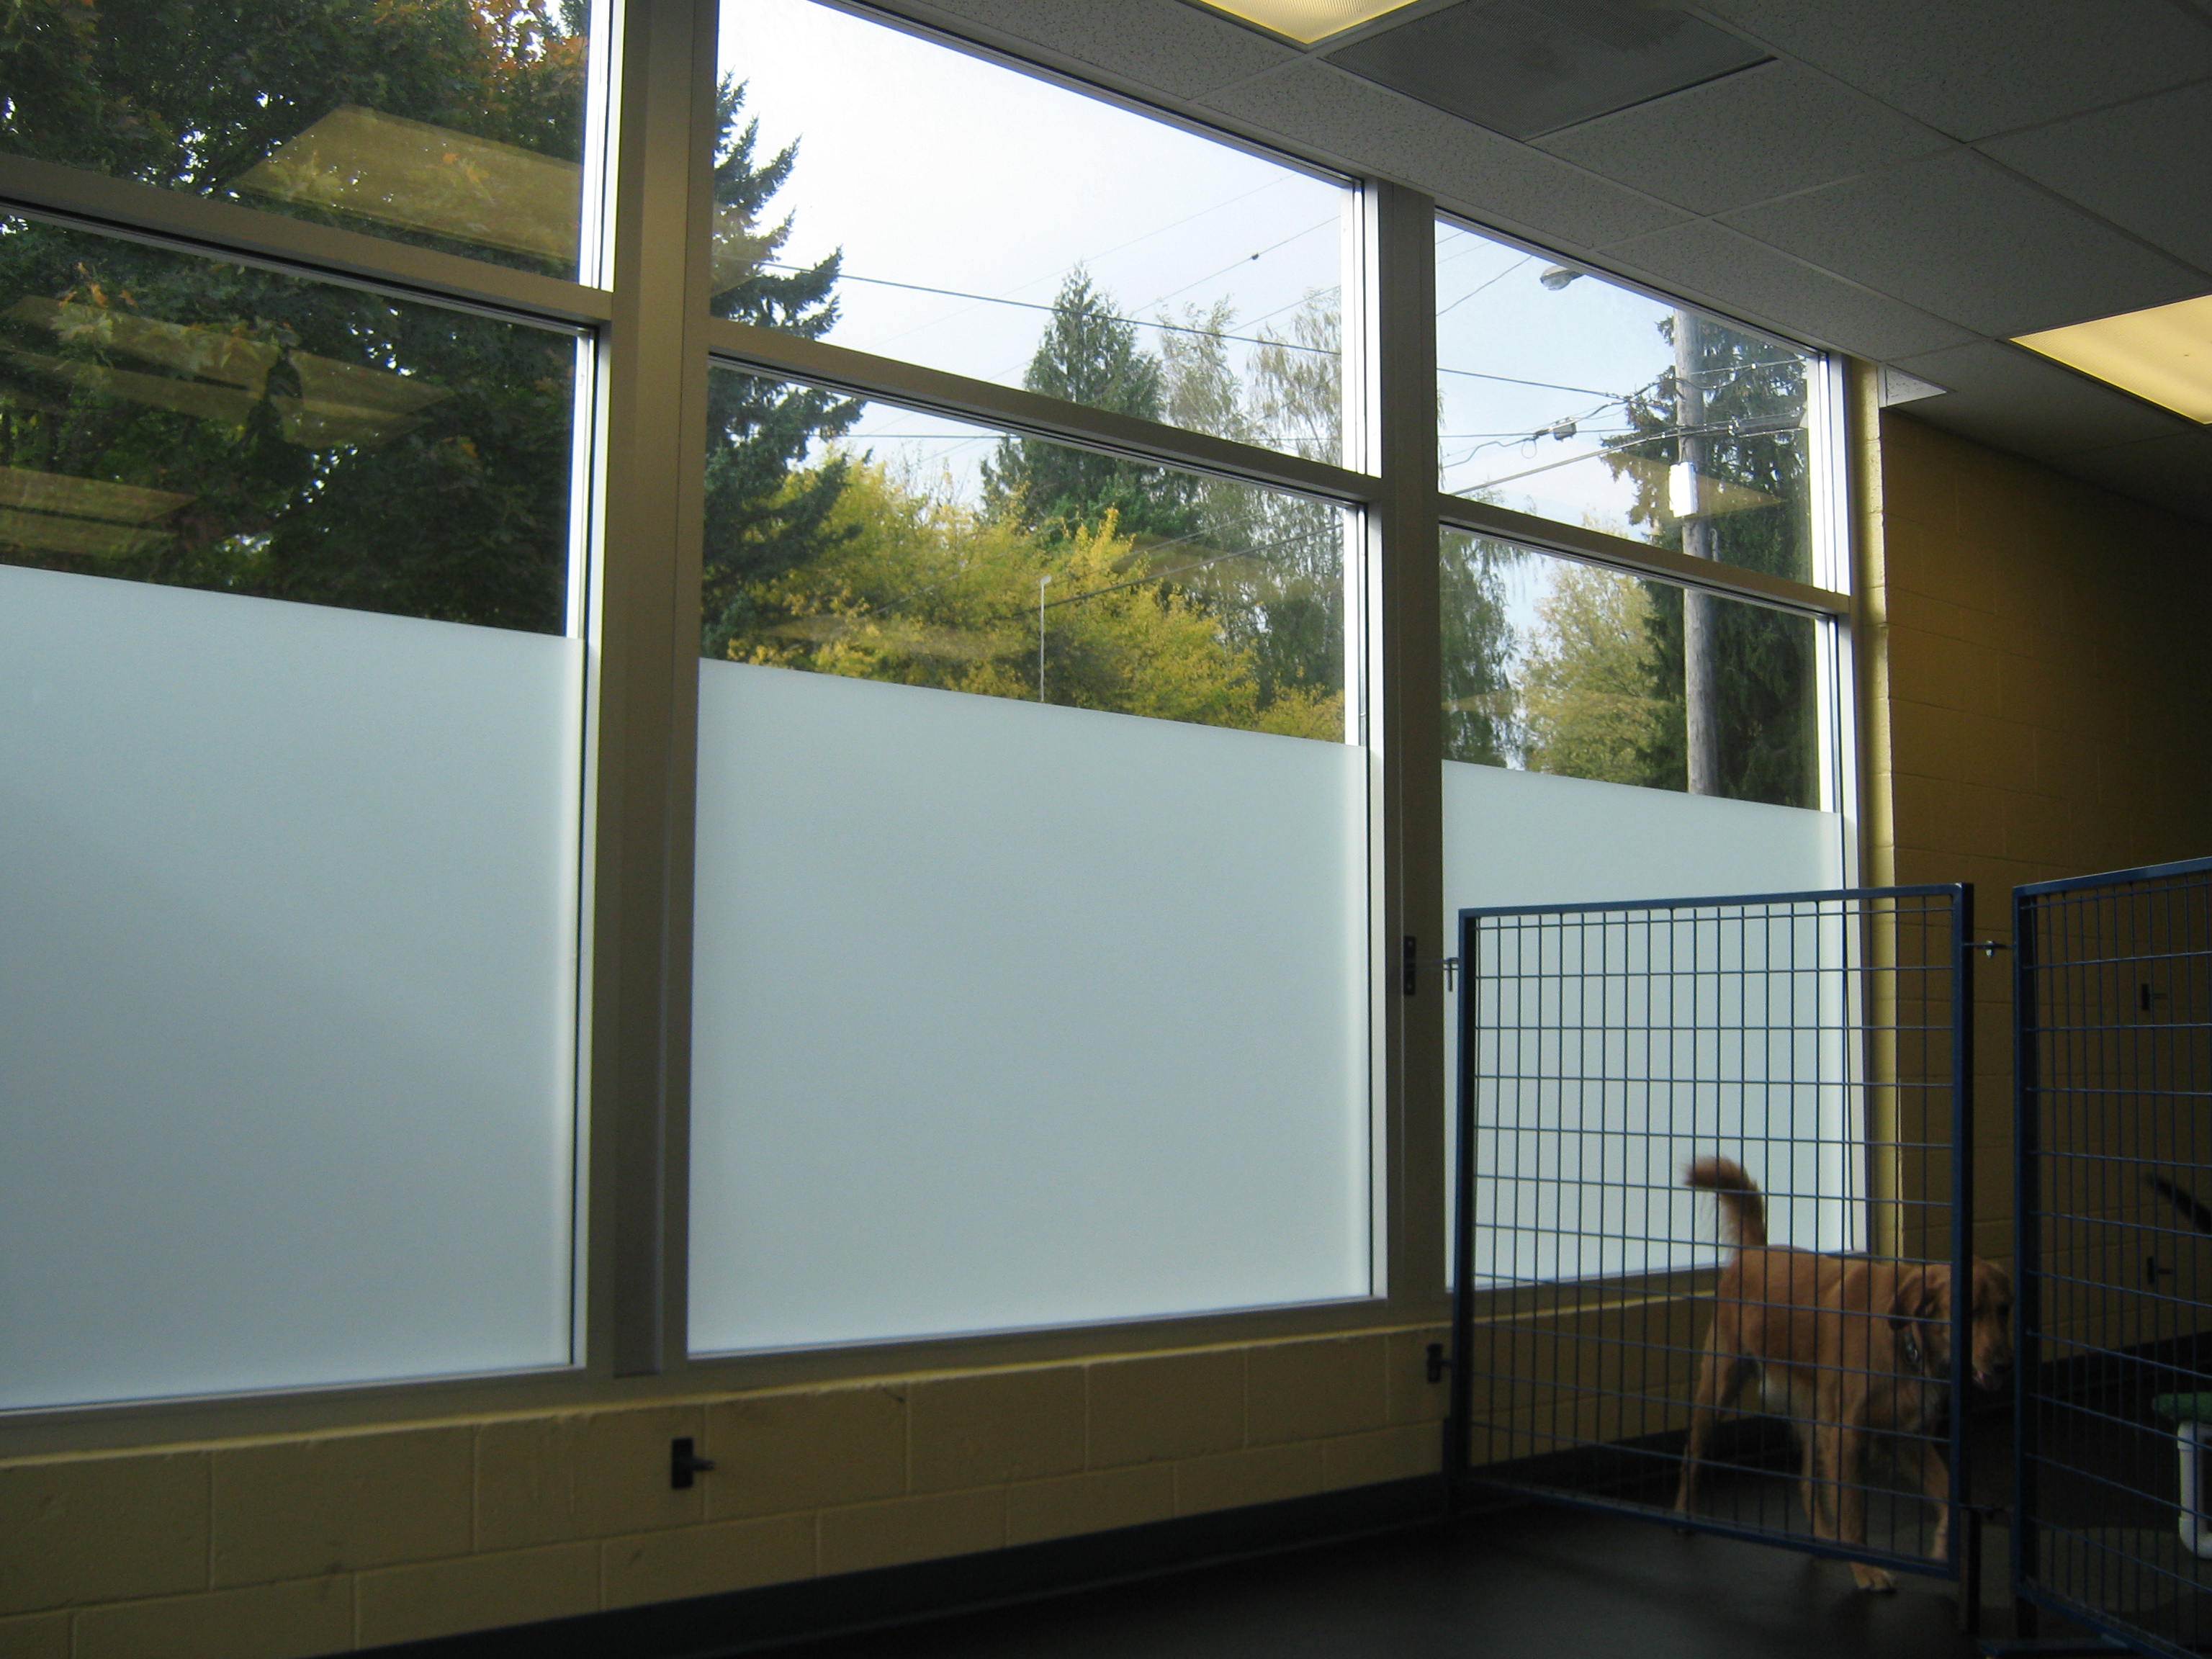
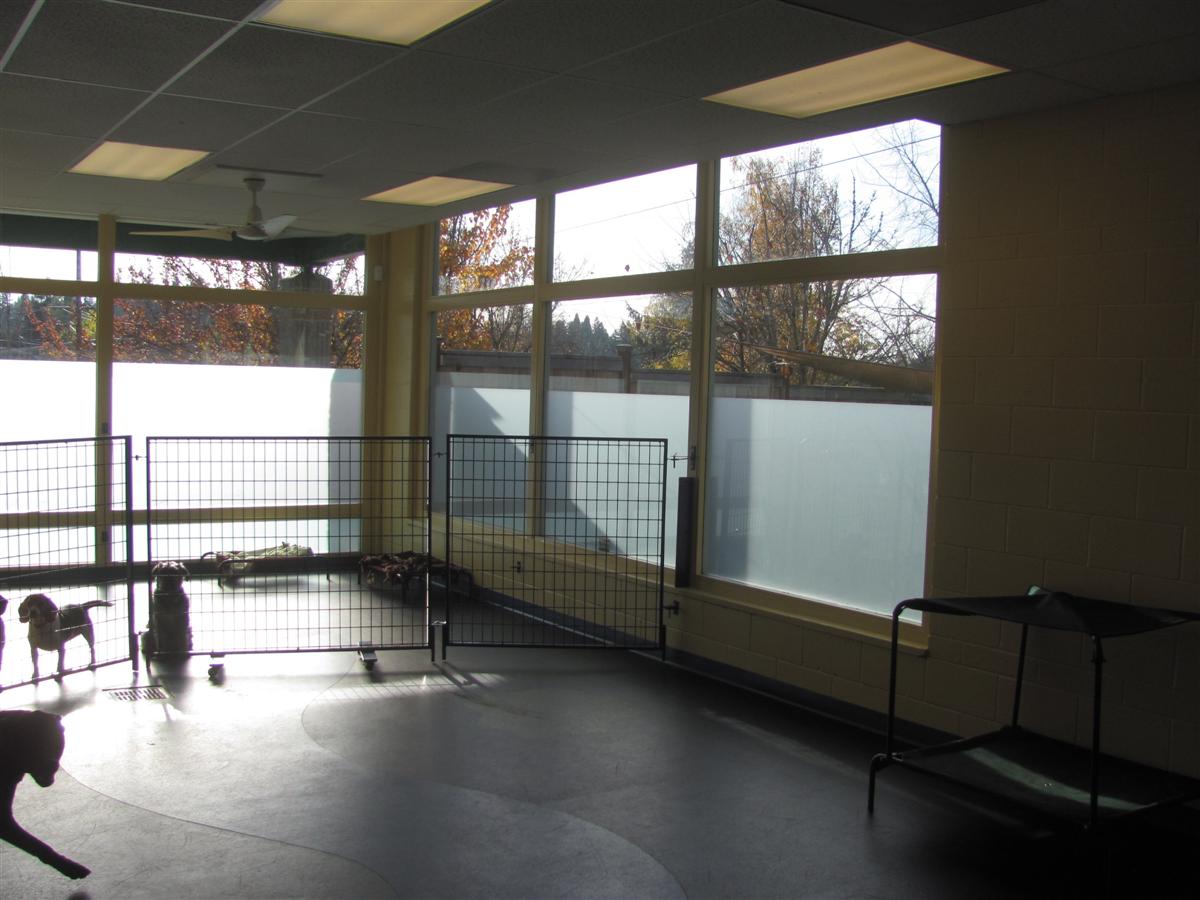
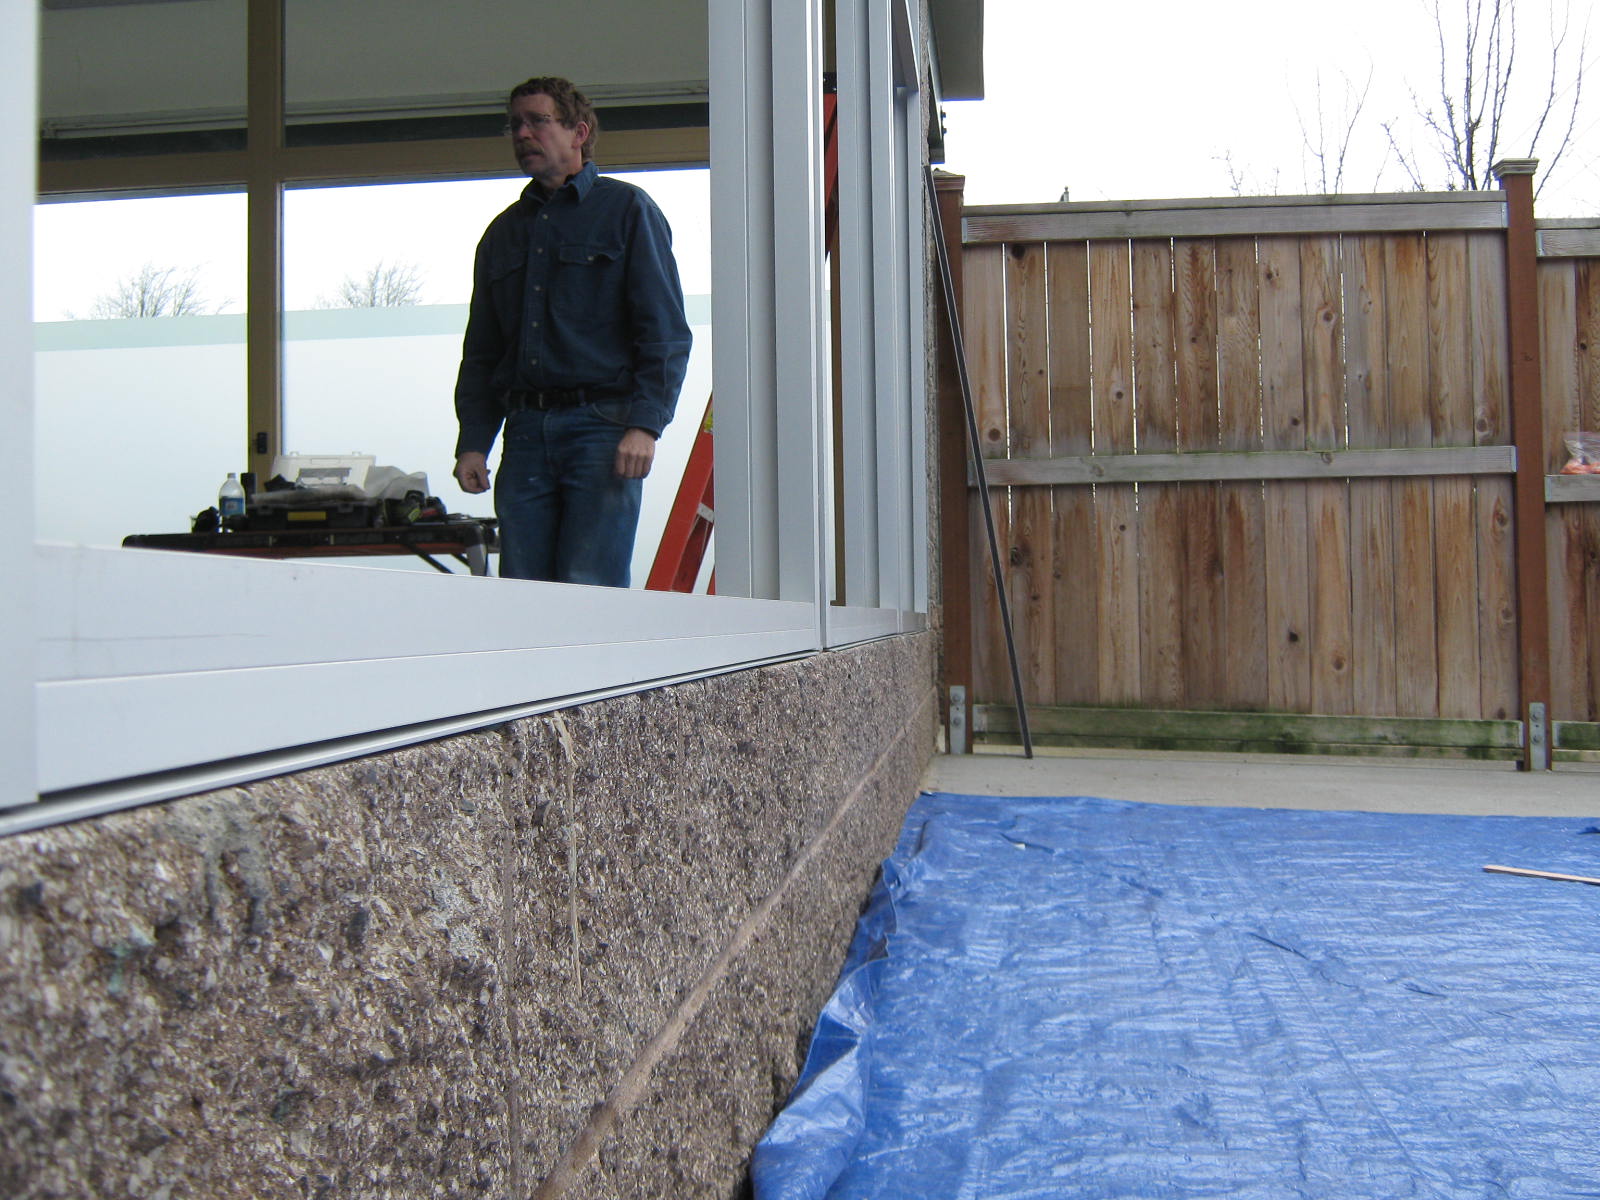
The glass is installed and the finished product as viewed from the interior.
|
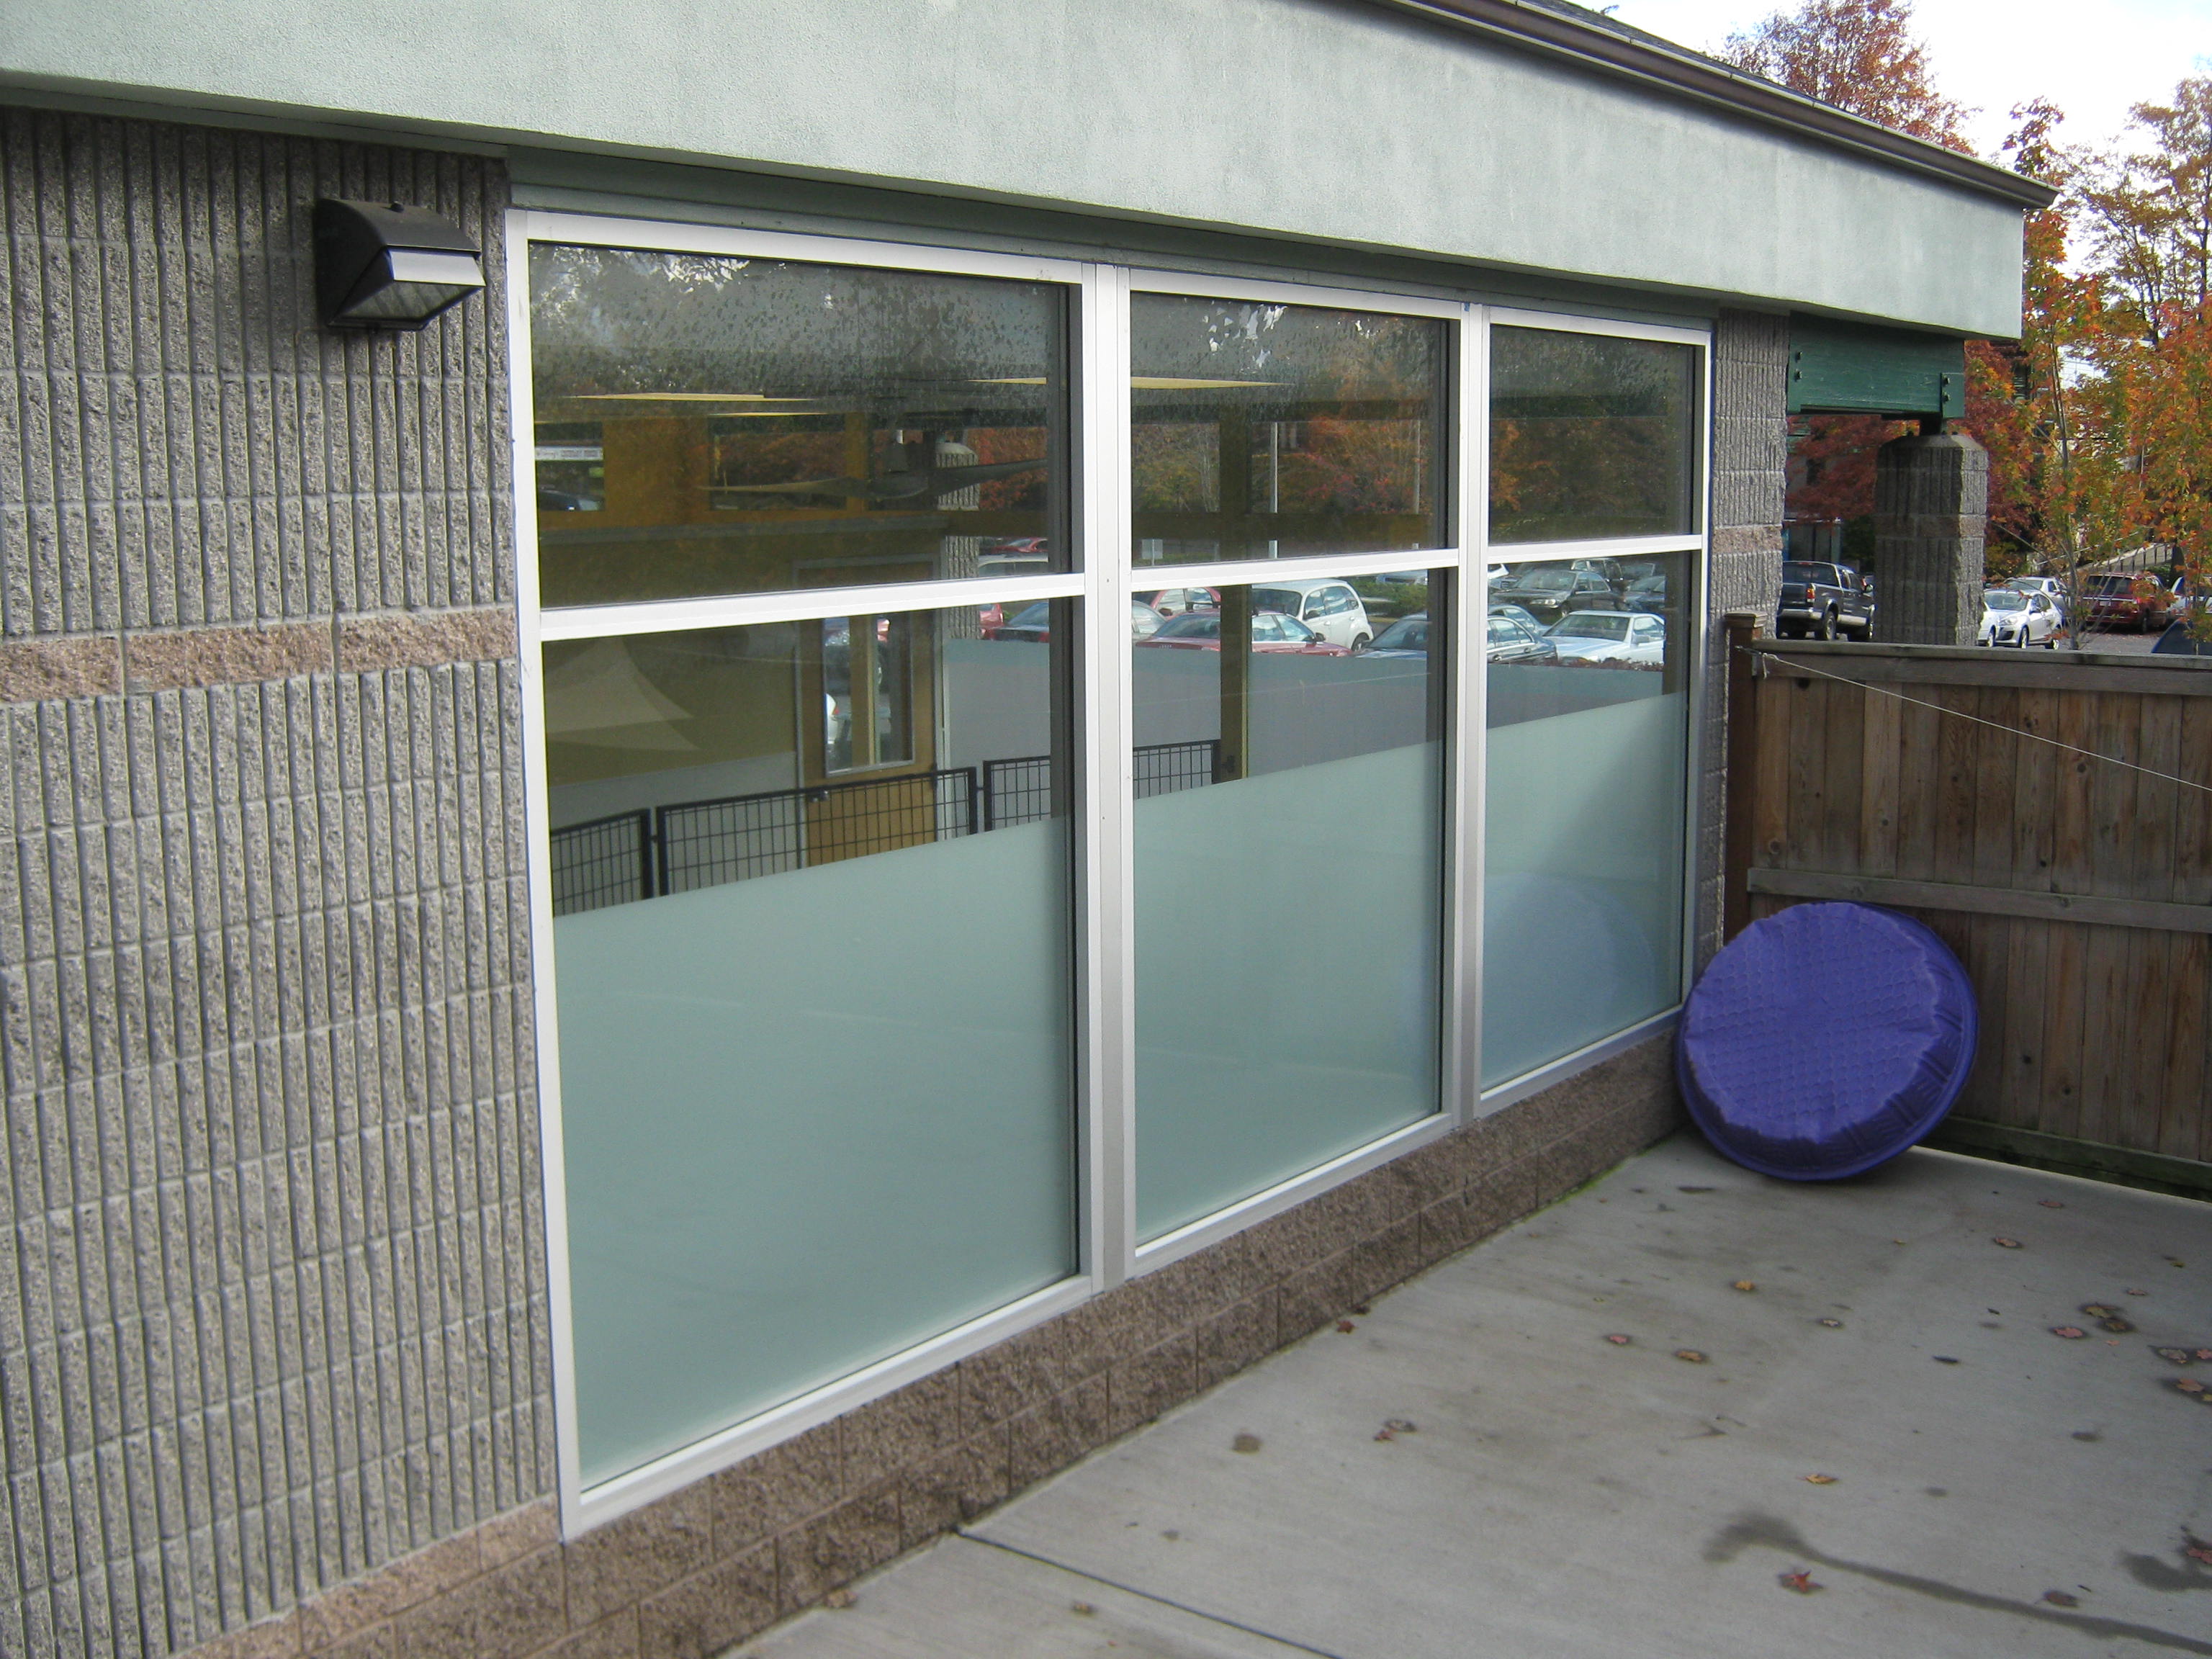
And as viewed from the exterior.
|
|
One tenant is leaving and the landlord institutes plans to spruce up the place for prospective new tenants.
|
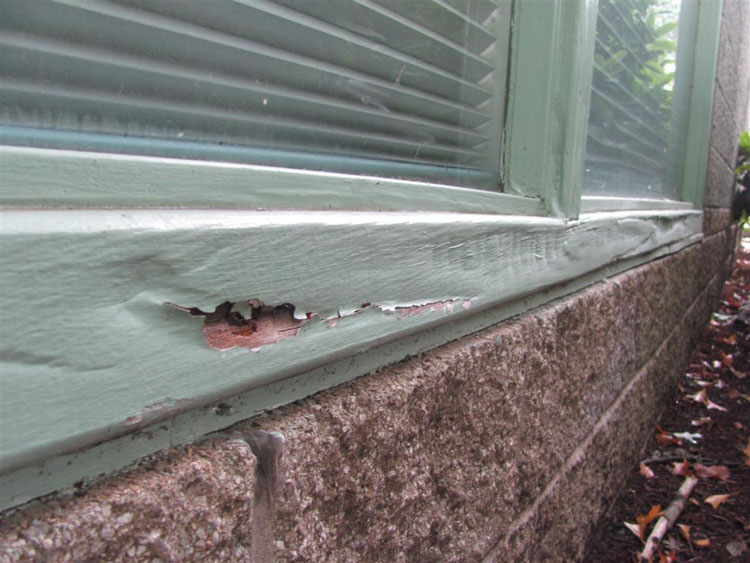
Including replacing the wooden side window assembly that has no protection from the elements.
|
Time to upgrade to something more impervious to the elements, as well as updating the single-pane glass to insulated units.
|
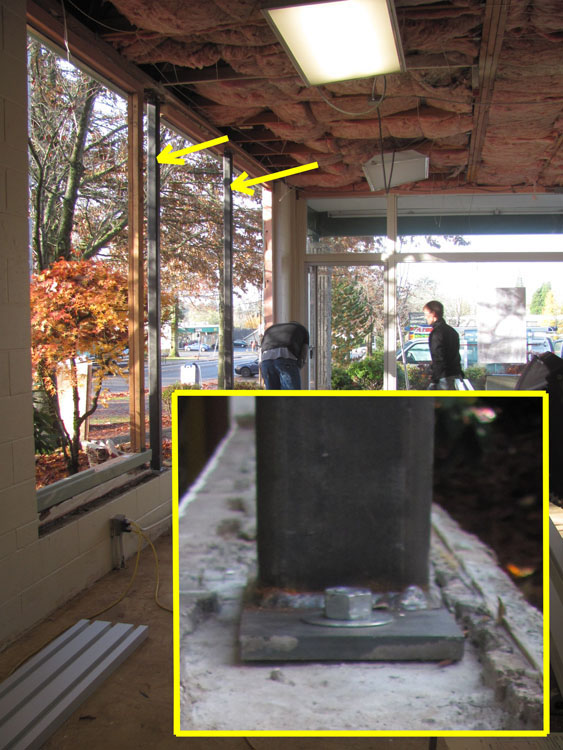
The original wood-framed storefronts had some structural components to the vertical posts that sat between the glass, so 2 vertical steel supports are fabricated & installed to take up the slack. Click on the photo if you’d like a closer look.
|
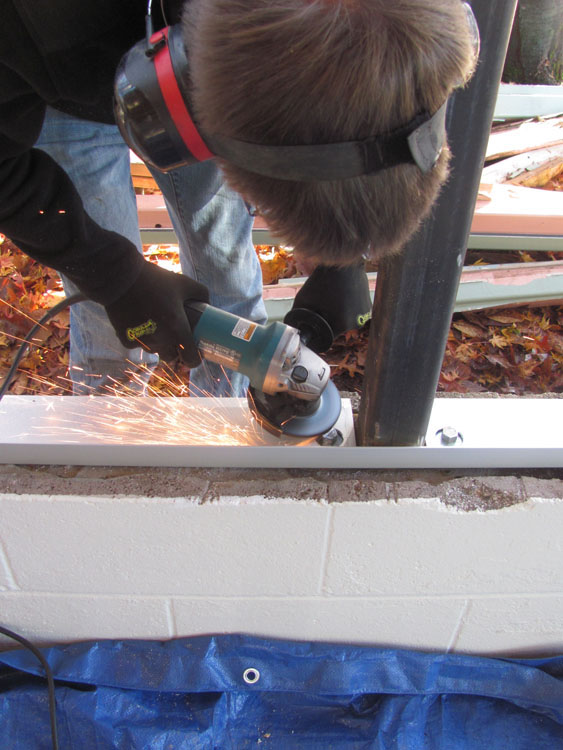
Substantial modification is required to contend with and install the window assemblies around these steel supports.
|
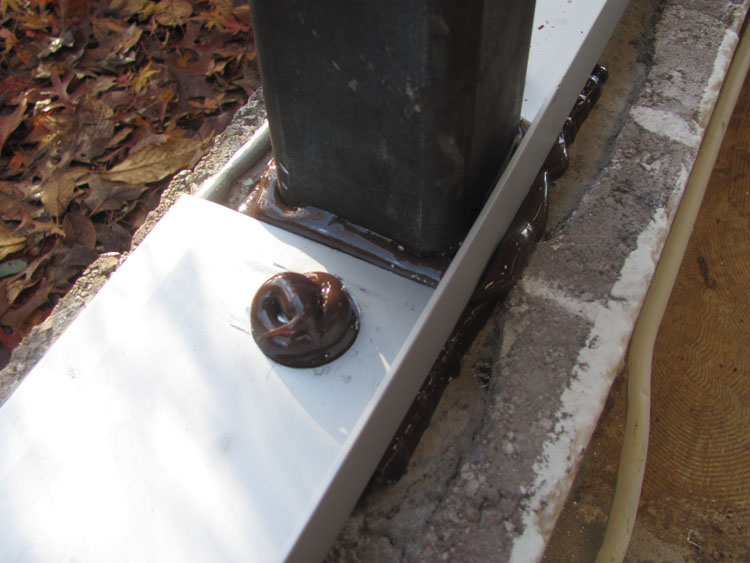
The window assembly sill-pan.
|
The components are cut to length and the storefront aluminum window…
|
…assemblies are assembled on-site this time. A vacant facility allowed us to do this.
|
Maintaining the original architectural sightlines was of course…
|
…an important part of the project.
|
|
An old strip mall and someone apparently hit their gas pedal instead of the break and created a drive threw opening at the veterinary clinic. Fortunately, they hit a masonry pillar (not shown because it’s gone) and a door assembly, or they might have kept on going.
|

The mess was pretty much cleaned up by the time we got there. Each of the original structural components for the storefront window assembly basically consisted of three two-by-fours laminated together.
|

To precisely match the original structural components, we purchased some CVG studs and laminated them together back at our shop in Tigard. Then we ran a router over the corners to match the original radius before we brought them to the job site. To see them better, you might try clicking on the photo to enlarge it.
|

We also ordered a new Aluminum Storefront Door and jamb assembly.
|

We improved a little on the fastening system.
|

Masonry anchors for fastening to the newly built masonry pillar.
|

Our client’s instructions were to alleviate any and all evidence that the new structure was not original.
|

The glass stops are cut to length.
|

The glass is installed; the new aluminum door & jamb assembly is installed.
|

Another repair made better than new. Note the masonry pillar that was rebuilt.
|