<< Back to Portfolio

The Beaver Creek area. From here it might look like the front door has substantial protection from the elements with the large arched brick porch. If you click on the photo it will enlarge & you may be able to better see what we’re talking about.

But you get up on some of these hills where the winds are compressed & sped up when forced up a hillside & the rain can turn horizontal.
Fortunately for our client here, the door and sidelights are Fiberglass.

But not so the jamb assembly.

The vast majority of door jamb assemblies are Hemlock unless you specify something else when ordering from the prehang shop.

Care will need to be taken to not damage the alarm-contact.

Technicians Phil McNair & Steve Hilt are on the job soon after our initial inspection, and Phil is shown here dry-fitting the new replacement jamb legs.

And then Phil pulls them back out, cleans them up a bit with an orbital sander before applying a coat of primer.

Steve goes about installing the first jamb-leg.

And the second leg that makes up the mull-post that sits between the sidelight and the door.

Just another of the many examples of the expertise we employ to repair doors every day.

Pella Wood-Clad Patio Doors.

The combination of an extreme exposure to the elements…

…combined with the a lack of maintenance, has resulted in two panels with rotten bottom-rails.

Behold the cure.

More mileage for your door maintenance dollar.

There are those who might say that we are the Mack-Daddy of on-site wood sash component replication…

…but we’re too modest to say that about ourselves, as you have no doubt noticed. So we’ll let you be the judge.

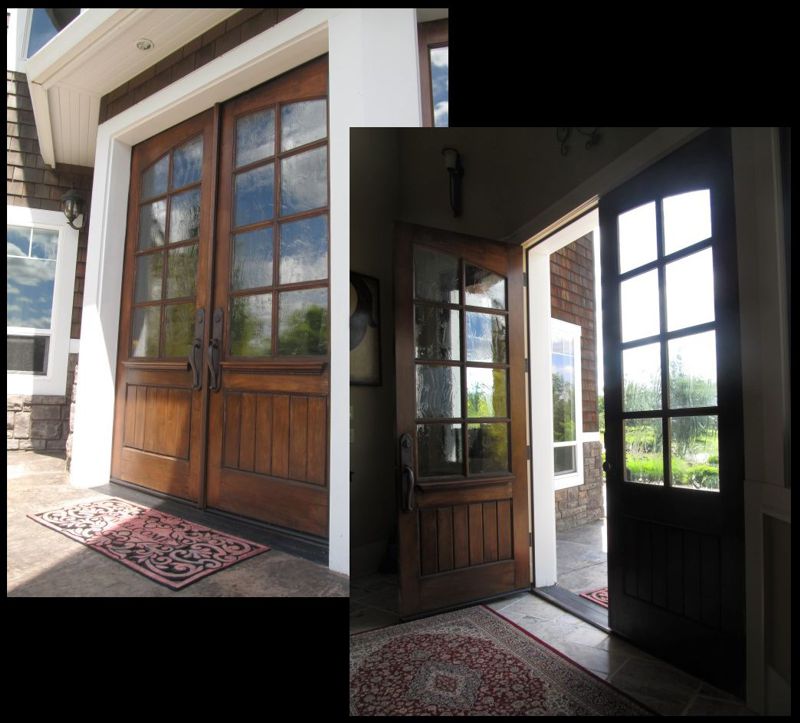
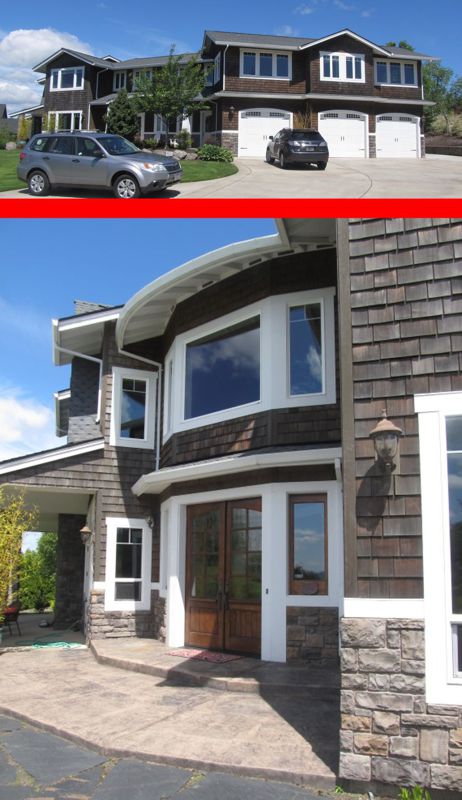
Up on the top of Cooper Mountain in Beaverton with a double-entry set of wood doors facing Southwest from whence comes all the inclement marine weather. Can you see how the shape of the house around these doors might almost scoop all the wind-driven moisture and funnel it to this door opening?

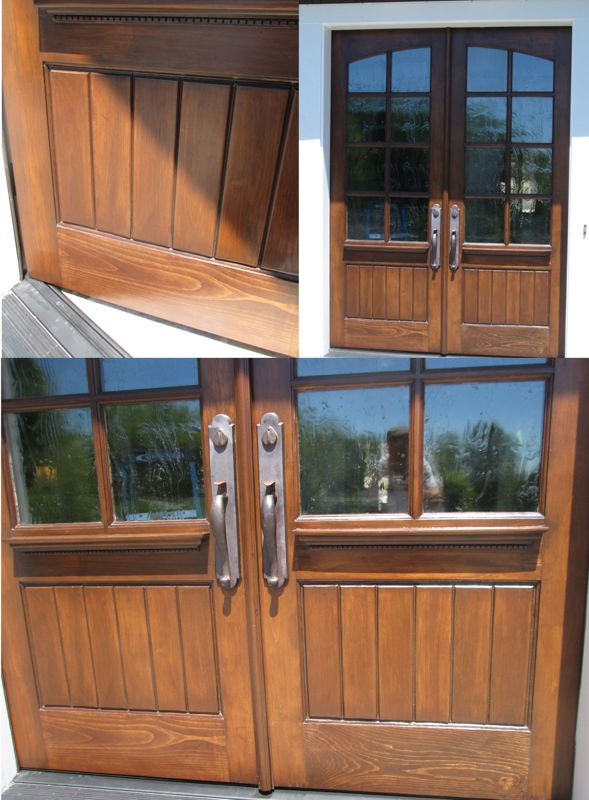
Nice looking doors. A slight variation on the Simpson 568 Traditional Sash Door. But well on their way to very serious problems with substantial water penetration splitting the various components and swelling up the two doors against each other so badly that you can’t get them open in the winter.

If you enlarge the above photo by clicking on it, you may be able to make out some of the damage in this collage of close-ups.

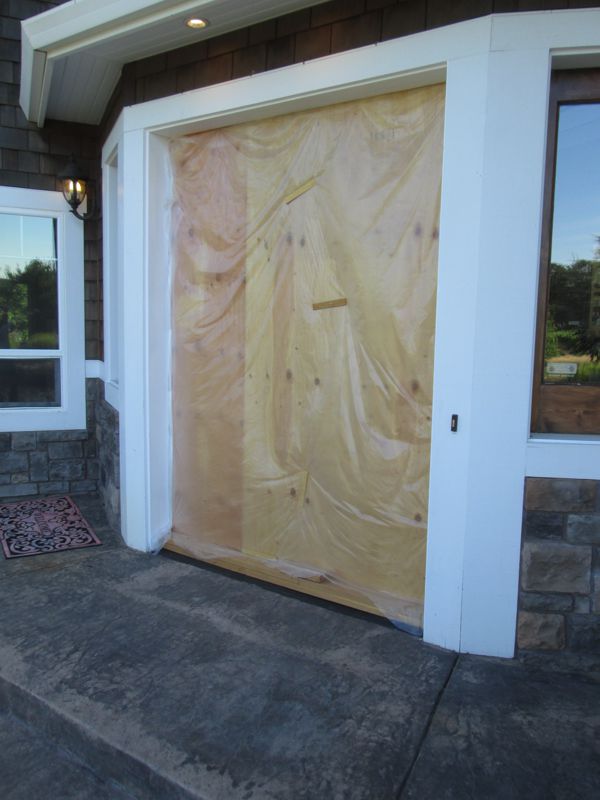
We advised our clients to install fiberglass doors here, and priced that option for the record, but they had it in mind to roll the dice a little longer with the existing doors.

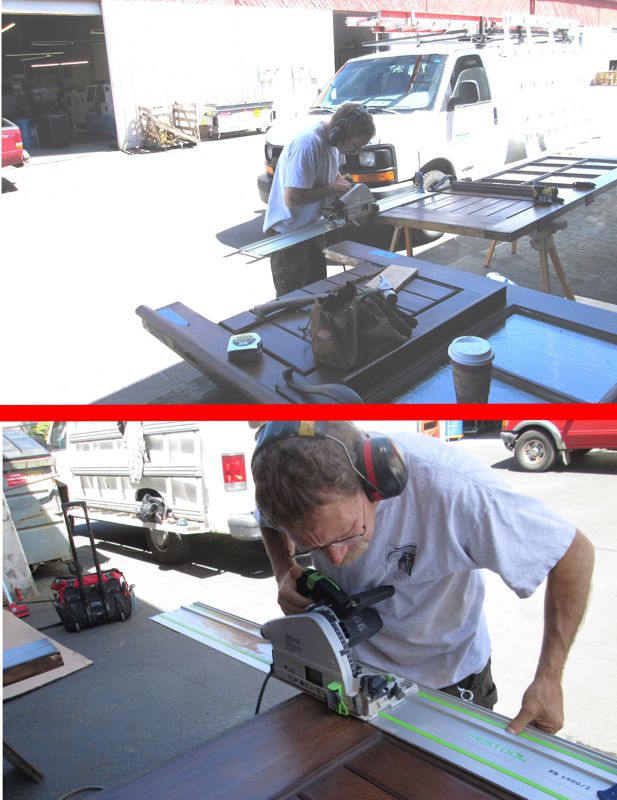
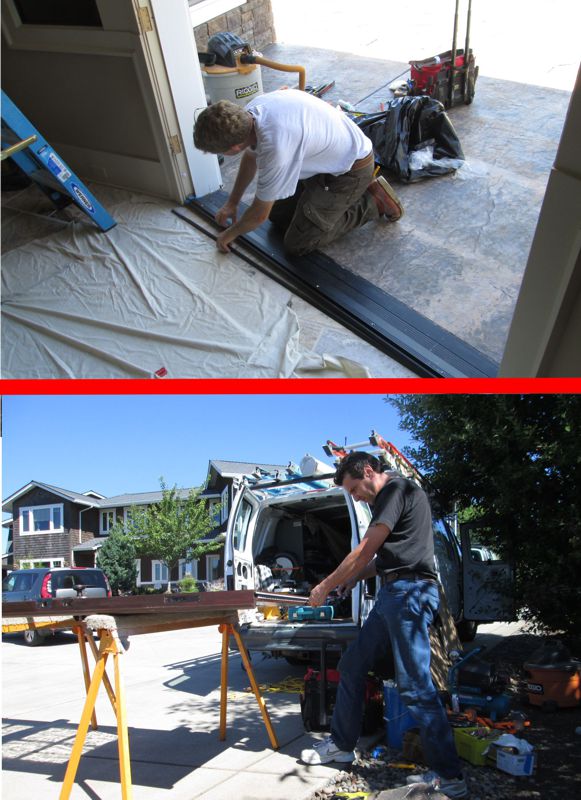
So at their request, and a signed contract, we went about cutting out both bottom-rails, which frequently suffer the most extreme damage in these situations. Our technician Steve Hilt is shown above using his Festool saw to carefully remove one of the bottom-rails. Note the guide clamped to the door.

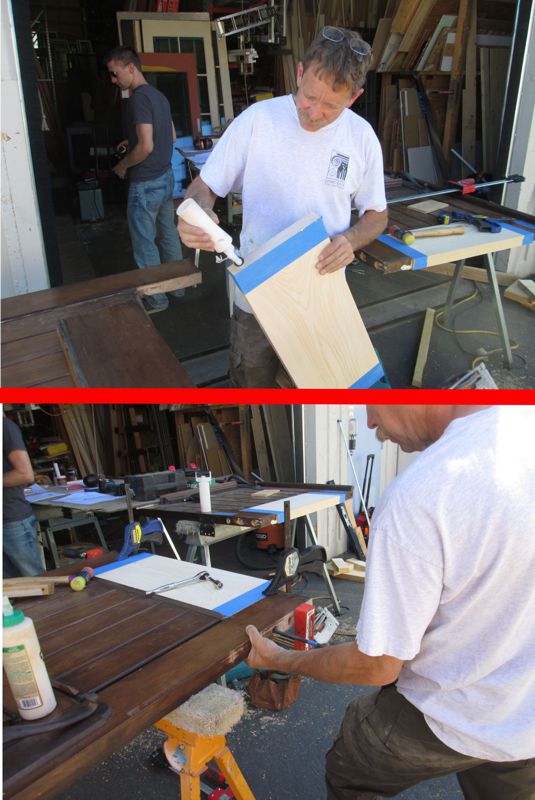
After which Steve goes about installing the new rail-components by drilling holes through the door stiles, into which some steel lag-bolts will be anchored into the new rail-material.

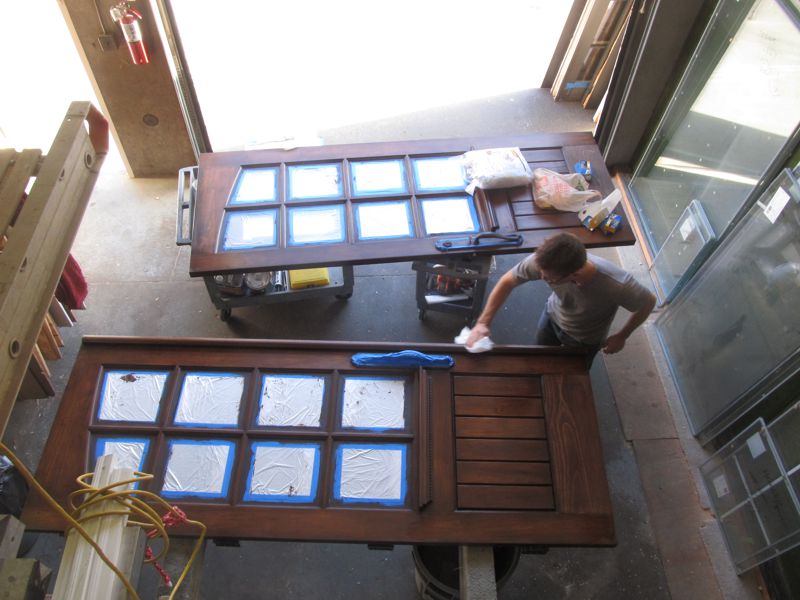
A careful color match under Steve’s artistic eye and then Jared is shown wiping off the doors before we apply one of the many coats of Spar-Urethane. All joints and remaining splits were also carefully sealed with a quality polyurethane caulking in a close-matching wood-tone color in-between the coats of sealant.

We underbid this one a bit. Feeling good about what these doors needed after closer scrutiny, necessitated more work than was originally planned. Steve carefully straps one of the doors to his van on the day we returned a week and a half or so after having initially retrieving them & taking them to our warehouse.

While Steve goes about installing an after-market interlocking aluminum threshold & threshold-pan (Pemko 145D), David Castro is nailing the corresponding Z61 zinc interlocking hooks onto the bottom of the doors. If our client is able to stay up with the maintenance by having these doors recoated every year or two…

…they may get another 5 to 10 years out of them. But even then it’s hard to say for certain, because it is unknown what degree to which the original components were exposed, even though they (the components) feel firm now…the rot causing organisms could potentially already be internally entrenched.

Even though the front door & sidelight assembly on this house has a fairly decent overhang above, this rural property is apparently subject to substantial winds. We apologize that some of these photos are less than optimum in illustrating the subject matter.

This is evidenced by the water-damaged wood sill…

…and the bottom of the jamb-legs.

After we replaced the damaged door assembly components, we covered the new wood sill with what are called aluminum “Sill-Nosings.” We also call them “sill-covers.”
As you can (somewhat) see in the next photo, we extended the covers coverage to the full-length of the common sill that extends beneath the sidelights.

These nosings or covers are made by the same folks who manufacture the thresholds, so you can get them in finishes that match the threshold?minimizing the possibility of it looking like an afterthought. Not only do these covers keep the wood sill dry?they also help minimize the cosmetic liabilities of everyday wear and tear upon the wood-sill.

In the Rosewood area of Lake Oswego. An old set of Andersen Wood Double-Entry Doors have sustained some water damage.

The door damage would appear to be contained within the strike-stile of the active door. Plus some damage to the Oak threshold (Inset), which we will also replace. You may be able see the damage more clearly if you enlarge the photo by clicking upon it.

So we bring out our little portable trailer/shop and go about removing the effected portion of the door.

It might be noted here that we generally frown upon most “patching.” And so it is that we go about preparing a new strip of wood that will be laminated back upon the door from the bottom of the door to the top.

The weather-stripping kerf is made, and we’re ready to attach it to the door.

Glue and fasteners with myriad clamps until the adhesive has had time to cure.

Bondo, when properly applied for the appropriate application does have its place.

Lock preps are made, the new material is prime-coated and the original weather-stripping skirt is reinstalled onto the door.

Finish painting is to be provided by others.

The repaired door is now ready to be re-installed.

Repeat clients whose home we worked on in Portland employed our repair services to repair a couple doors on the apartment over garage structure behind their beach house in Lincoln City.

Mrs. Anderson and myself incorporated a site visit to inspect and measure the two door openings while at the coast recreating. The door for the upstairs apartment was toast.

The hinge-jamb. And those little self-adhesive pads designed to plug the air-gaps at the bottom of the door. Depending on the exposure and the type of door, these pads can actually have an adverse effect on the door.

Not only were the vertical jamb-legs water damaged, but the little sponge rubber corner-pads applied to the bottom of the jamb legs to plug air-gaps seemed to hold moisture against the bottoms of the wood-edged Fiberglass door, resulting in the rot shown above.

So we sent our technicians Steve Hilt and Jared Anderson to replace the upstairs door assembly and to replace the jamb components for the lower garage access door.

Before installing the new apartment door assembly, measures were taken to seal the rough-opening with self-adhesive flashing membrane, as well as an aluminum door-pan.

The bottom of the jamb legs were also outfitted with some of the membrane material to aid against the tendency of the wooden jamb-leg end-grain wicking up moisture.

Steve puts on the final touches upon the new Masonite Brand Fiberglass Full-Lite Door & Jamb Assembly.

And then attention is turned to the garage foot door that needs both vertical jamb legs replaced.

And also the wooden component of the sill-threshold assembly which we replaced. As you can see, we were able to mill a new oak piece on-site and reuse the original aluminum portion of the sill assembly.